

Hi y’all! This week I’m sharing the renovations we made to our master bedroom (Bedroom 1 on the floorplan). There’s really nothing that makes this bedroom the master compared to the other bedrooms, except that it’s the largest bedroom in our house. There is no ensuite bathroom (remember, we only have 1 bathroom total) and the closet in this room is the exact same size as the closet in bedroom 2 (both of which are smaller than the nursery closet). The master bedroom is in the front of the house, and it has 3 windows, so it gets tons of natural light. Here’s the floorplan if you missed this post on our layout.

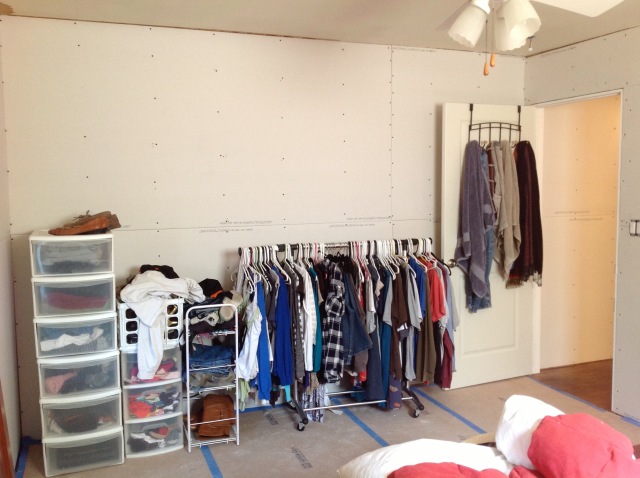
And here are the before pictures, just a few days after we purchased it.

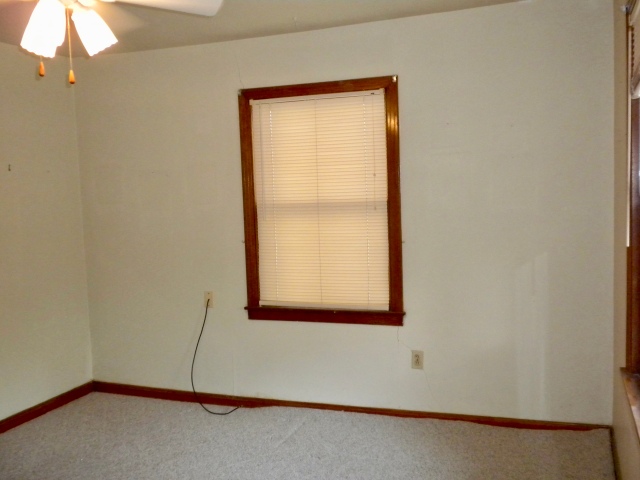

When we purchased our house, the bedrooms and living/dining area were carpeted and all the rooms had wood-stained trim and baseboards. When we originally toured the house, we pulled back a corner of the carpet in one of the closets to find lovely red oak hardwood floors underneath. You can catch a peek of the hardwoods in the closet in the photo above. Naturally, one of the very first things we did was rip out all of the carpet.

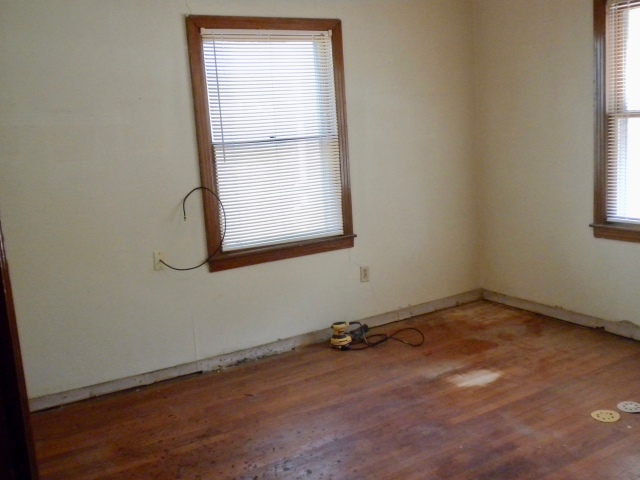
Whoever installed the carpet must have gotten one hell of a deal on carpet glue because the residue that was left over was horrendous. The carpet came up easily enough, but all of the little black marks you see on the floor are sticky little tar-like glue residue. And don’t even get me started on the staples! We would pull staples for hours and not finish in that room. We even enlisted the help of my father-in-law and brother-in-law to pull staples and it still seemed to take forever.
Eventually we did remove all the staples and it was time to get sanding.
Before I move on, I want to address the elephant in the room on the page. We had done nothing else to this room yet and we are already refinishing the floors? If you know anything about home renovations, you know that the floors are usually one of the last things on the list – you don’t want all the other renovations to mess up your newly refinished floors. So, typically one would demo the walls, install new electrical/plumbing, drywall/tape/float, paint, etc BEFORE refinishing the floors. Because we were waiting on permits and some plumbing work, we decided to tackle the floors first (it doesn’t require a permit and we were itching to start something) but this is not something I would necessarily recommend. The other reason we chose to refinish the floors so early was we were living with friends at the time and the house was almost empty, allowing us to refinish all the floors at one time and let them dry for several days without interruption.
But back to the sanding. We originally rented an orbital sander from Home Depot, but the glue residue gummed up all the sandpaper we had in a matter of an hour. So, back to Home Depot we went, to trade in the orbital sander for the drum sander.

Once we started using the drum sander, things started to move a lot faster. And before we knew it, we were down to bare wood.

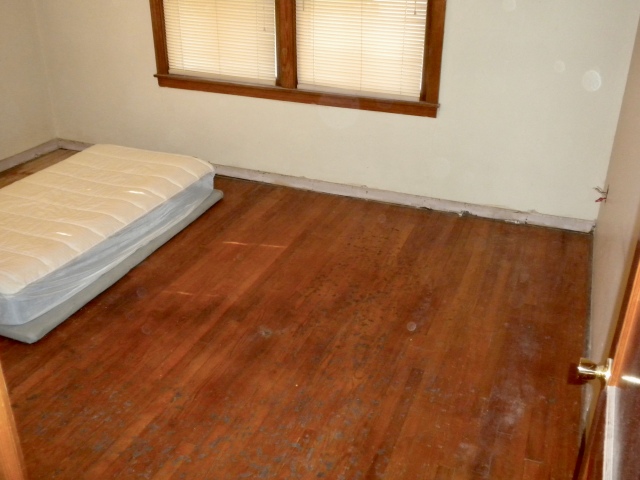
We cleaned the floors then stained them with Minwax Dark Walnut stain.

After the stain was dry, we applied 2 coats of polyurathane and let the house air out for 5 days before returning. Soon after that, we moved in (still no kitchen, I might add), and the master became our bedroom. We had an air mattress and a twin sized mattress and a portable clothing rack. Times were tough. But we survived and moved onto the next step of the project.

A month after this photo was taken, we covered the floors and started to remove the old drywall (we just kept moving those mattresses to different rooms around our house – whichever one wasn’t being worked on at the time). We installed new electrical wiring, outlets and switches.

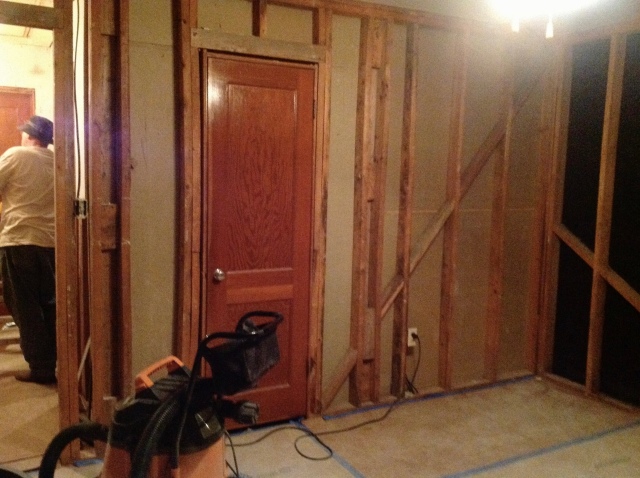


Then it was time to start putting the room back together, first, we drywalled. Around this time, we also hung new bedroom and closet doors (you can see the old doors being used as a form of window covering, along with some cardboard, below). If you are hanging new doors with a new frame, you definitely want to do it before installing new trim and baseboards.


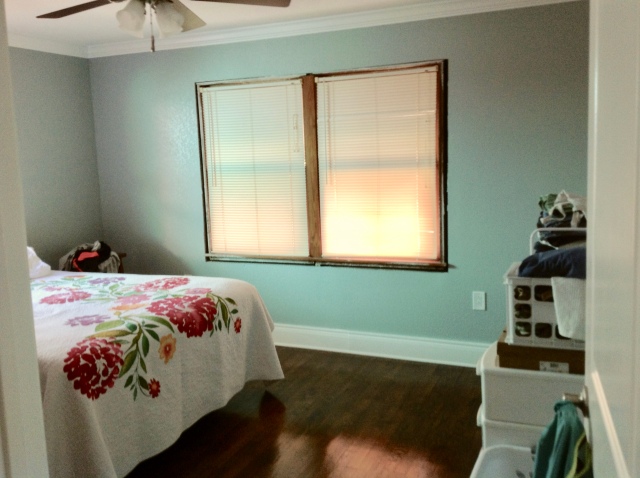
Next we textured the walls, added new baseboards and crown moulding and painted the walls and trim. We must have done this in a tizzy because I don’t have any pictures of those steps. But when we were finished, we ripped up that floor covering and the master bedroom started to take shape.

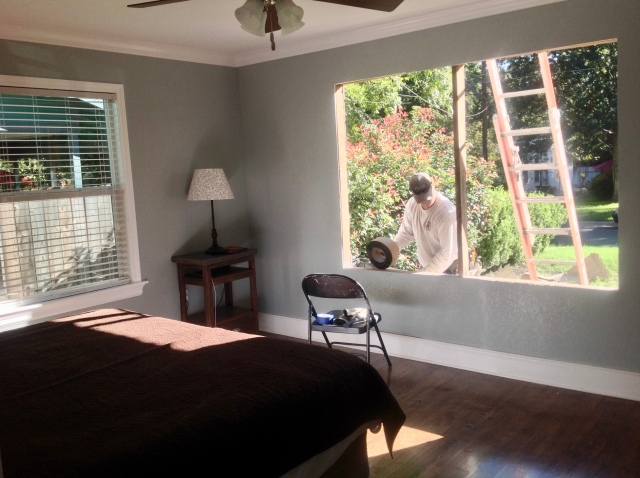
The last thing on the list for the master bedroom was new windows. Again, I don’t recommend you follow our sequencing here but this is how it happened for us. We replaced the window (at the head of the bed) on the side of the house first (we started with that side of the house and worked our way around) because the double window is on the front of the house and we upgraded the exterior of the house at the same time (that’s a whole future post!).


Oh and please excuse my curtains in the photo above (right). I hadn’t discovered 96″ curtains yet so you’ll have to bear with me. Have you seen that episode of Fixer Upper where Chip and Joanna go back to the first home they owned and they talk about the renovations they did? Did anyone else think, “wow, her design skills have come a long way?” I feel like this is one of those moments for me. I didn’t know what I didn’t know back then. Live and learn.
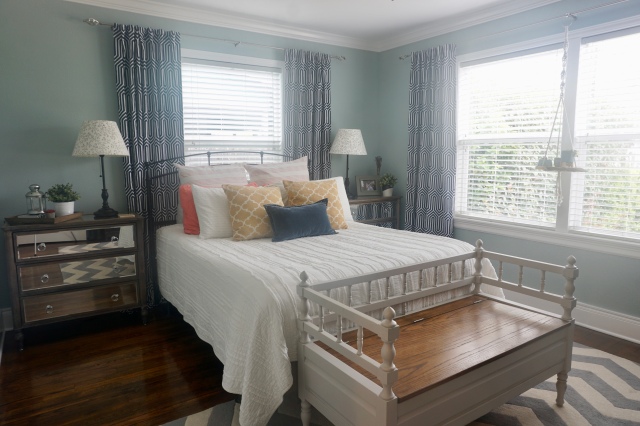
It’s been 6 years since that photo on the right was taken, so we’ve just shuffled around furnishings and decor since then and touched up the paint a few times. Here’s what our room looks like today:

Here’s some before and afters for you:


And, one more.
Thanks for stopping by to see the transformation of our master bedroom! As always, I’d love to connect with you on instagram @elleandjaydesign.


