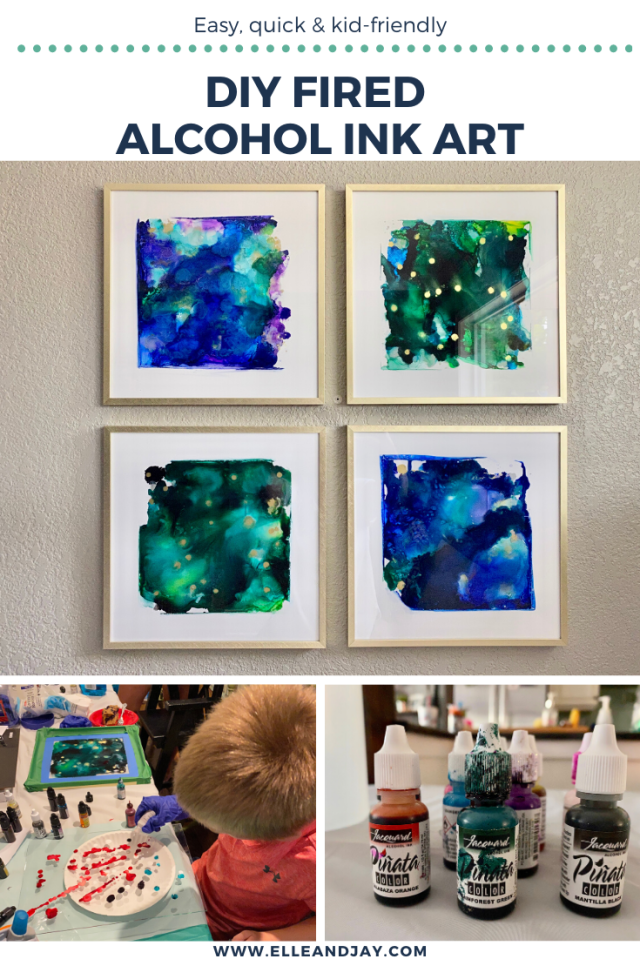
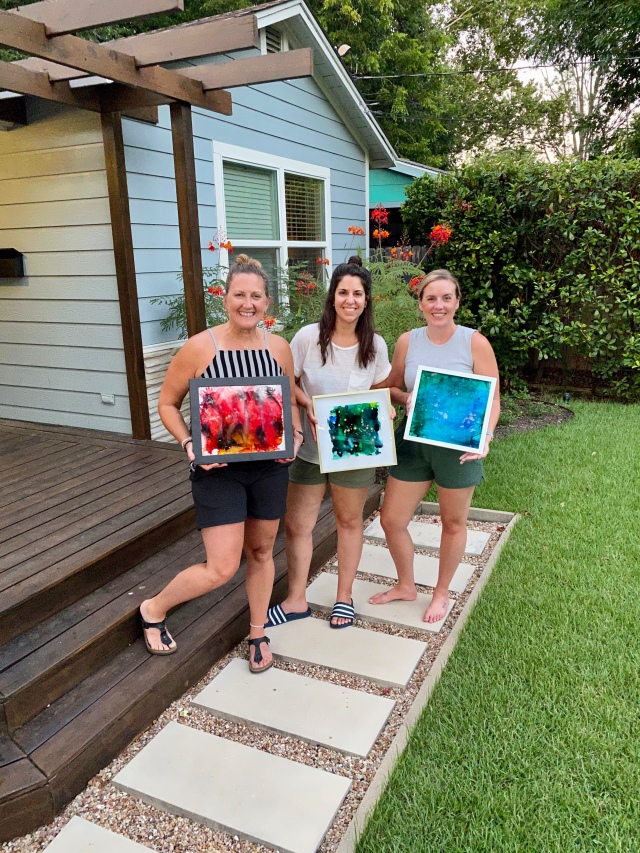
Recently, I had a few friends over for my second Pinterest Party of the year. Typically, I have 4-5 parties spaced throughout the year but the recent events in the world put a pause on many types of gatherings and so lately I’ve been itching to do a craft night with friends. The last party I hosted was waayyyyy back in February (which seems like a lifetime ago at this point) when we made resin coasters and didn’t know the coronavirus even existed. So last week, I, and a few friends, felt comfortable with a small gathering and got together for a simple craft of alcohol ink art.
I originally saw this alcohol ink art craft on the It’s Always Autumn blog, and when Autumn said this craft is super easy, she was right! This is a completely beginner level craft (even kid-friendly if an adult does the firing part) that is simple, fast, and doesn’t require a lot of materials (that you don’t already have on hand – I assume you own a cookie sheet, foil, painters tape, etc. – these are common household items right?). Here’s how we accomplished our alcohol ink art with Autumn’s tutorial and a few other steps:
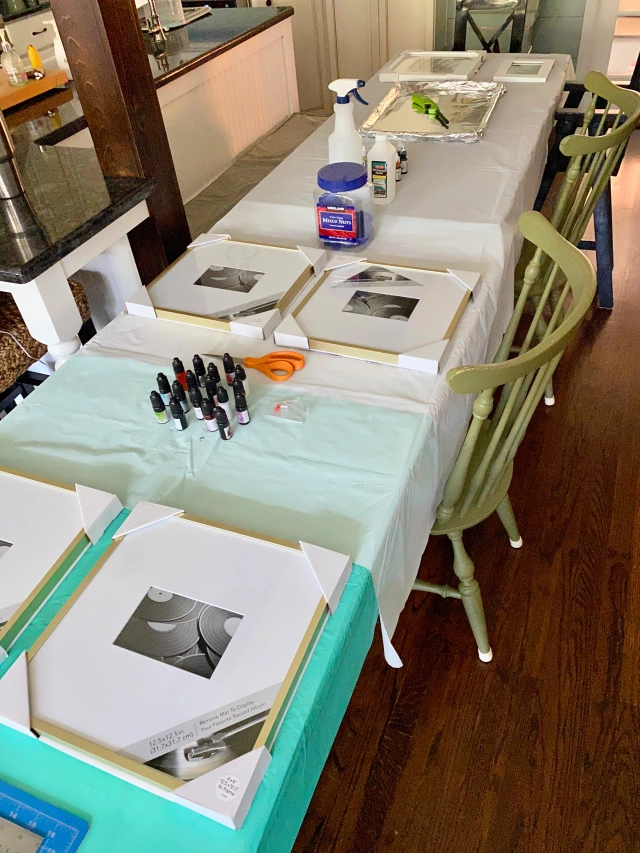
The Supplies
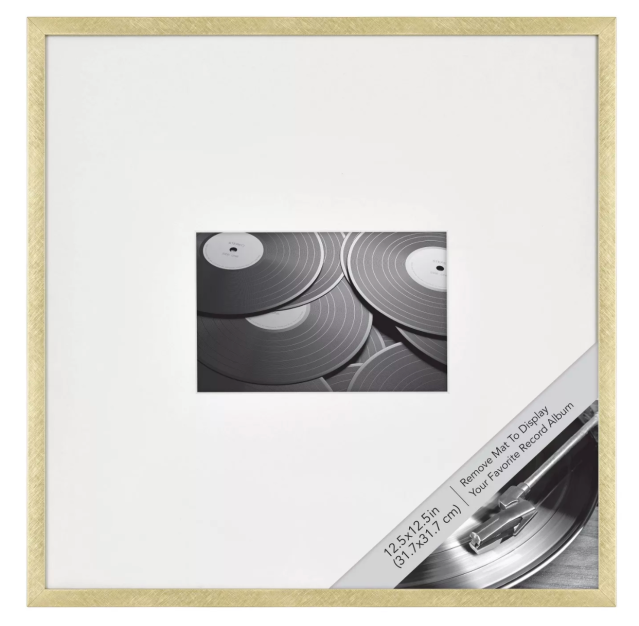
- Picture frame(s) with glass pane (I used these gold frames from Target)
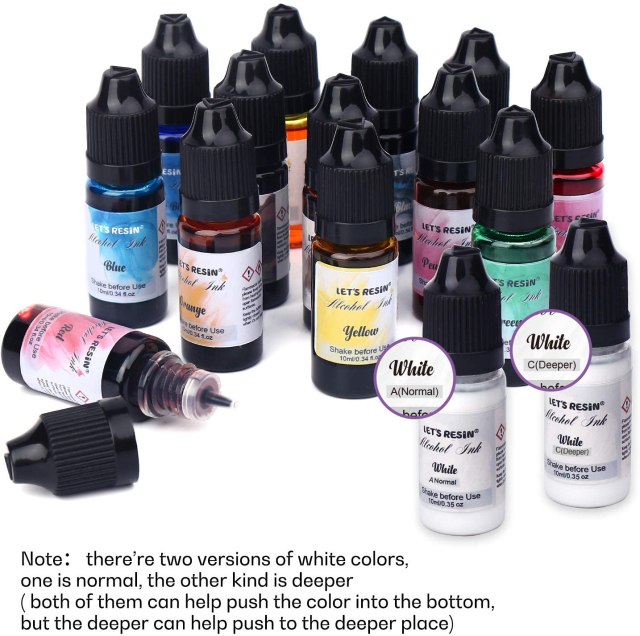
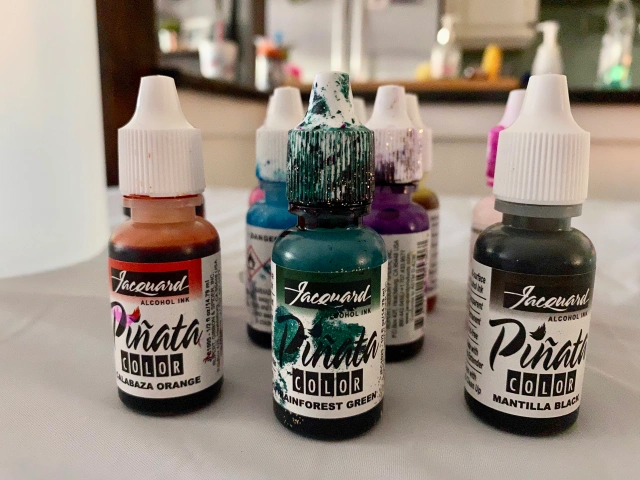
- Alcohol inks (we used these Jacquard Pinata colors and this Let’s Resin set)
- 91% Isopropyl alcohol
- Foil
- Rimmed cookie sheet
- Lighter
- Small plastic cup
- White paper
- Latex gloves
- Spray bottle (optional)
The Process
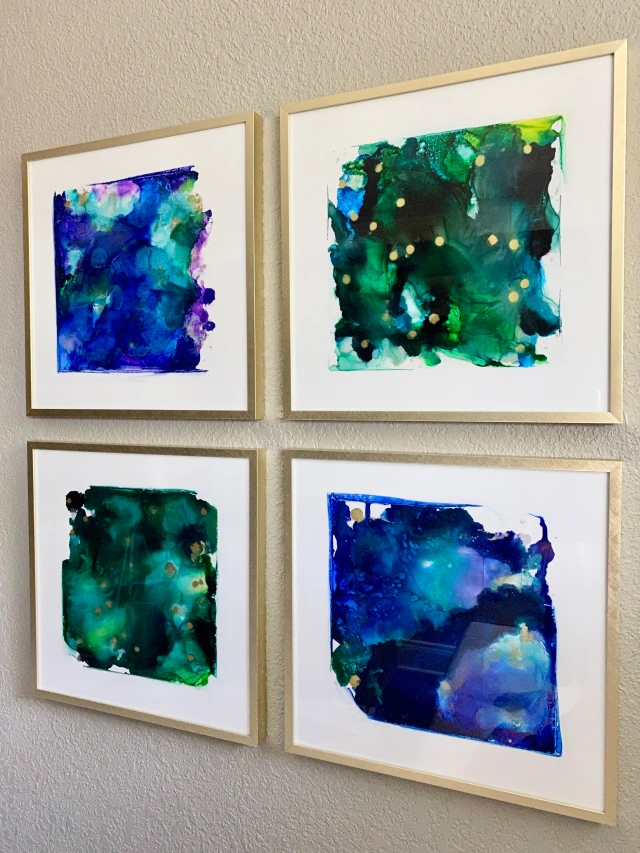
We started by removing the glass from the picture frames. Well, some of us anyways. Ya’ll, when I went to remove the glass from the gold Target frames I bought, I noticed the glass was glued to the frame (and they did a very good job glueing). The funny part is, I’ve bought this frame before (in a different size) and never noticed the glass was attached to the frame when inserting art. So plan B it was. I had already planned to put a border of painter’s tape on my glass because I didn’t want the ink to cover the entire glass surface, so I just taped over the frame as well since they were a package deal.
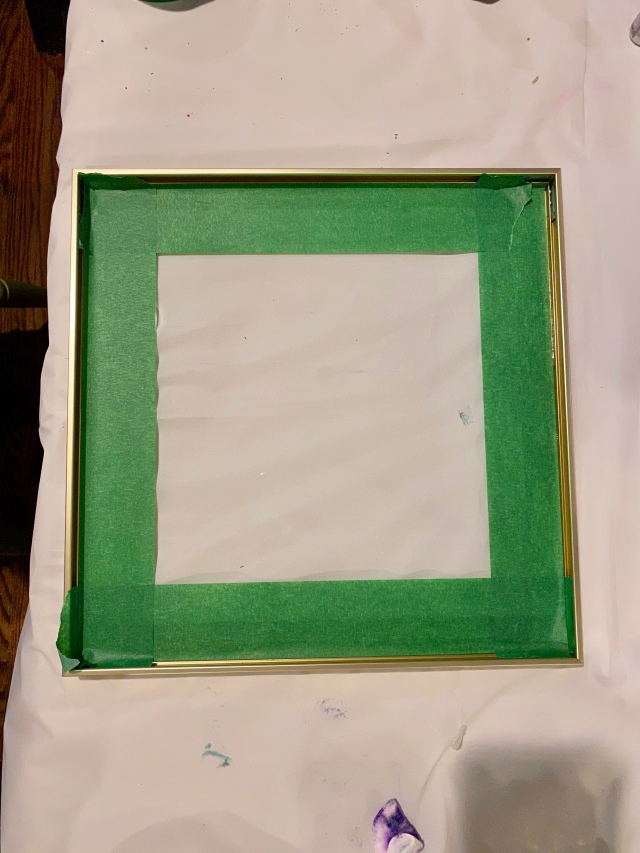
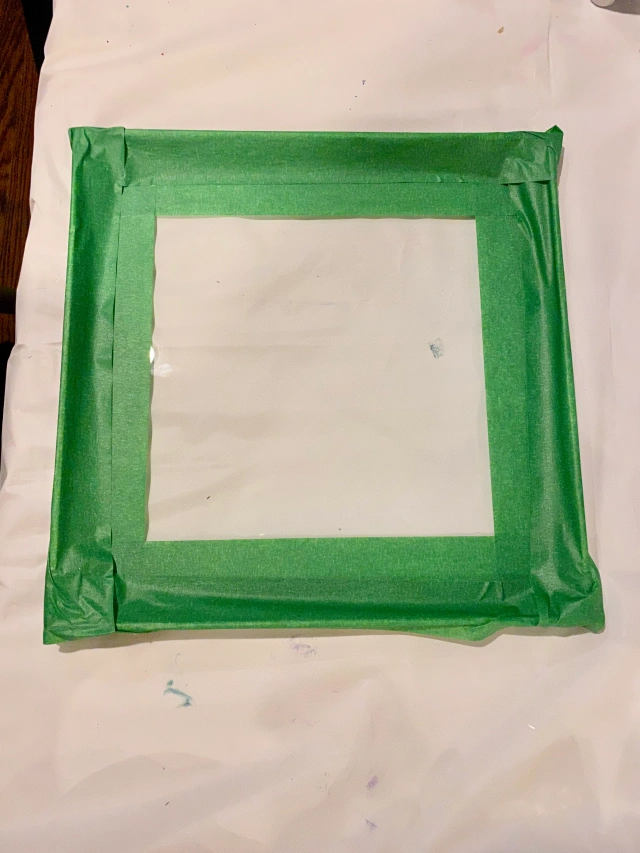
I started by taping my border directly on the glass (left photo above), then put another layer of tape overlapping the border and the frame (right photo above). If your glass is not glued to your picture frame and/or you want your art to cover the entire piece of glass, you can skip this step.
Next, we dropped multiple shades of alcohol ink onto the glass. You want to apply enough so that it coats the surface of the glass but not too much that it runs off the edges. You could even leave some of the glass exposed too. When you add the alcohol, the ink will run even more, so start conservative. This is the part of the process that you might want to wear gloves, the ink has a way of making it onto your skin even when you think you are very careful. It will stain your skin for a few days, so wear gloves if that is not your style.
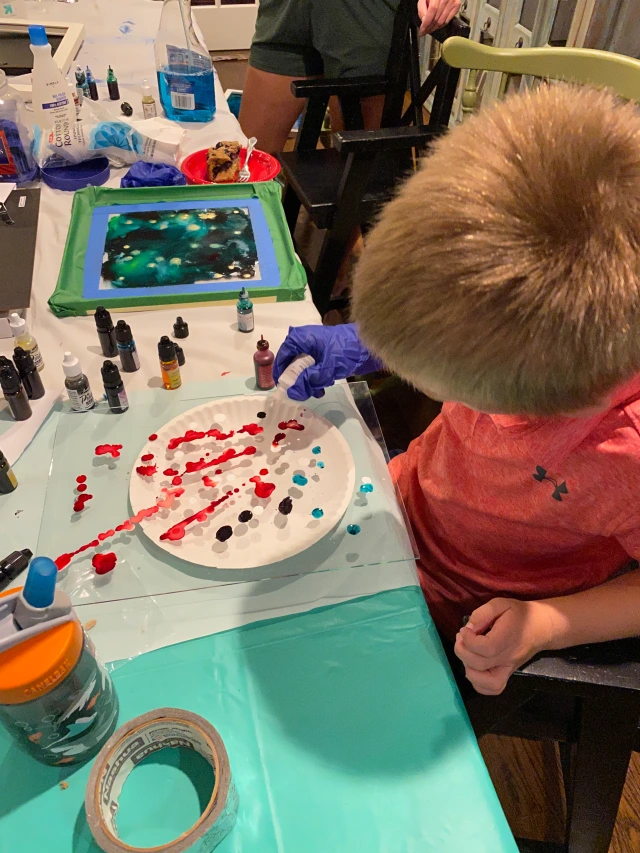
After dropping our chosen colors of ink on the glass, we poured isopropyl alcohol on top. We used these small plastic cups to pour the alcohol so we didn’t accidentally use more than needed. You don’t need much of the alcohol, only a tablespoon or two. Pour the alcohol on top of the ink, moving your cup as your pour to cover most of the glass surface. Then, gently lift the edges of the glass to swirl the ink and alcohol and make sure everything is evenly coated.
We also tried adding the isopropyl alcohol to a plastic spray bottle and misting it onto the ink covered glass. It turned out similar to the pouring option but resulted in a slightly different textured look, I definitely recommend trying it. Again, I recommend lightly spraying it, if you spray too much, your ink colors will bleed into one blob and you won’t get the swirl effect. If you use the painter’s tape approach like I did above, I would not recommend using the spray bottle to apply the alcohol, it can easily spray onto your tape, causing it to also light on fire in the next step.
The last step is the most exciting. Place the glass in a fire-safe spot and, using a wand lighter, carefully light the alcohol on fire to dry out the ink. I covered a rimmed baking sheet (larger than the largest piece of glass) with foil for this process. You’ll want to use foil in case any of the ink or alcohol runs off the glass – it will stain your pan! The alcohol will burn for a minute or two, then die off when the alcohol is exhausted. The glass cools pretty fast and you can handle the glass within another minute or so. To see a video of me making one of my alcohol ink art pieces, visit my ‘Crafts’ highlight’ on my instagram stories.
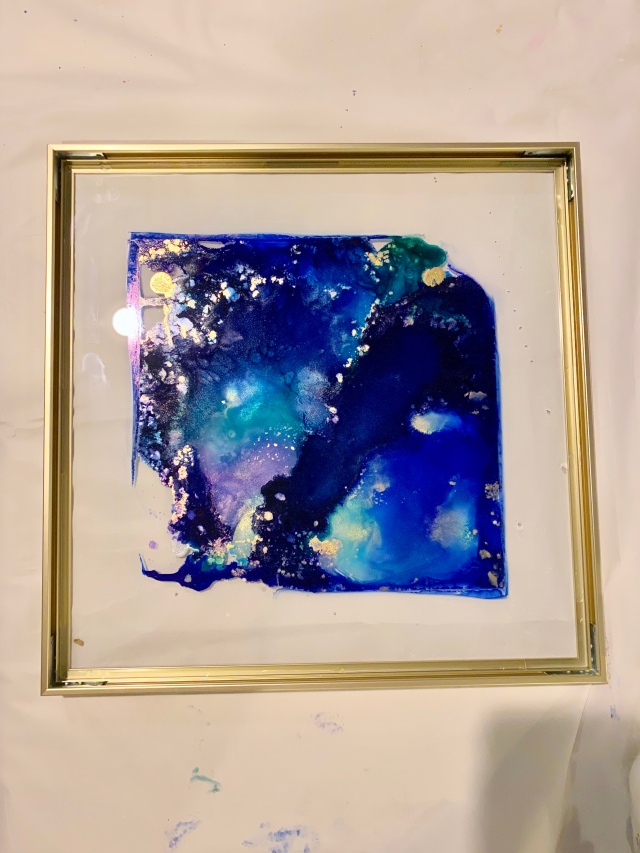
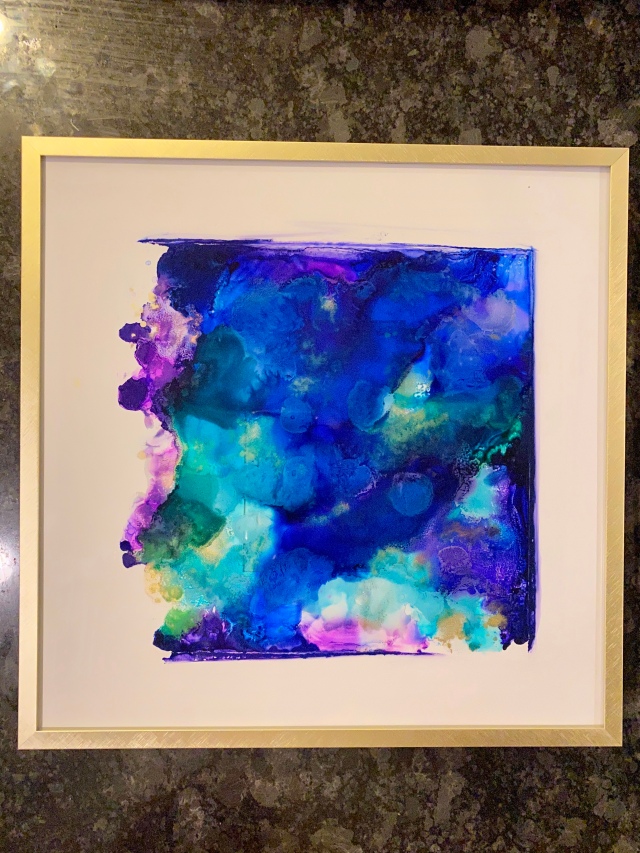
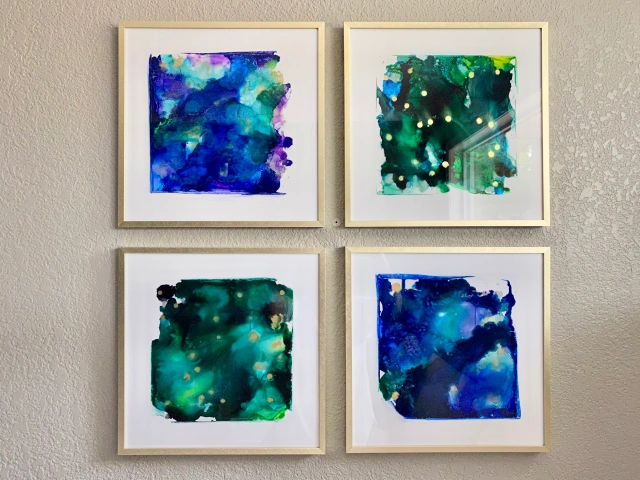
After the glass cooled, I removed the painters tape and used a cotton pad dipped in the isopropyl alcohol to remove any ink that had bled under the tape. Then, I placed a sheet of white paper in the frames and replaced the backing. I actually just taped a small sheet of white paper to the matte that came in my frames (just to cover the 4″ x 6″ cutout), and inserted it back into the frame, easy-peasy. The longest part of this project was actually hanging my 4 frames in a grid on my wall and making sure they were all aligned!
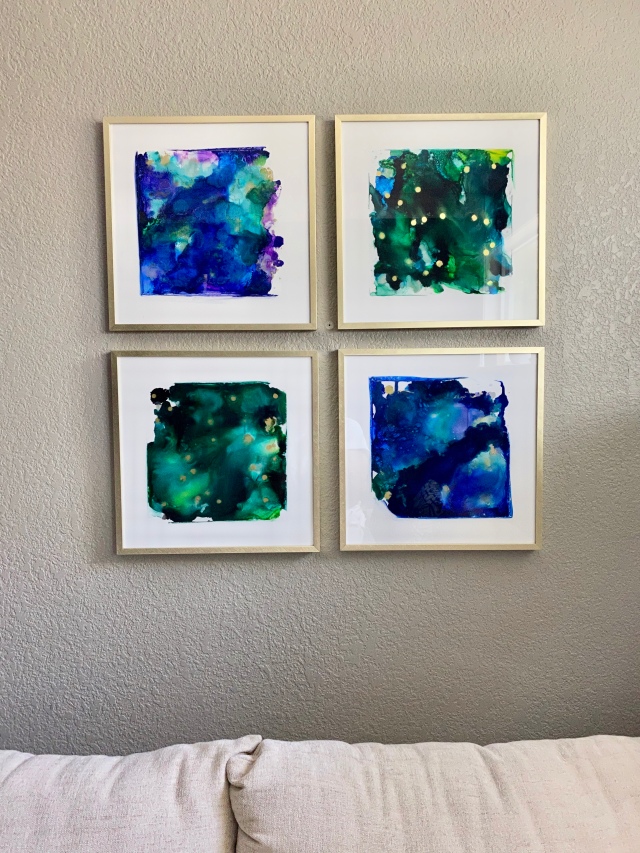
You can really take this craft in a million different directions and the color combinations are endless. I chose to leave the edges of my glass uncovered so that when I filled the frame with white paper, it would look like it was matted. And with the nature of the alcohol inks, all of them had organic edges and thats what I love about them! You can also cover the entire piece of glass like a few of my friends did.
If you are unfamiliar with the way I host what I call ‘Pinterest Parties,’ here’s how it works:
About a month in advance, I send out an evite to the event with the craft we will be making so I can get a head count for materials and food. The guest list is comprised of my friends who like to craft and friends of friends who like to craft (no experience necessary). Once you get on the email list, you’re invited to all subsequent parties. I supply dinner and dessert during the party and the materials needed for the craft. My friends (the attendees) BYOB. Depending on the cost of materials for the craft, sometimes everyone will pitch in to cover the cost of supplies.
The Menu
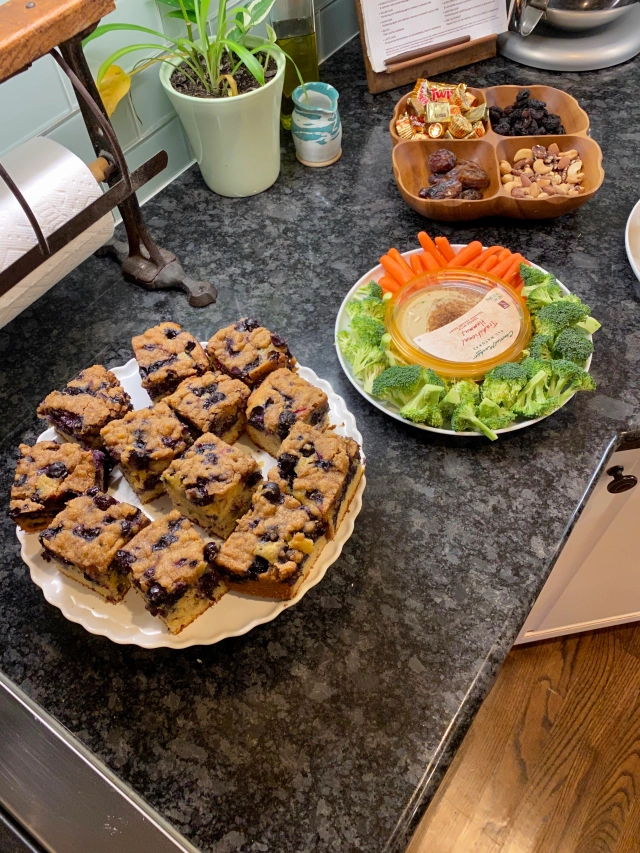
And because I know several people will ask me what the food was like, below is what I prepared for the party. Since there were only a few of us, I stuck to simple foods that didn’t require much prep.
- Veggie tray – carrots, broccoli & hummus
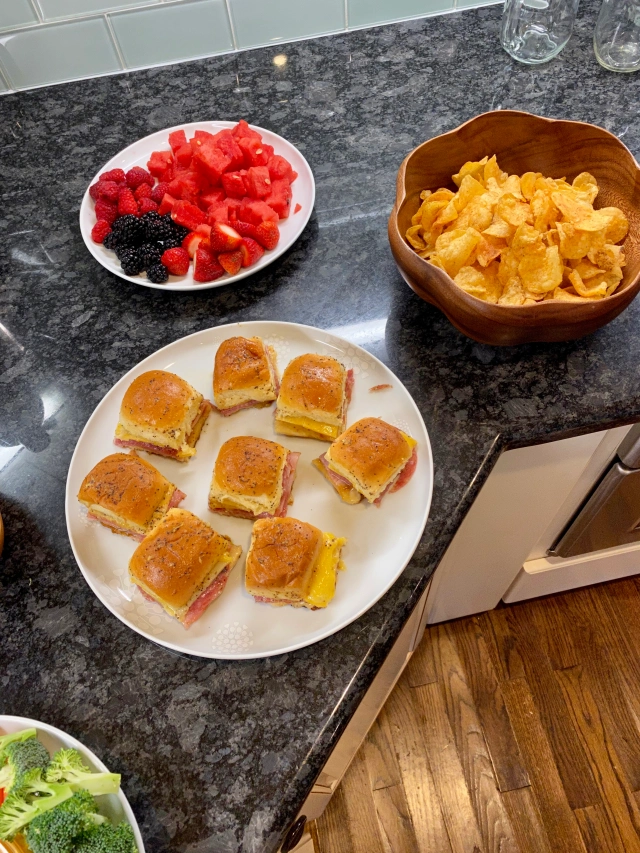
- Fruit platter – watermelon, blackberries, raspberries & strawberries
- Snack tray – mixed nuts, dates, dried cherries & assorted chocolates
- Miss Vickies jalapeno chips
- Ham and cheese sliders (similar recipe – I add fig jam to mine and its pure heaven!)
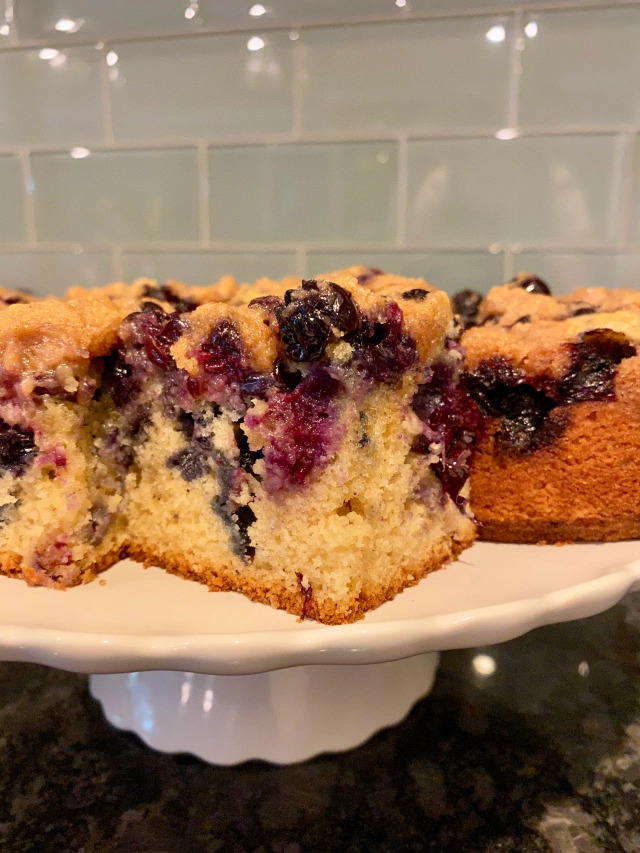
- Bursting Blueberry Cardamom Buckle by Half-baked Harvest
What have you been crafting lately? Has the quarantine made you more of a crafter or less of a crafter? I’d love to hear all about it. Comment below or connect with me on instagram @elleandjaydesign.