

Hi Everyone! Today, I have another furniture makeover to share with you. These side tables have been sitting in my garage for a few months just waiting their turn for a transformation. And how did they end up in my garage, you ask? Well, let me just say, I have a reputation. You know I can’t turn down a free piece of furniture that could easily live another life with just a little bit of love. You might say its my calling. Insert my husband’s eye roll here.
But back to the tables. My father is a realtor and often helps clients clean out parts of their house in order to list their home or in the process of moving. Often during these times, people are in a giving mood. He called one day to say a client of his was trying to get rid of giving away these tables (along with other items) and would I like them? Ummmm, yes. And that’s how I happened upon these tables that have been awaiting their destiny in my garage.
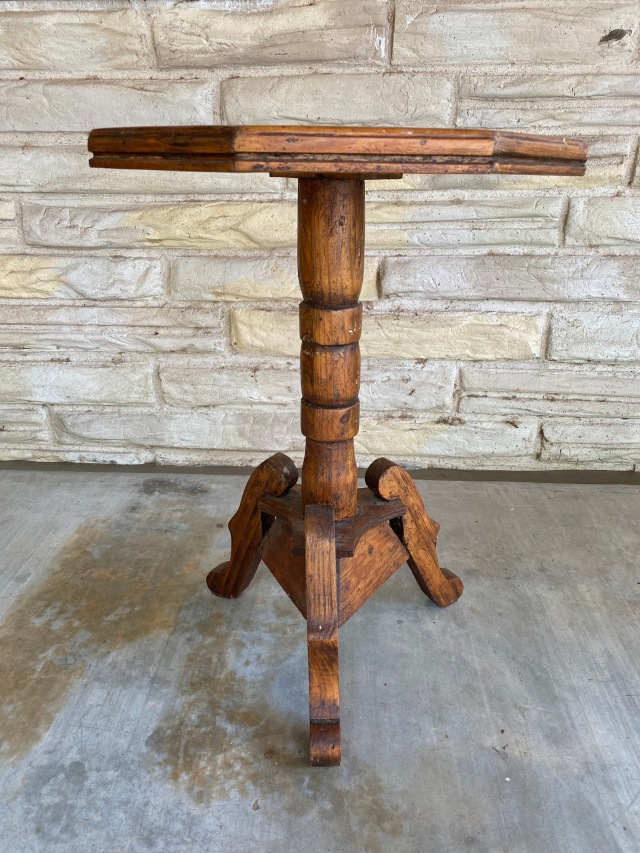
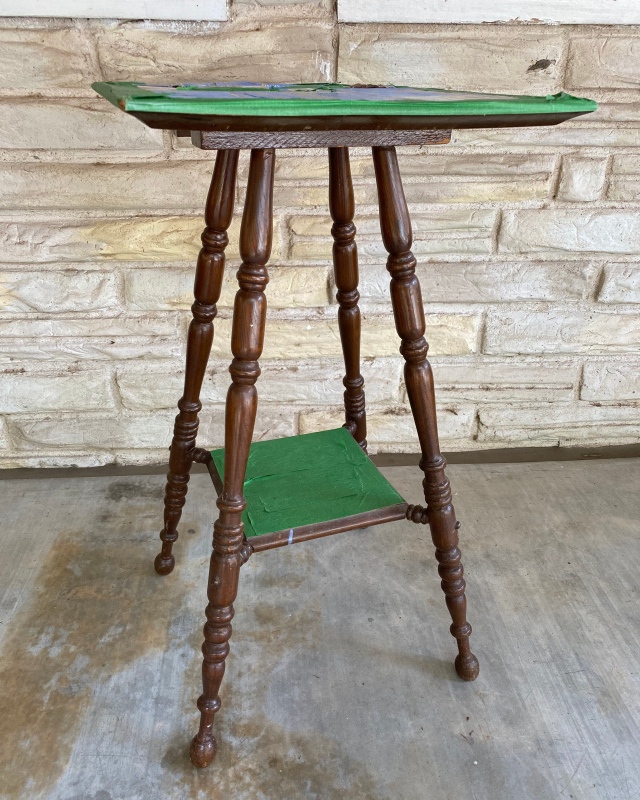
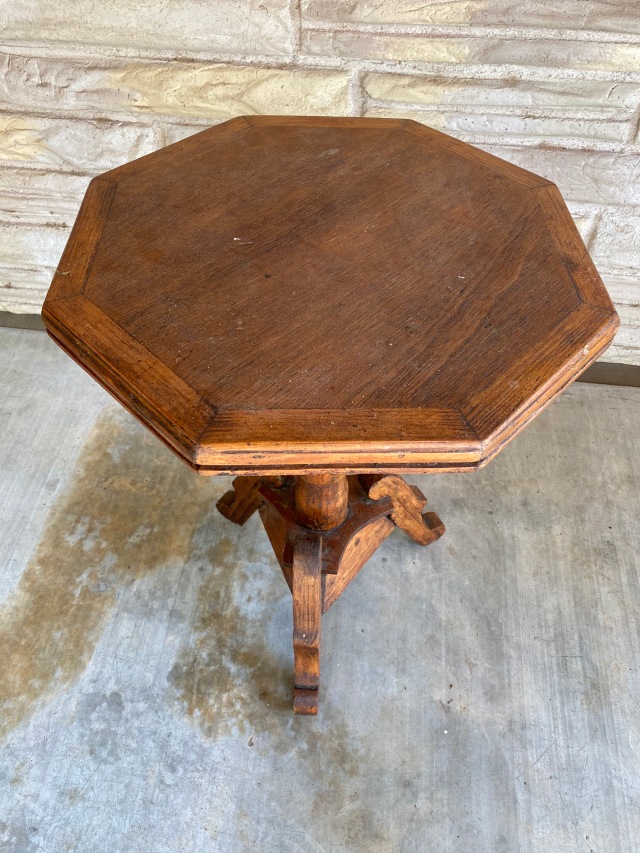
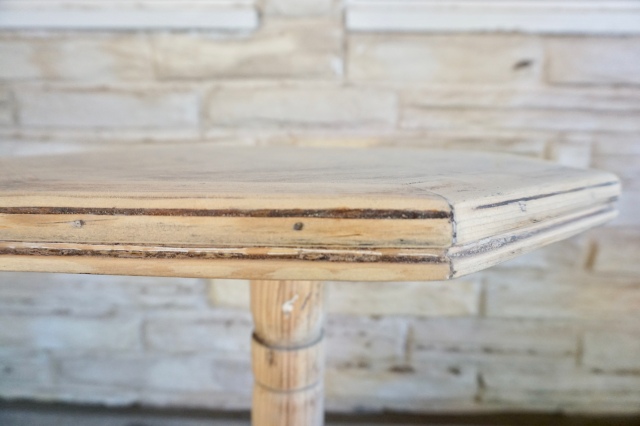
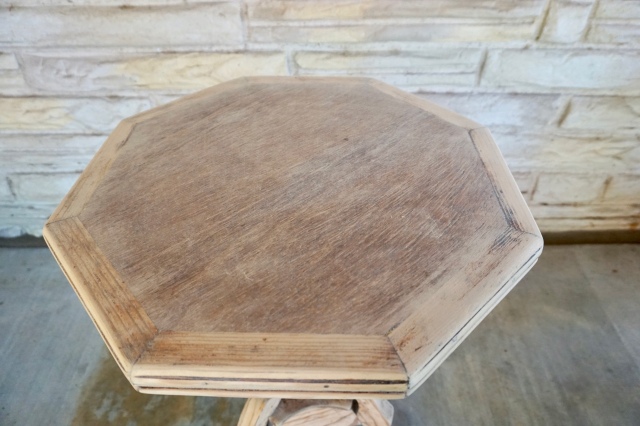
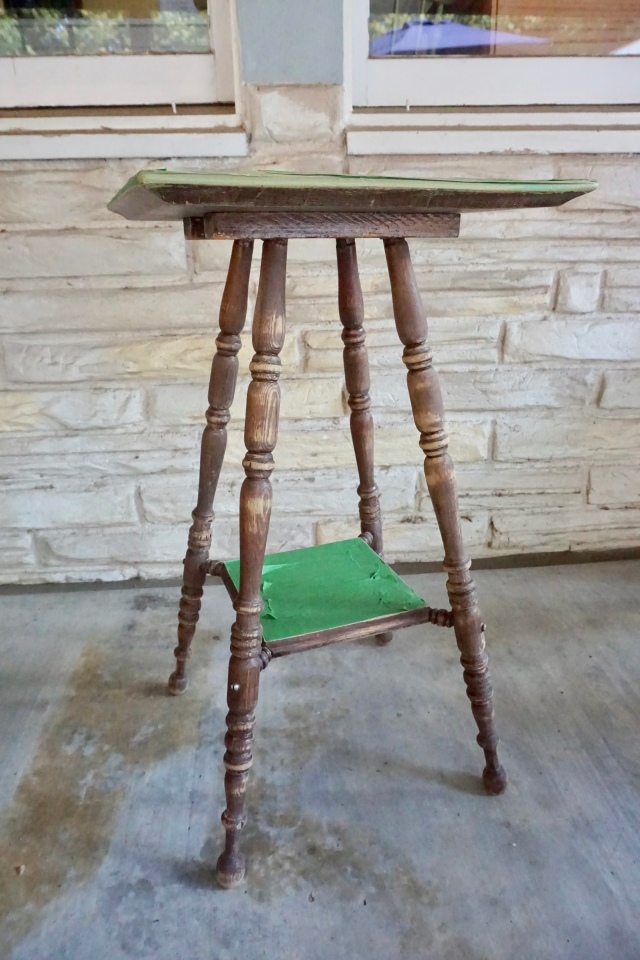
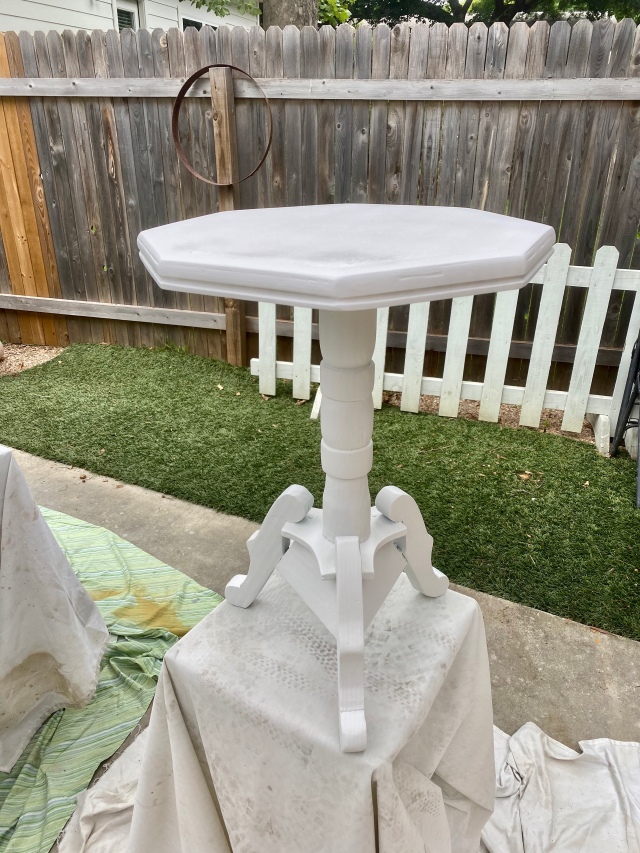
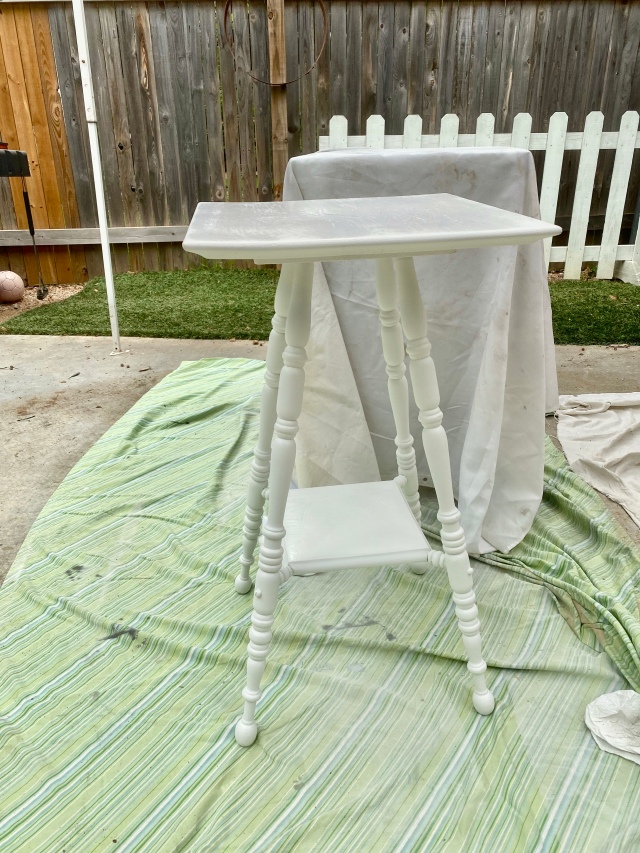
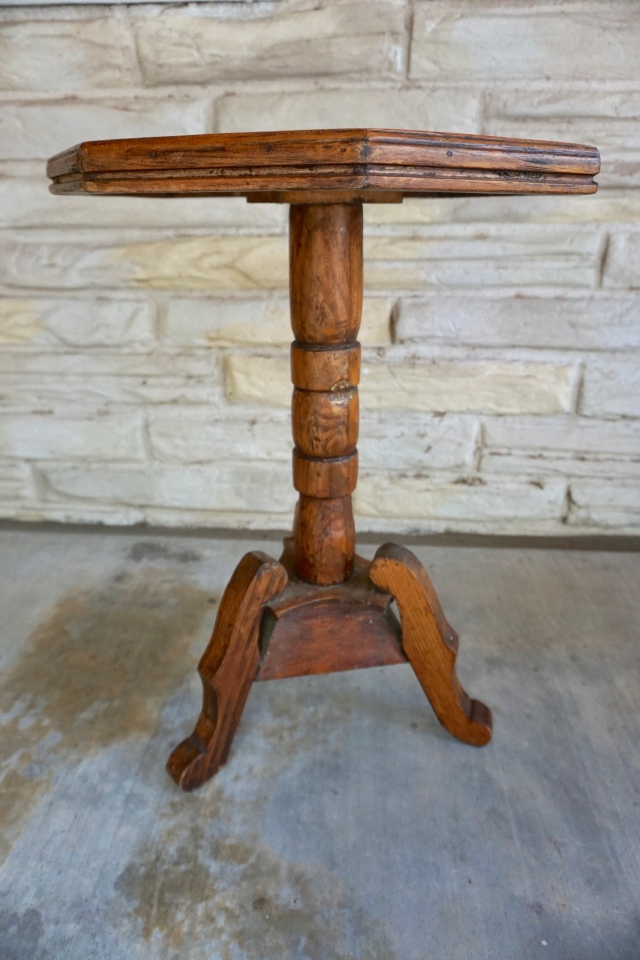
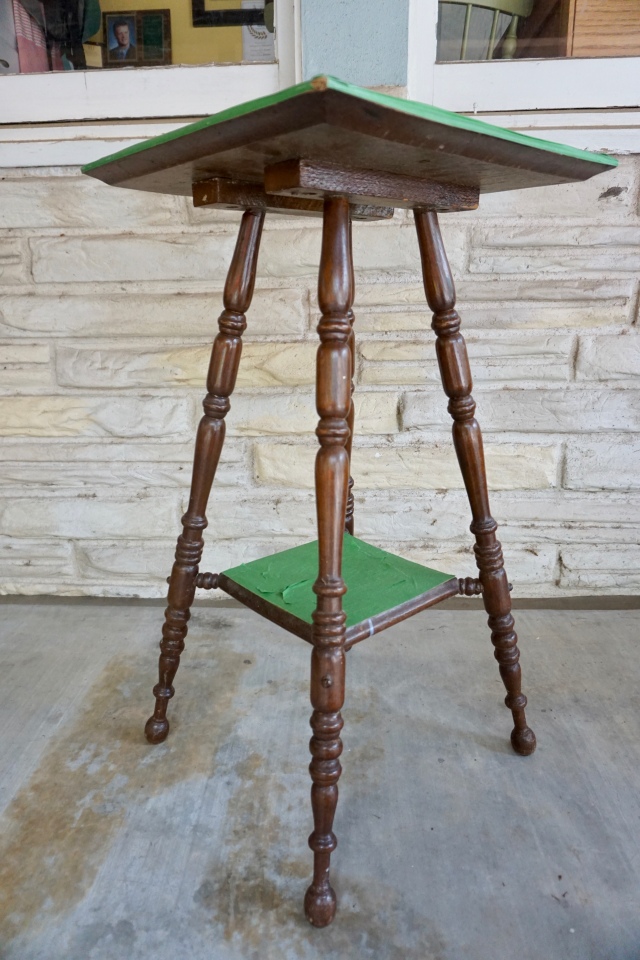
The first table is a small pedestal table with an octagon shaped top and cove detailing around the top’s edge. The second table is a parlor table with gorgeous turned spindle legs and lower shelf. Both had a medium to dark brown stained finish that was dated and tired. The parlor table’s top and shelf are taped off in the photos above because the day my dad dropped off the tables, Andrew immediately started to sand it to get a jump start on the project. At that time I thought about staining the top and shelf and painting the rest, but ultimately decided against it. So I don’t have a true before picture for you but just imagine more of the same wood finish on the top and shelf. Fast forward a few months and we finally circled back to refinishing the tables.
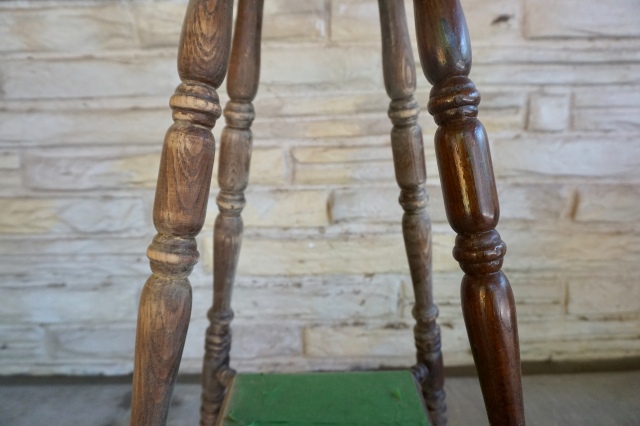
When I first laid eyes on the tables, I had this vision in my head of sanding down both tables and just sealing the wood with a clear polyurethane since I’ve been really into light/blonde wood tones lately. After inspecting the tables, the wood was not of great quality and since they were previously stained, it would have taken me a looooonnngg time to sand them down to bare wood. I did end up sanding down most of the octagon table to bare wood, but the parlor table has such intricate legs that I would have been able to write this post in approximately 4-5 years. Also, the octagon table had some damage to the pedestal that had previously been patched which would not have looked good clear coated (or even stained).
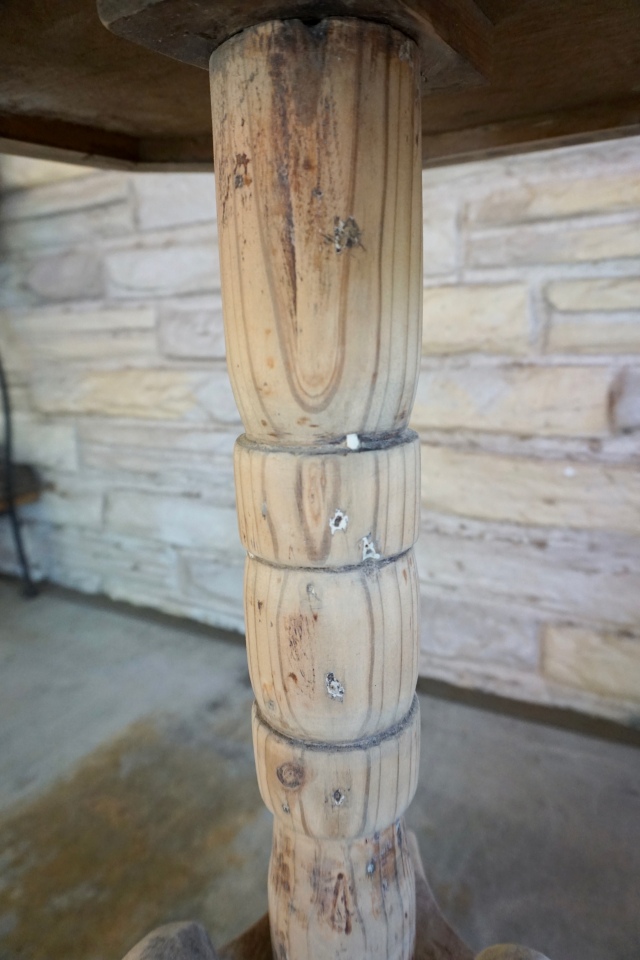
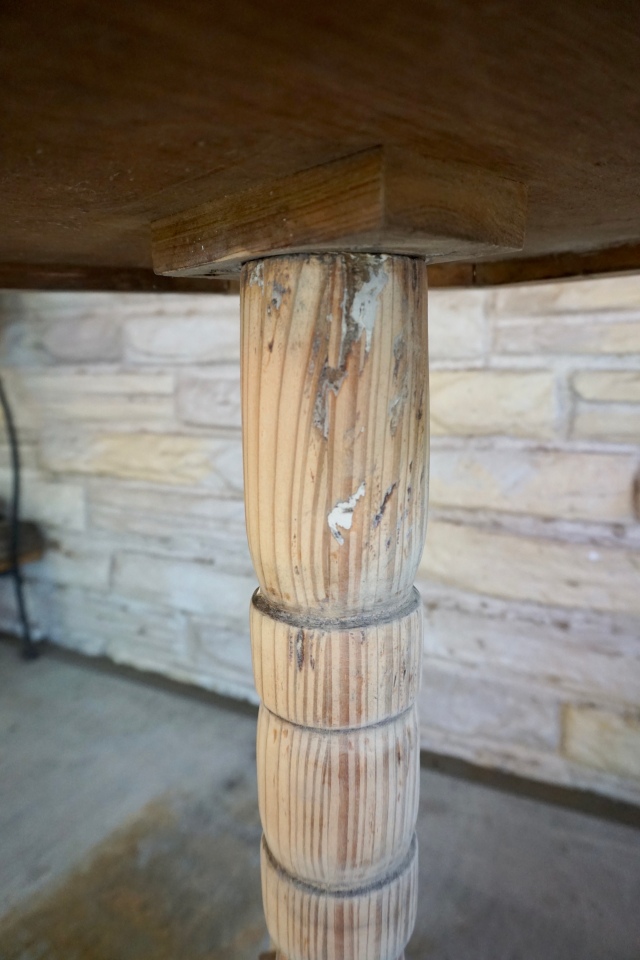
All of the white spots above are where the pedestal was patched and polyurethane and stain would have only highlighted those areas. So, after coming to terms with the facts, I decided to paint both tables. Now, I can not stress enough how important prep work is. The better you prep your furniture, the easier the finish will go on and the better it will look. The prep by far takes the longest! If you put in the work up front, the painting step will be a breeze. Here’s the process I used:
Step 1: Sanding
I started sanding the tables with our orbital sander on all of the flat parts. I was able to sand the tops of both tables (the parlor table done previously), the lower shelf on the parlor table (done previously), and a good majority of the pedestal leg of the octagon table (since its chunky, most of the parts had a large enough area for the orbital sander to take off most of the finish).
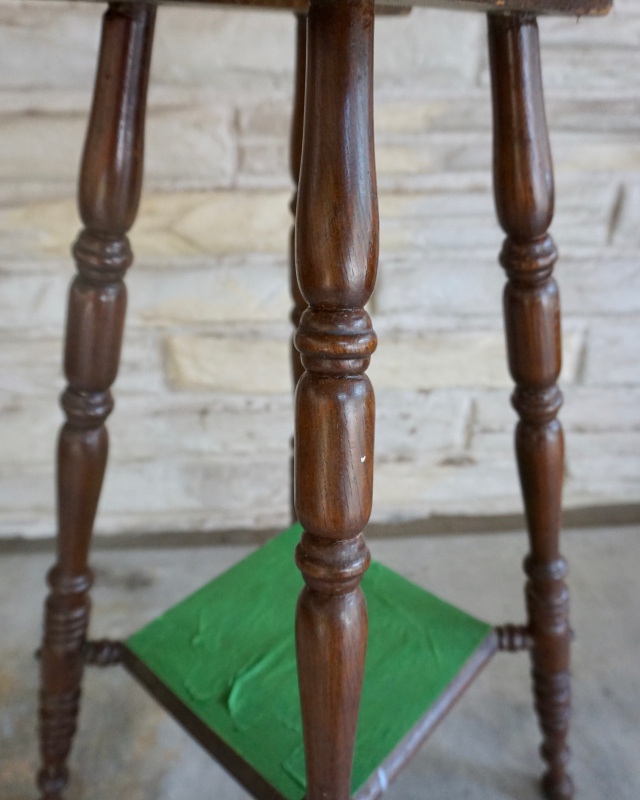
Next, I used strips of sandpaper and good ol’ fashioned elbow grease to sand the rest. As I mentioned earlier, this was the longest part by far. I used 120 grit sandpaper first, then went over it with 325 grit sandpaper. I’m not a huge fan of the way sandpaper makes my skin feel after using it, so I usually wear a glove on my right hand while sanding. As you can see in the photo above, there is still plenty of dark stain left on the parlor table. But I was able to remove the shiny finish so the primer could easily adhere to the legs. And I did my best to get into every nook and cranny in those spindly legs – its all about patience.
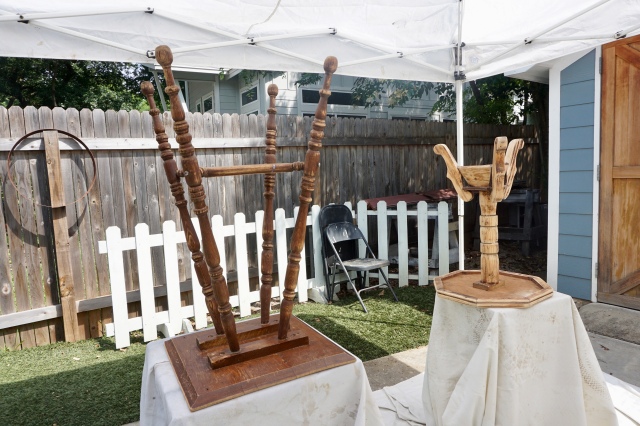
Here’s how the tables looked after they were sanded:
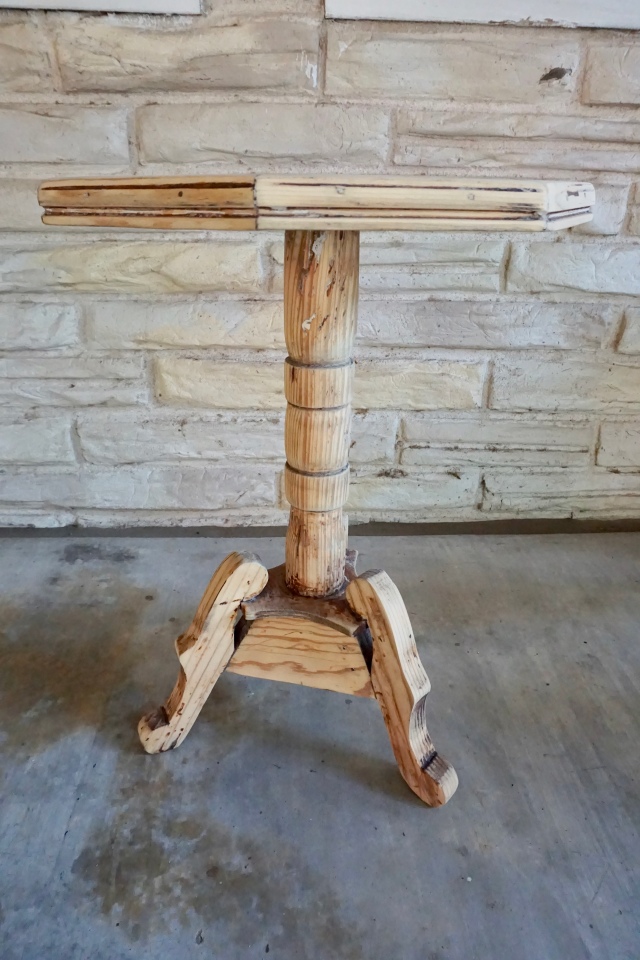
After I finished sanding, I wiped the tables down with a wet microfiber cloth, let them dry a few minutes, then wiped them down with a tack cloth. The tack cloth is covered in a very sticky residue – thats how it gets all the tiny pieces of dust and sand off surfaces. However, it does not feel the best on your skin and I usually have to use mineral spirits to get the residue off of my fingers, so this time I wore disposable latex gloves and it worked great. I don’t know why I haven’t tried that before. Probably because I’m so eager to get to the next step that I never stopped to think about it. Just giving you a heads up. After the tables were sanded and cleaned, it was time to prime.
Step 2: Primer
Anytime you are painting raw, or sanded, wood, I highly recommend using a primer before you paint. It helps keep the wood from bleeding through the paint (especially with light colors) and helps the paint to adhere for a smoother finish. Again, the more prep you do, the easier the paint step will be. I chose to spray the primer with my Critter siphon gun. I’ve talked about this sprayer before but its a great inexpensive investment if you are in the market for one. Its easy to use (you do need a compressor), very easy to clean (can’t stress that enough!), and doesn’t produce much odor or overspray. This is not sponsored, I bought this with my own money, and just really love the job it does. Its great for smaller projects like this, I only had to refill the mason jar one time.

I sprayed the primer (just a generic Sherwin-Williams white primer – its what we had already) onto the tables starting with the legs first. I started with them upside down so I could cover every crevice – it was just easier to see everything this way. This also allowed me to spray the primer from two different directions (angled toward the top of the table when they were upside down and angled away from the top of the table when they were right-side up) which helped to ensure coverage everywhere. When I was done with the legs, I let the tables dry about 20 minutes (the primer dried pretty fast), then I flipped the tables over and primed the rest. I sprayed two coats of primer on each table, then allowed the primer to dry for a few hours before painting.
Step 3: Painting
Once the primer was completely dry, it was finally time to paint. Just for reference, I completed this project in a weekend, sanding and prepping on Saturday, then priming and painting on Sunday (which included a trip to the store to pick out my paint – what else was I going to do while waiting for the primer to dry?!). Again, I used my Critter siphon gun and started with the tables upside-down to ensure even coverage and to get into all the nooks and crannies. The painting step was definitely the quickest and I was able to apply two coats in about half the time it took to prime. (Prep work is key!)
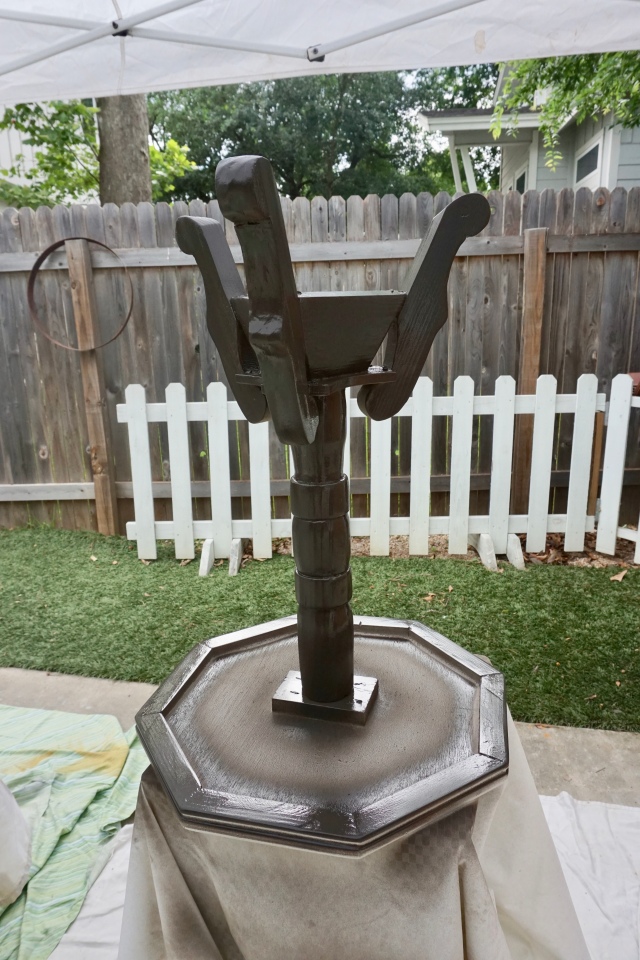
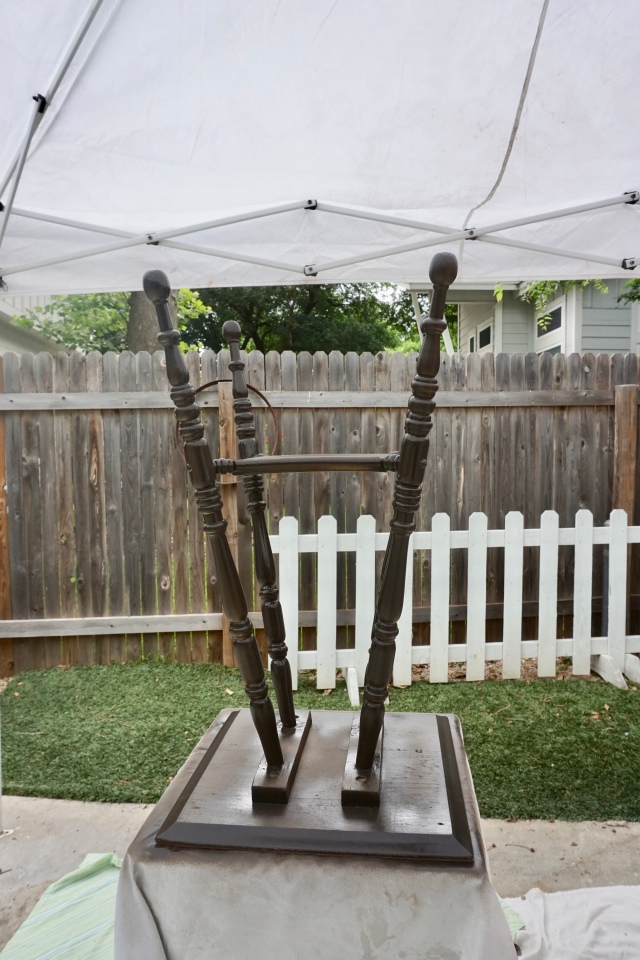
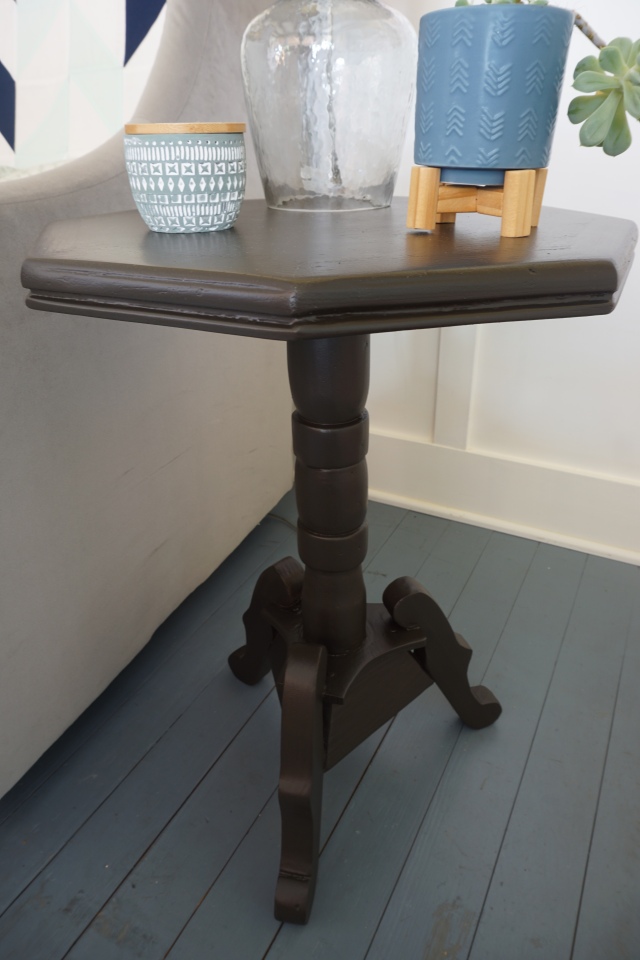
The paint I chose for the tables is Stealth Jet by Behr. I used Behr’s premium plus line in an eggshell finish. And to be honest, when I first started to paint, it looked brown and I thought they had mixed the wrong color. Luckily when it dried, it was much closer to the color I remembered from the paint chip. The pictures above were taken before the paint dried so you can see how it looked more brown than black. I would describe the color as black-ish. Its a sort of a muddy, muted black that can read slight brown in different lights. But its exactly what I was going for so I’m happy with how the color turned out.
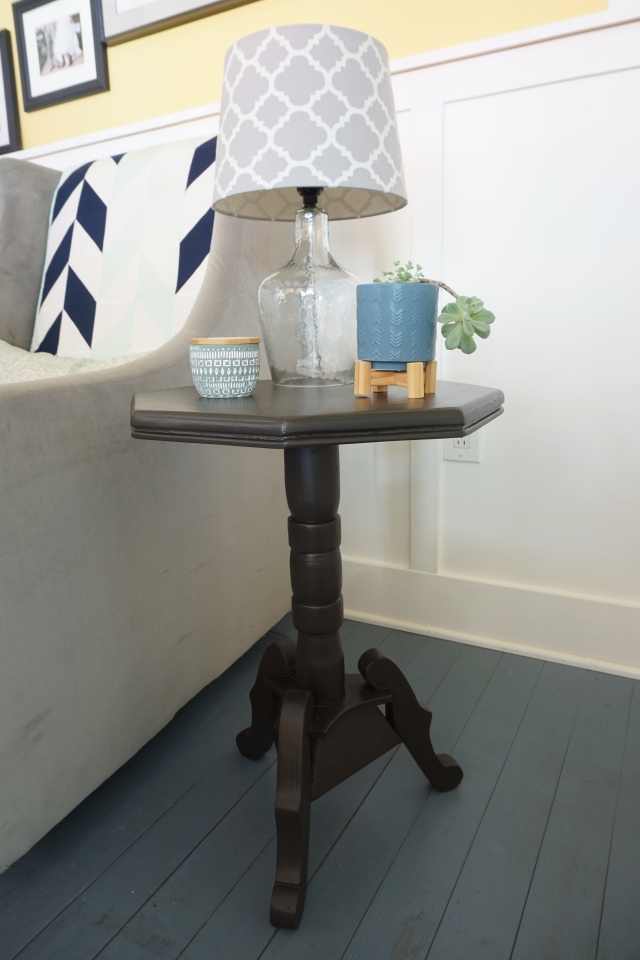
Here’s how the tables look now that the paint is dry. Not so brown, right?
And just for fun, lets revisit where we started. We’ll start with the octagon table.
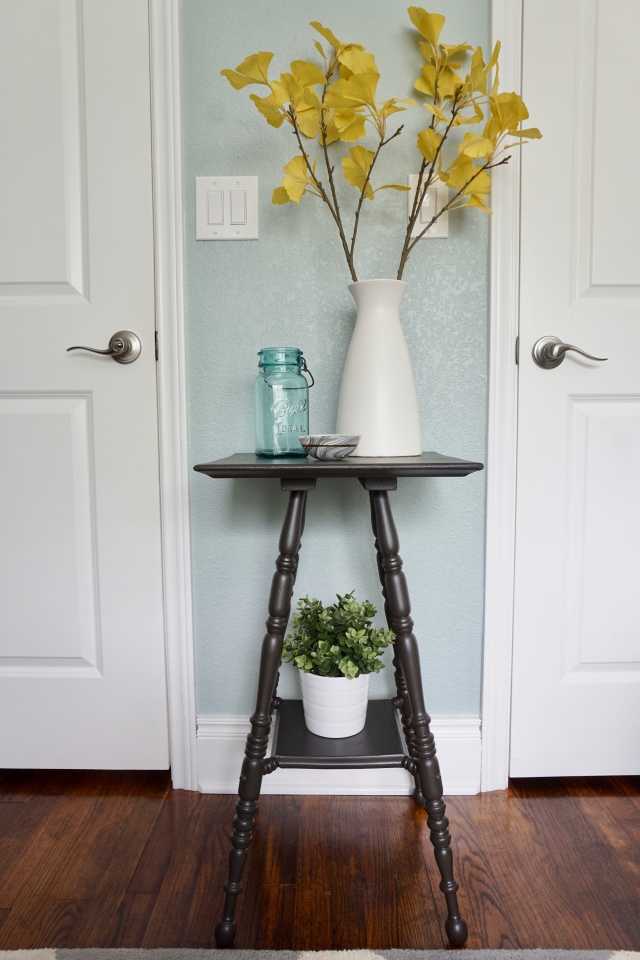
And here’s the parlor table:
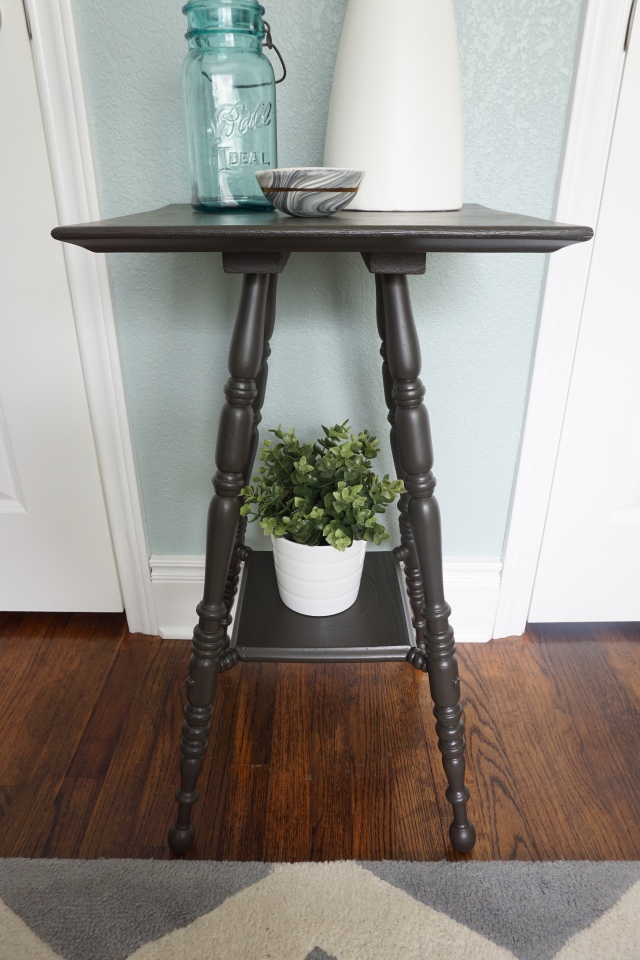
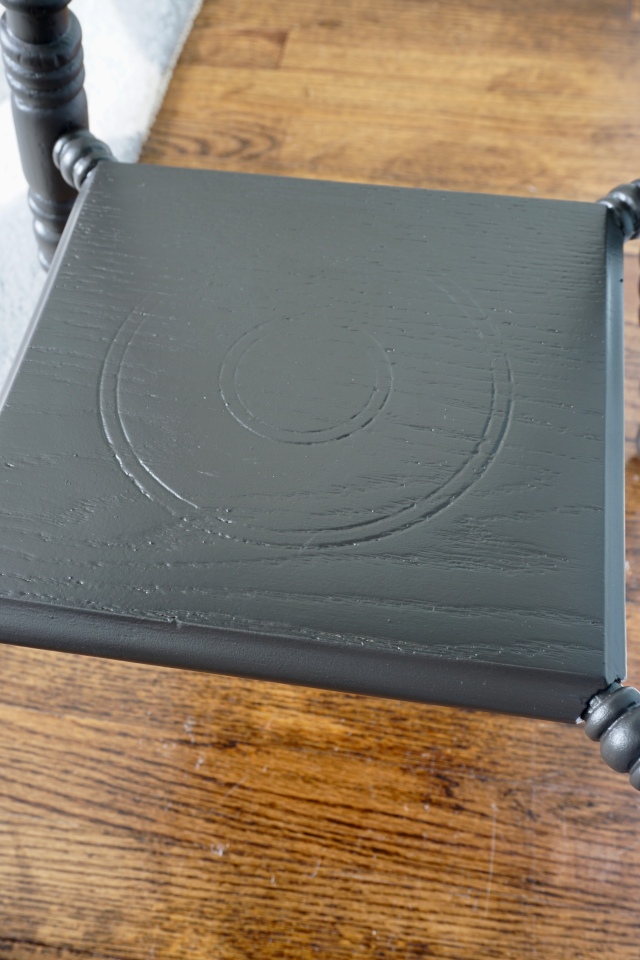
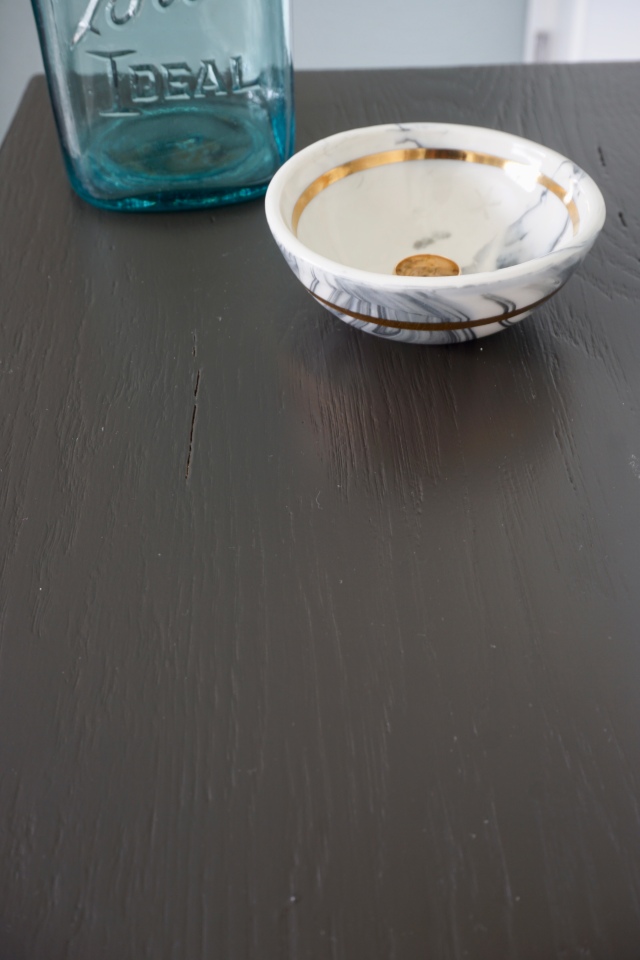
Is that little shelf not totally meant to be a plant perch?! She was just begging me to put a plant on her – even if it was a fake one. That shelf even has a circular pattern carved into it, further convincing me it was made to hold the perfect plant. And I love how you can still see the wood grain through the paint. It gives the tables a little added texture while the black paint modernizes them a bit.
How do you feel about black painted furniture? We have a black stained dresser in our Master, and I painted this dresser black for my sister. With these tables, I guess you could say I’m on a black painted furniture kick!

Thanks for following along! Do you have any furniture projects going on? You can always connect with me on instagram (@elleandjaydesign) to share your DIYs and see sneak peeks of my latest projects.
Sources
- Paint: Stealth Jet by Behr
- Lamp base: Target
- Blue planter: Target
- Candle
- White vase: West Elm
- Ginkgo stems: Crate & Barrel
- Ball Jar: Antique
- Marbled bowl: Made by Eliana
- Plant and white planter: Ikea


Love the tables
You did a beautiful job!
Thank you!