

Hi guys! If you’ve been reading this blog for any matter of time, you know I love a good transformation. So today, I have another makeover for you (I know, two weeks in a row?! You are in for a real treat), only its not a furniture makeover, its a vase makeover. Yup, you read that right. I’ve seen this update done before and most recently I saw it on @jolielaidedesigns instagram stories and I had to try it. Several weeks went by after watching that instagram story and I finally gathered the necessary materials and gave it a go with an old vase. And it was a total fail – I made one small, but critical error that I was able to correct, but in my frustrated state I turned to the internet to find a tutorial (clearly I needed help) to steer me in the right direction. And do you know what I found? Nothing. I found beautiful photos of updated vases but no articles with instructions on how to accomplish the makeover. So, I am here today to offer a tutorial on how to update an old vase so you can accomplish this makeover with ease.
This all started because several months ago I was cleaning out some cabinets in my laundry suite and I came across some vases that haven’t been used in years. I finally decided to donate them and even offered them up on our neighborhood Buy Nothing Group but it turns out no one else needed old vases either. So I kept the vases in a pile along with a few other random items that I planned to take to Goodwill. Well, then March happened and everything closed due to the coronavirus and that pile for Goodwill just sat and sat. I guess it was a sign that those vases were meant for something else. Thats what I like to tell myself anyways.
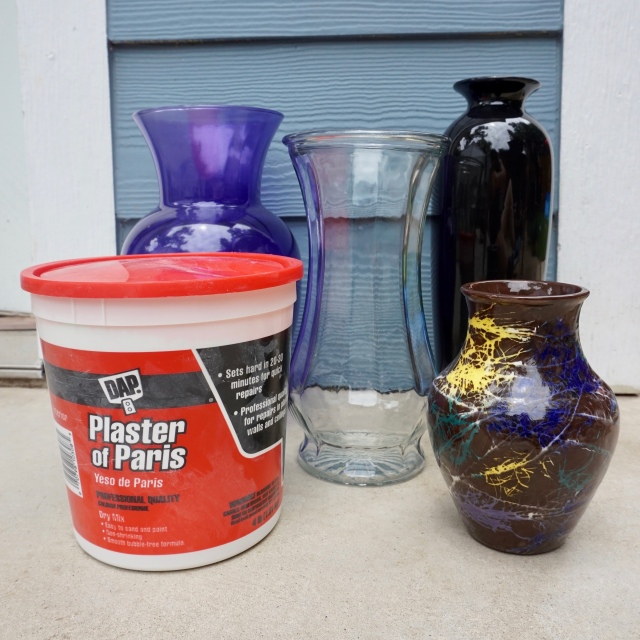
Here’s the materials need for this project:
- Vase
- Plaster of Paris mix (I bought mine at Michael’s – use a coupon!)
- Water
- Disposable cup & mixing utensil
- Foam brush
- Paint & paintbrush* (optional)
- Sandpaper (optional)
*Paint and paintbrush are not optional if your vase is glass or another smooth material. Just use what you have on hand.
I bought the 4lb tub of Plaster of Paris from Michaels (with a coupon!) since I craft a lot and figured I could use it for other projects. You can certainly buy a smaller container. For one vase, you would only need about a cup of plaster (give or take a half of a cup, depending on size), so I used less than $1 worth of plaster. If you need to buy a foam brush, that will run you another $0.78 at the home improvement store. So all in, assuming you have a disposable container and mixing utensil, you could do this project for less than $2. But to be conservative, I put less than $5 in the title of this post.
And here’s the process I used:
Step 1: Clean and prep your vase
Okay this might seem obvious, but this is where I made my critical mistake. I (and my friend Steph) had 4 vases to try this experiment on. I cleaned them and dried them off then immediately started with step 2. In order for the Plaster of Paris to adhere to your vase, the vase needs texture!! So, this will not work on a glass or smooth ceramic vase (which was precisely the type of vases I had) without some additional prep. All the vase needs is a coat of paint. Additionally, you could try roughing up the surface with sandpaper, although I did not try this myself. If your vase already has a textured finish (i.e. its not smooth), you can move on to step 2.
If you do have a smooth vase, I would recommend painting it with a light colored paint, I used a white (flat) ceiling paint for mine. Depending on how thick you apply the plaster or the look you are going for, its possible the color could show through and since the plaster is white I chose to use a white paint. If the color did show through and that was not the look you intended, you can always add another layer of plaster until you achieve your desired look. When I tried to apply the plaster without painting first, the plaster had nothing to ‘stick’ to, so every time I brushed some on, it just took off what was already there. Please don’t make the same mistake I did!
Step 2: Mix and apply your plaster
This next step is a sprint to the finish line. The plaster dries super fast, so make sure everything is set up and ready to go before starting this step. To mix the plaster, mix 2 parts Plaster of Paris and 1 part water in a disposable cup (or any plastic container from your recycling bin). I used a disposable solo cup and a plastic knife to mix my plaster. I found that a half of a cup of plaster and a fourth of a cup of water was a good amount to work with at one time (it hardens in less than 10 minutes). Mix the plaster until the mixture is smooth and the consistency of pancake batter. If you mix a large quantity, it will start to harden before you can use it all. Then, use a foam brush to apply the plaster to the vase, overlapping strokes as you go. Apply two coats of plaster (or more!) and let dry.
Note: If you need more plaster, mix a new batch in a new disposable cup. I tried adding more water to a plaster mixture that was starting to harden and although it thinned out the mixture, it started hardening so fast it was impossible to work with.

Before 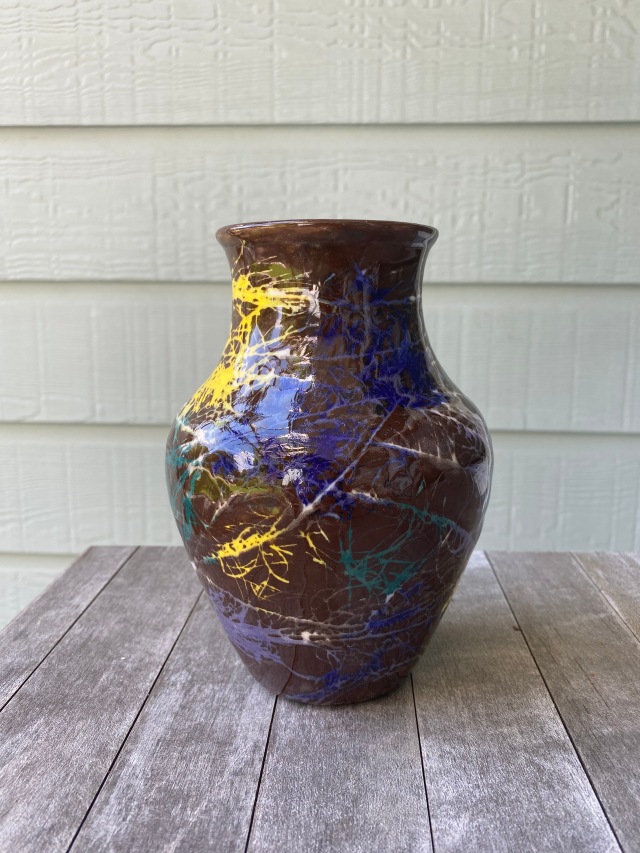
Before 
Before 
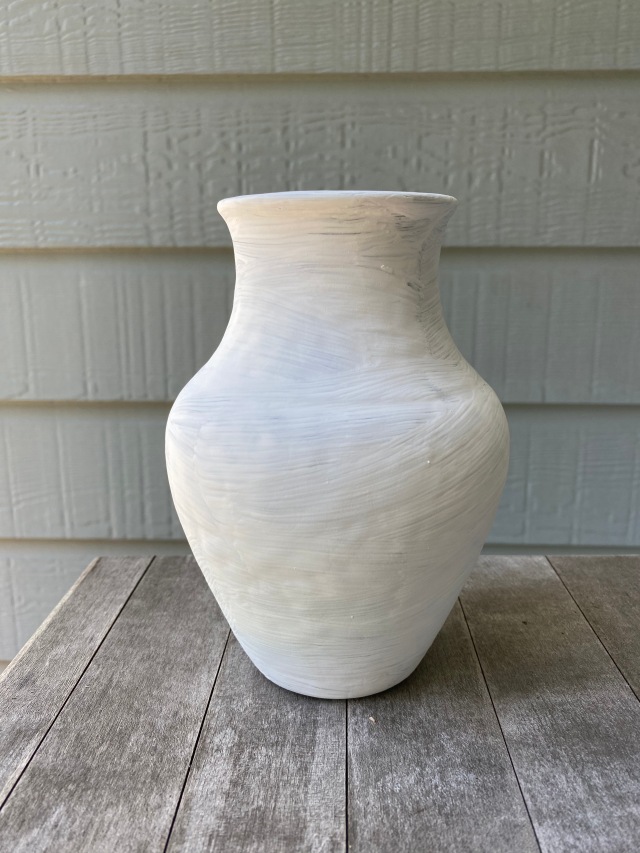
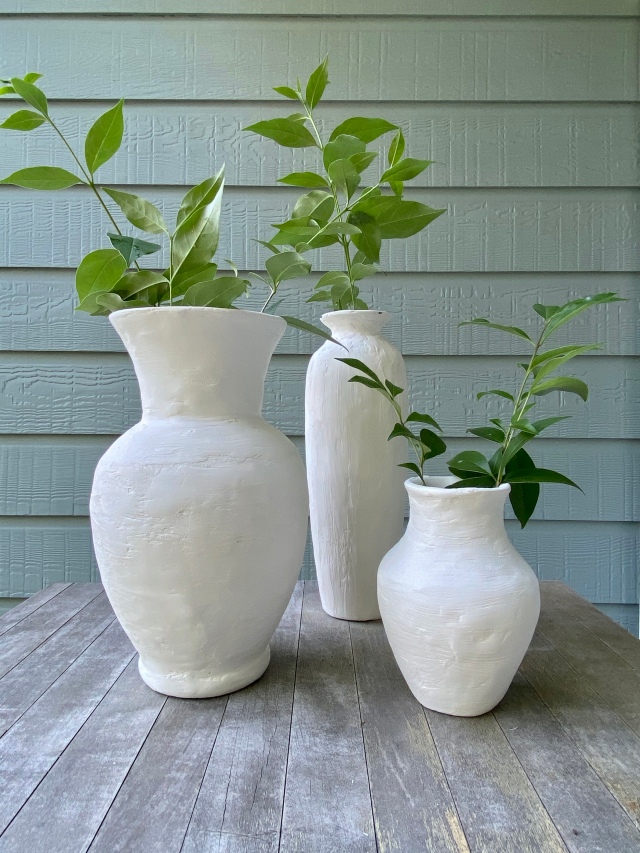
After 
After 
After
Step 3: Sand
I chose to sand the plaster after it dried for a smoother look and feel; it naturally has a rough finish after it has dried. I used a 220-grit sandpaper, but again, use what you have. And if you apply a little too much plaster in some places or it doesn’t dry to your liking, you can always sand it down. And thats it! This whole project takes no more than 30 minutes of hands on time (not including drying time) and is a very beginner level project.


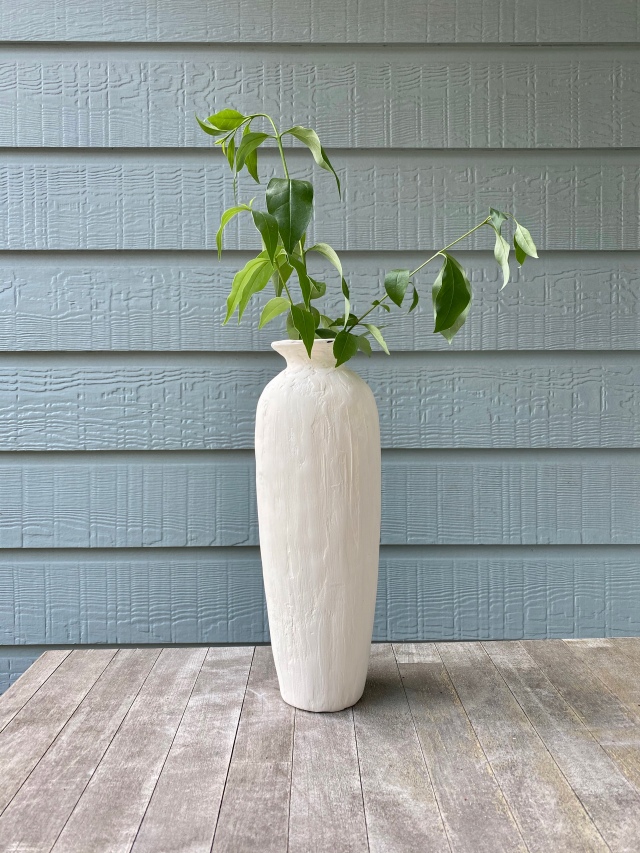
The possibilities with this project are endless. If you don’t want the final color to be white, you could paint the plaster after it dries. I’ve also seen this method used on lamp bases, and I could see it updating an old decorative bowl or decorative tray too. This is also great for unifying a group of objects. If you have several mismatched vases and want to display them together, why not give Plaster of Paris a try?!
I’d love to see pictures if you try this yourself. You can always comment below or connect with me on instagram @elleandjaydesign.


