Hi ya’ll! If you’ve been following along for any amount of time, you probably know we have ONE bathroom in our house and most people would consider it small, at best (you can read about it here and here). Well, it turns out we aren’t the only ones with small bathroom problems. We were recently asked to help a family member update their small bathroom with a new vanity.
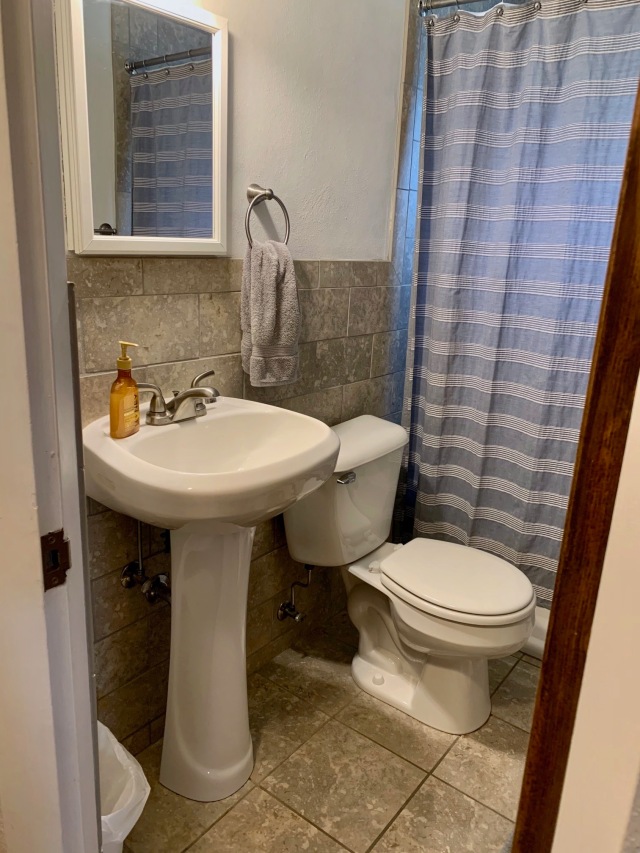
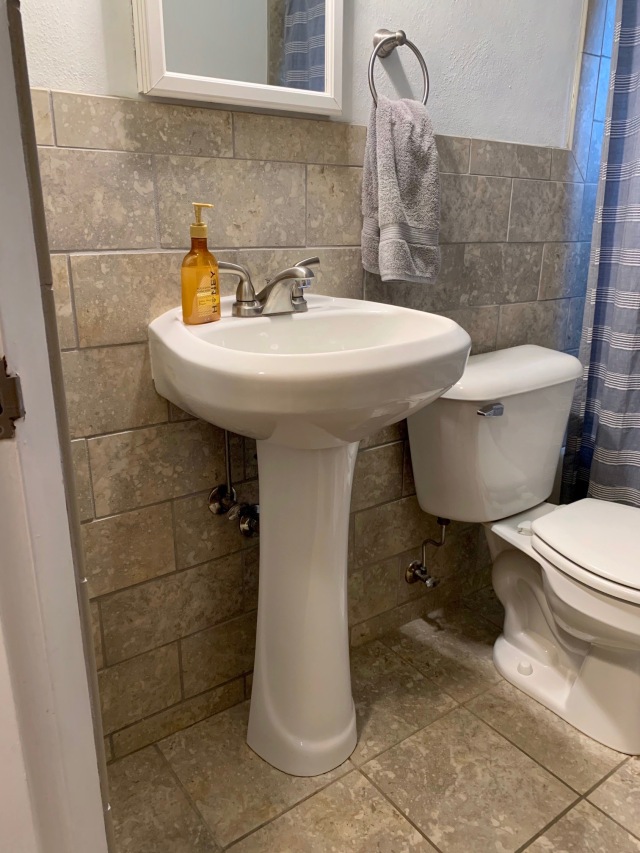
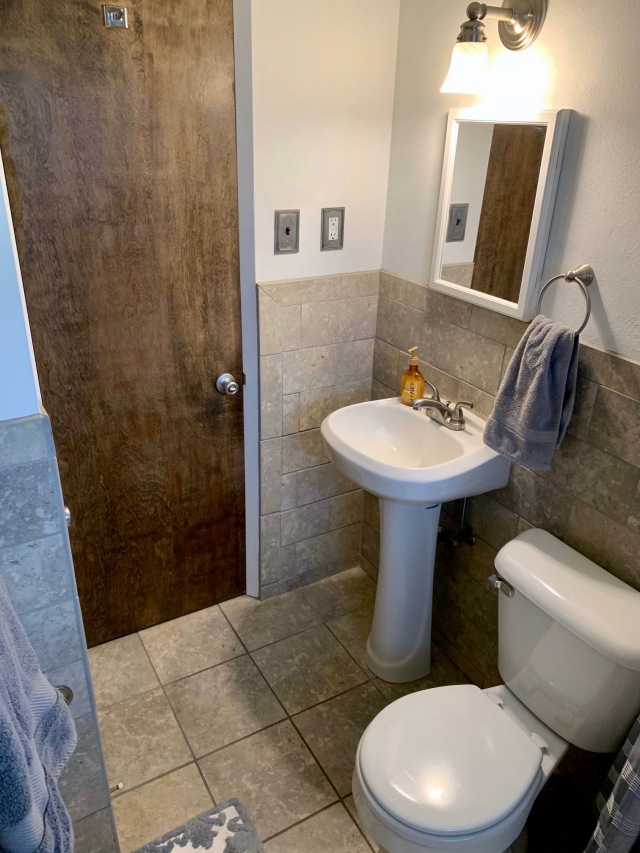
Currently, the 7.5′ x 5′ bathroom has a pedestal sink with no countertop space and no storage capacity, so after living with this bathroom for almost 3 years, Sam and Ellie (the homeowners) decided to upgrade the pedestal sink to a vanity cabinet with a sink and much needed countertop space. Naturally, they started scouring the big box stores and online retailers for the perfect piece, but they ran into one glaring issue: the depth of the space they are working with (to put the vanity) is only 17 inches (and some change), which is most likely the reason it has a pedestal sink to begin with.
In case you haven’t been vanity shopping lately, let me remind you that the standard depth for a bathroom vanity cabinet usually runs 20-21 inches. Some manufactures make narrow depth options, but even those have a minimum depth of 18 inches, which is just slightly too deep. Now, there are very narrow options at retailers like IKEA and the like, but then we are talking 9 inches deep and there’s not much countertop space with those options, so they kind of defeat the purpose. I’d be like your bathroom having the same sink set up as an airplane lavatory – not really the ideal situation.
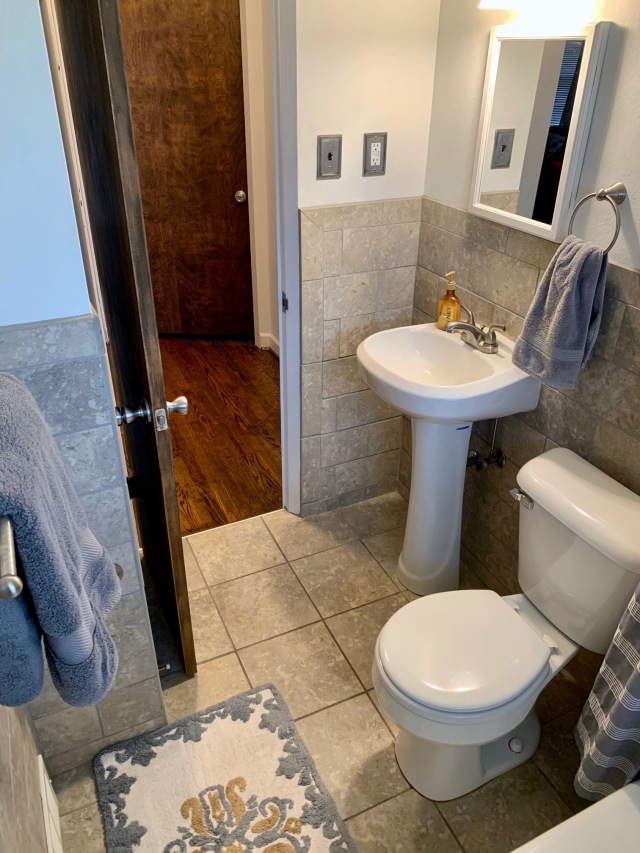
Just look at all that space surrounding the pedestal sink that could be used for storage! That whole corner of the bathroom is not being used efficiently. After exhausting all of their options searching online, Sam and Ellie turned to Andrew and I and asked if it would be possible for us to custom build something to fit their space. And you know we like a good challenge, so it was a resounding “Yes!” We started to research different options for sinks and countertops, knowing we would construct the vanity cabinet from wood in our shop. The criteria for the bathroom vanity is:
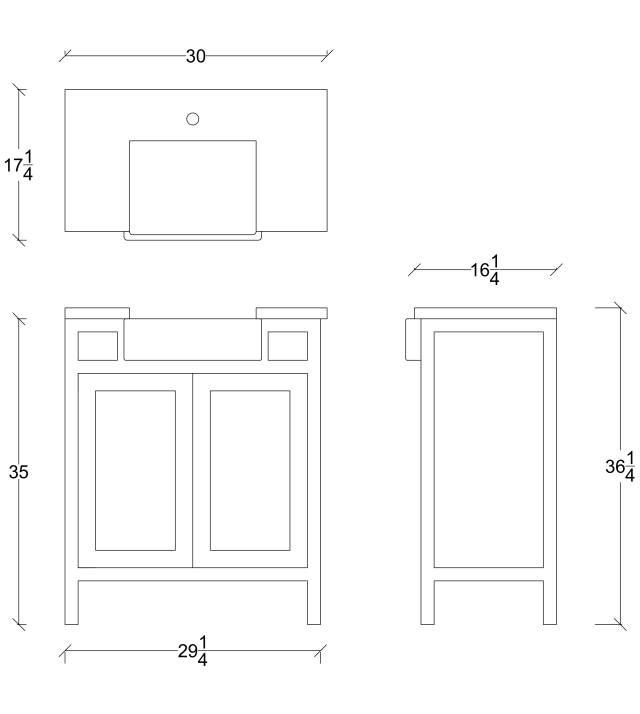
- Approximate size: 30″ W x 17″ D x 36″ H
- Stone or concrete counters preferred, but open to wood options as well
- Drawer storage
- Maximized countertop space
- Painted white finish for the vanity cabinet
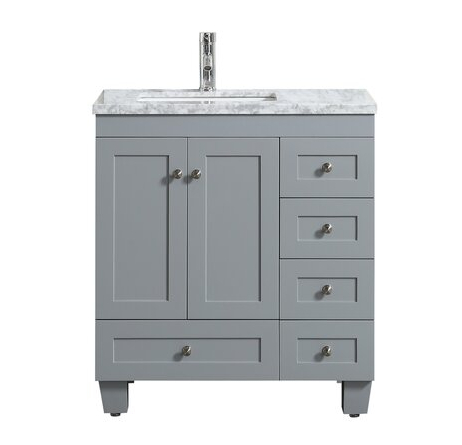
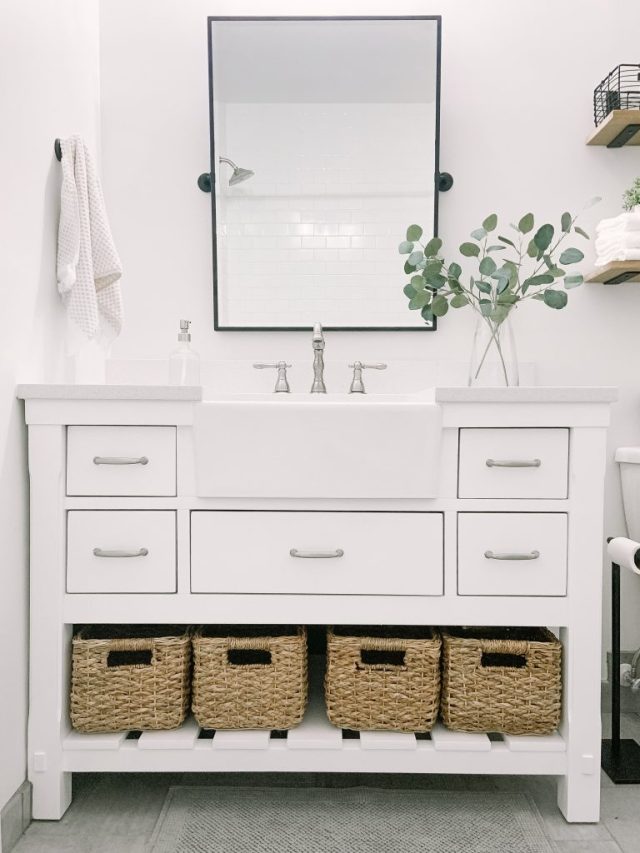
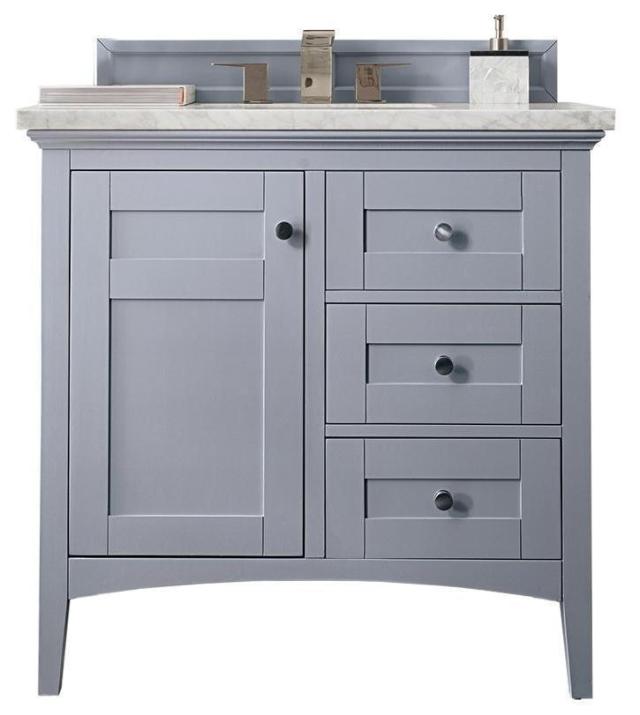
Before starting my research, I searched Pinterest for a few inspiration photos. They all have a clean, modern feel; a few with that shaker style cabinet door that the homeowners like.
- (1) Cleeve Single Bathroom Vanity Set
- (2) Modern Farmhouse Vanity
- (3) Palisades Single Bathroom Vanity
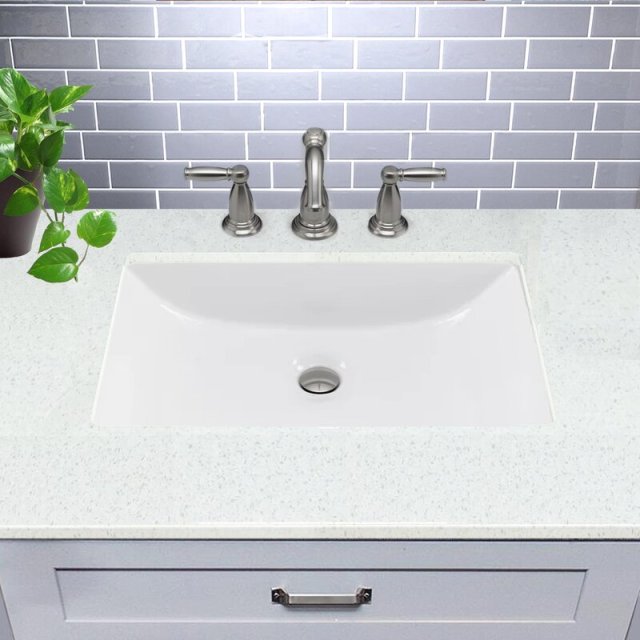
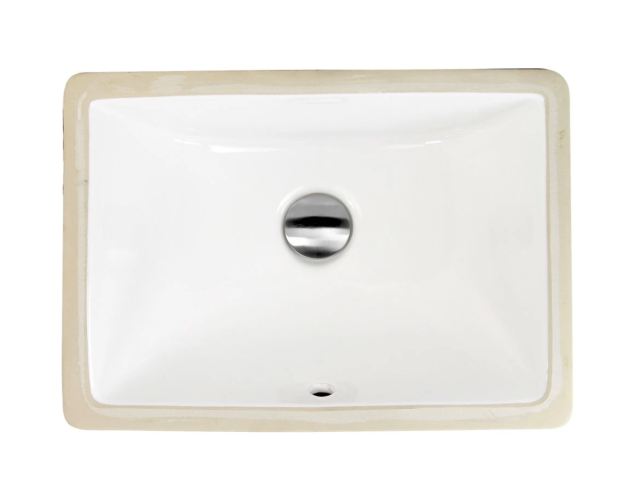
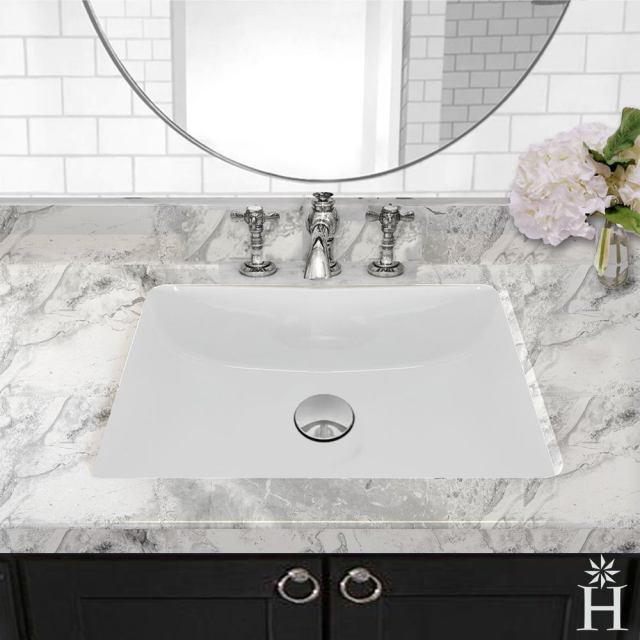
First I explored the under-mount sink option. An under-mount sink sits underneath the countertop and attaches to the underside of the countertop. This means there is no rim or lip around the sink giving the vanity top a very clean look.
I found a few petite options for under-mount sinks, but even the smallest ones I could find were nearly 11 inches wide (from front to back), which only left 6 inches of countertop remaining for our 17 inch maximum width of the countertop. That would mean there would be 3 inches of countertop behind the sink and 3 inches of countertop in front of the sink (which is about the minimum you want to go to not jeopardize your countertop being weak at that spot and potentially cracking or breaking). And it’s possible to fit a faucet in that 3 inch space of countertop behind the sink, but not ideal.
- (1) Great Point Ceramic Under-mount Sink
- (2) Nantucket Ceramic Under-mount Sink
- (3) Highpoint Collection Petite Ceramic Sink
This setup would actually be great in combination with a wall-mounted faucet, so I went down that road as well. Unfortunately, the wall behind the sink is currently tiled, so to change the plumbing to account for a wall mount faucet would require more than just a little drywall patching. Removing tile and rearranging plumbing was not in the budget or scope of this mini-bathroom update, so this idea was quickly dismissed.
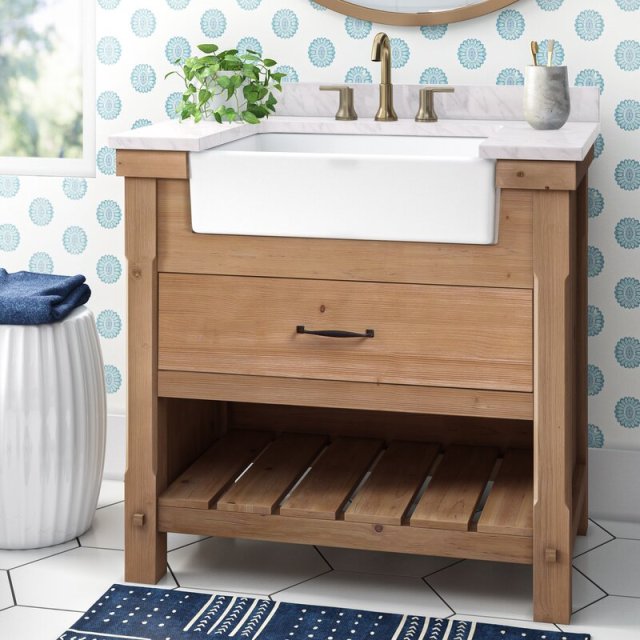
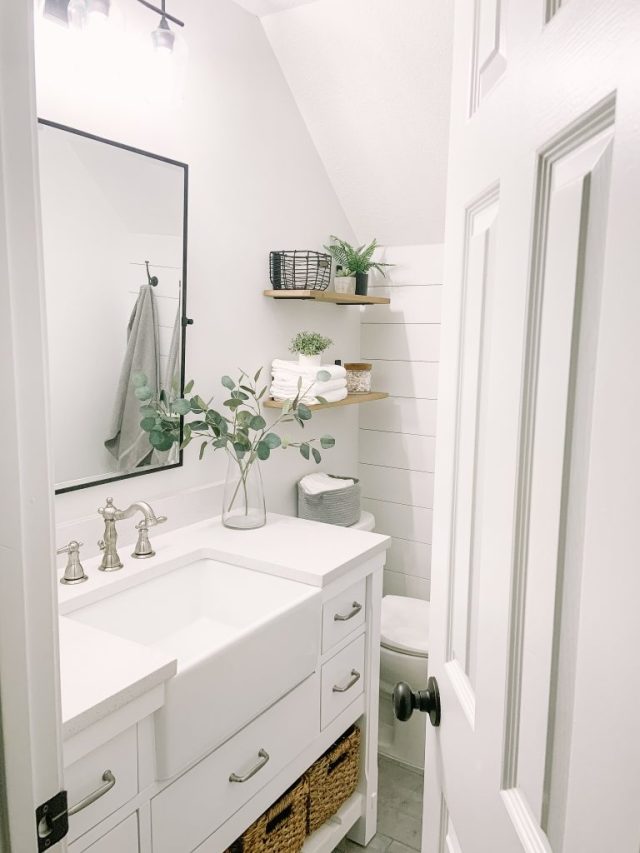
Once I exhausted all of the under-mount sink options, I moved on to the idea of a farmhouse sink. We have a farmhouse sink in our kitchen (which I LOVE) but I’d never really thought about one for a bathroom application before this. But once I started to look at the options, it started to make more sense. Since a farmhouse sink sits flush with the front edge of the countertop, whatever it’s width was, the remaining countertop width would all be allotted to the portion of countertop behind the sink. So, with an 11 inch wide sink, that would leave 6 inches of countertop space behind the sink – plenty for the faucet (with room to spare). And because a farmhouse sink is a type of under-mount sink, it still maximizes the amount of countertop space on either side (as opposed to using a vessel sink which sits on top of the countertop). So then I found a few inspiration photos with farmhouse sinks.
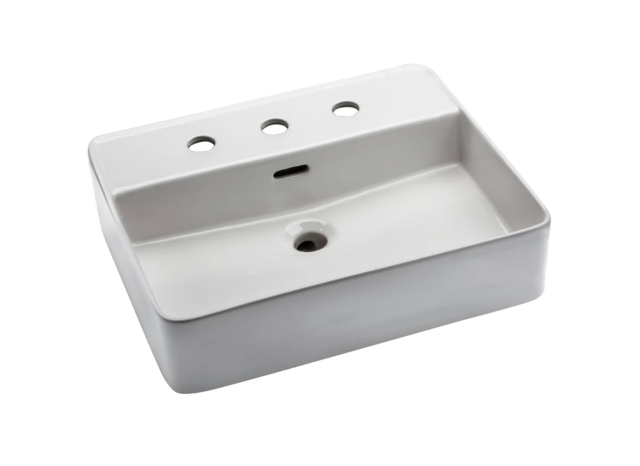
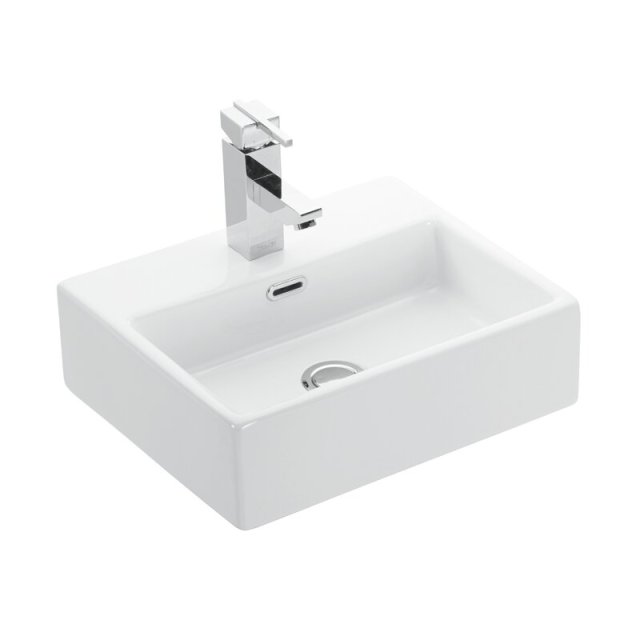
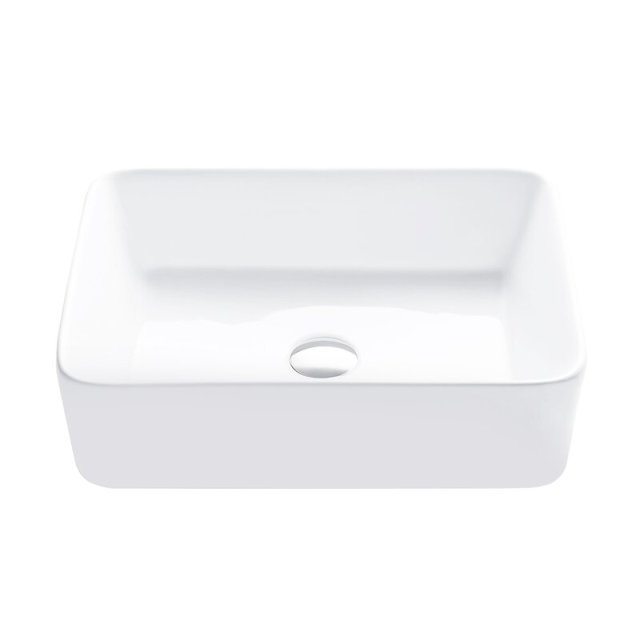
I also explored a vessel sink option, but Sam and Ellie weren’t crazy about the look and it would result in less countertop space overall so we crossed it off the list and landed on using a farmhouse sink. When searching for the perfect sink, many of them were referred to as vessel sinks, but could easily be adapted to the farmhouse installation with minimal effort (keep that in mind if you are searching for a similar sink!). I found several good options online in a variety of price points.
- (1) Mirabelle Vessel Style Bathroom Sink
- (2) Quattro Ceramic Rectangular Vessel Sink
- (3) Ceramic Rectangular Vessel Bathroom Sink
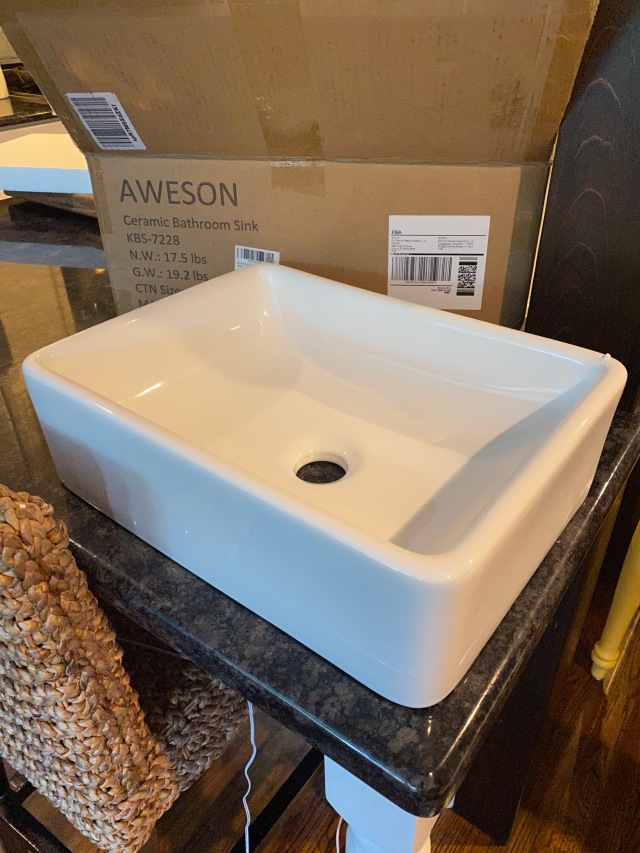
Ultimately, we decided on this Aweson sink (from Amazon, no less!) with great reviews. We already received the sink and I can attest that its a good quality product. After deciding on the sink style, it was time to start designing the vanity. Andrew and I used the measurements from the bathroom and the new sink to sketch the ideas we had for the vanity, sink placement, and countertop layout. Andrew has also been itching to pour another concrete countertop (we made and installed one in our laundry suite in 2014), so he pitched the idea to Sam and Ellie and they liked the idea too! Since we can make the concrete countertop in our shop, the cost will be much cheaper than buying stone and having a fabricator cut it to size, even if they found a remnant. I also think the concrete will look cohesive with the grayish-beige tile currently in the bathroom.
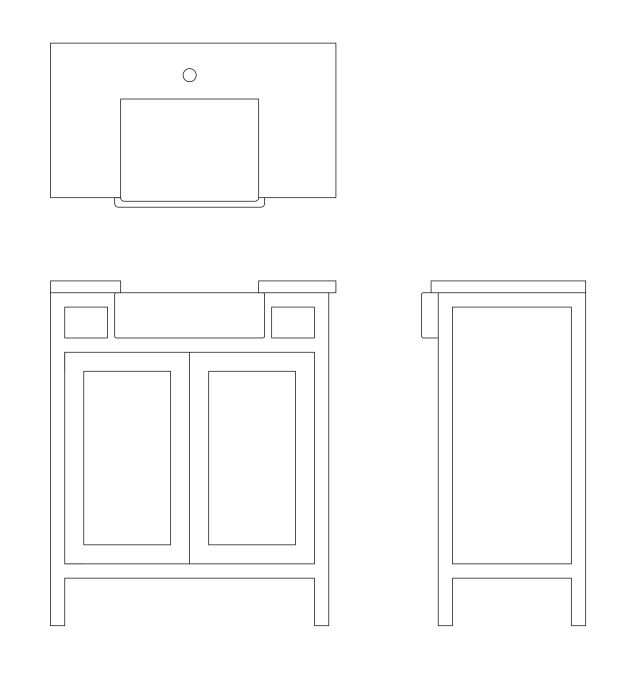
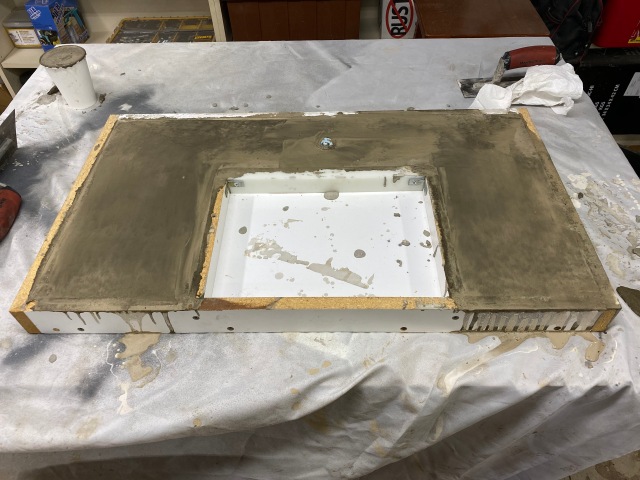
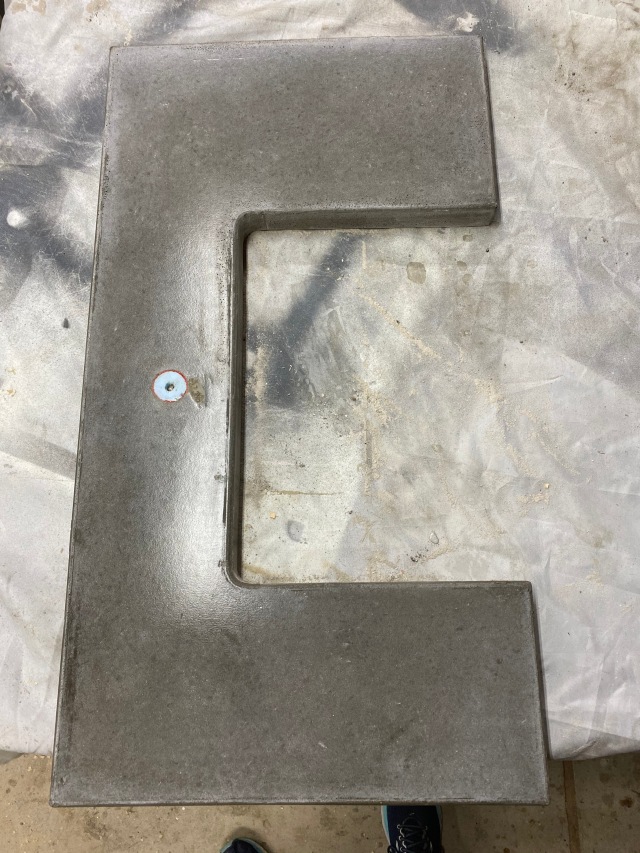
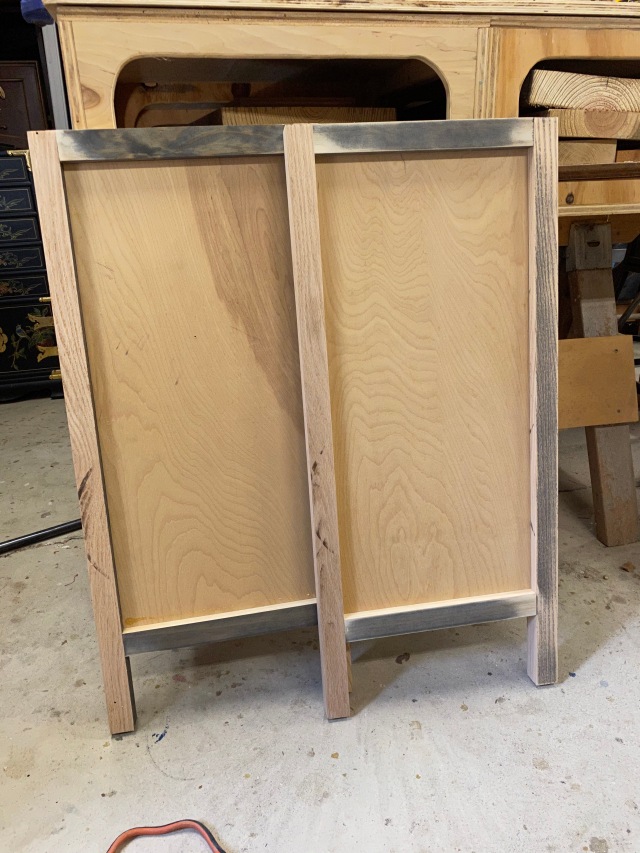
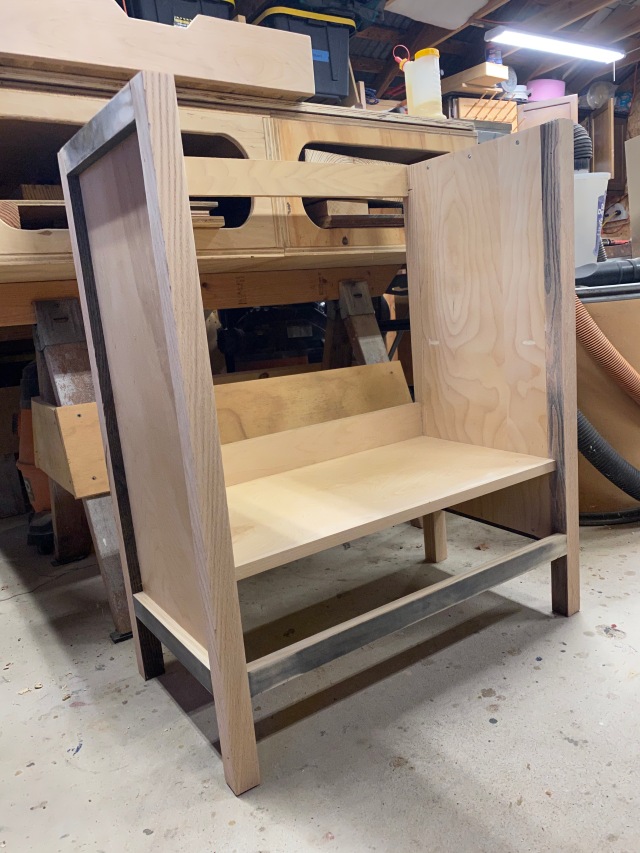
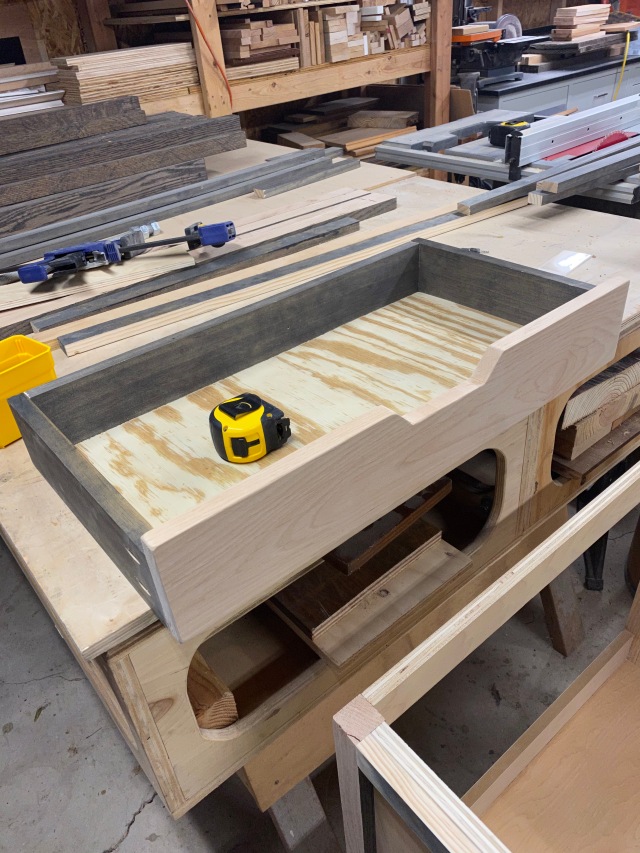
The farmhouse sink will be flanked by two small drawers with cabinet doors beneath it. Inside the cabinet doors, there will be a pull out drawer at the base of the cabinet that spans the whole width of the opening, plus a large shelf. The left side of the vanity will sit against the bathroom wall, so there is no countertop overhang on that side. I’d also like to add a curved detail under the lower horizontal piece to accent the legs and add some interest, so we’ll see what that turns out like in the end. At the time of publishing this post, we’ve poured the concrete countertop and built the base of the vanity, so here’s a few progress pics:
Concrete form + sink + concrete countertop
Vanity cabinet progress – side panels + cabinet frame + cabinet drawer
This vanity will be a clean, modern upgrade to Sam and Ellie’s current bathroom and will provide the much needed countertop space that Ellie is longing for. Besides the depth of the vanity, its actually a decent size for a single sink vanity cabinet – 30 inches wide is a standard size for most small-ish bathrooms.
We plan to purchase a new black faucet for the vanity and will add a few other black hardware finishes to make the space come together (maybe cabinet knobs or a new shower curtain rod/towel bar). We are well on our way to updating this space!
We’ll be working to finish the vanity in the next few weeks, then plan to install it in about a month – so stay tuned for a post of the finished product. And you can always follow along for real time updates on my instagram stories. What bathroom updates do you have going on lately? I’d love to hear what you’ve been DIYing recently.
Update: See the finished vanity in this post.


