

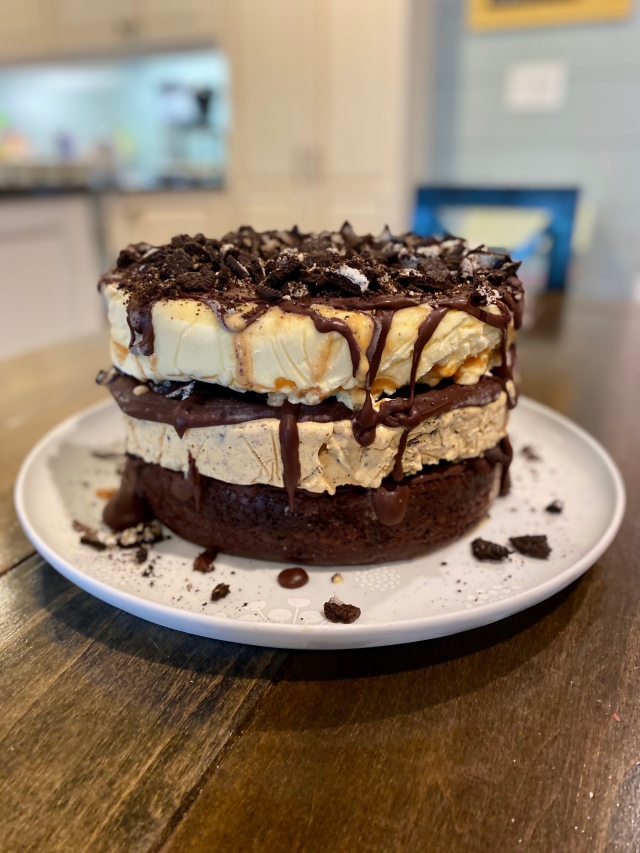
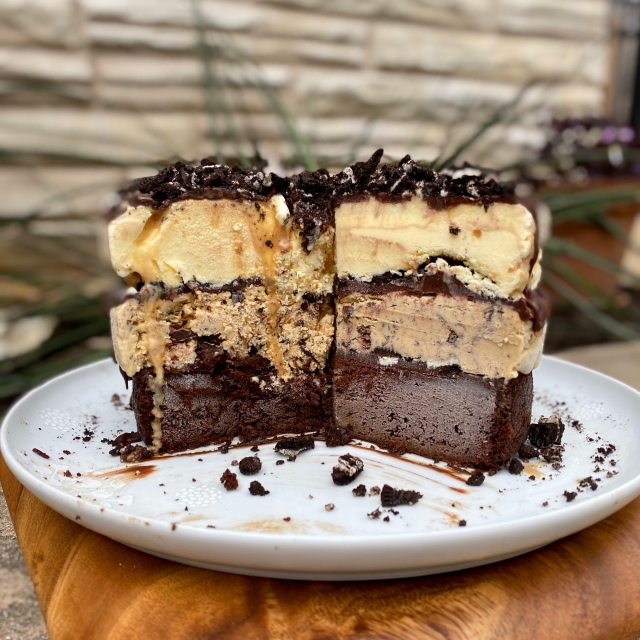
Okay guys, I have to share something with you. Something that you need in your life right now. Triple layer chocolate fudge ice cream cake. There. I said it.
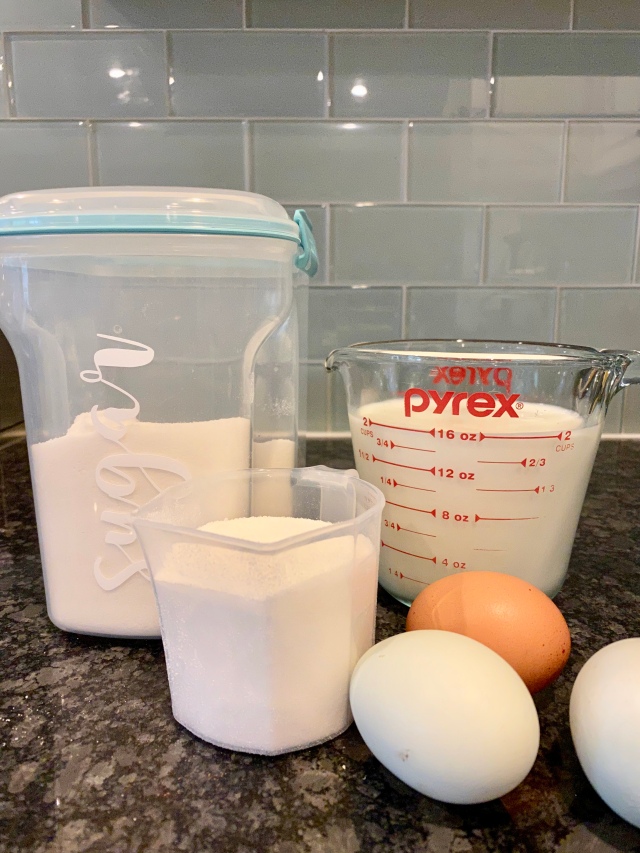
Here’s how it all started. Last week was my 34th birthday, and two days before that, our mayor mandated a stay-at-home directive in the wake of all of the coronavirus cases going around. Now, I’m not a person who has big, extravagant birthday celebrations, but it is nice to be able to see some friends and go out for a nice dinner on your birthday. Well, that wasn’t going to happen, so I decided to put my frustration energy into making the best birthday cake one could dream of. On my hunt for the perfect recipe, I came across this Triple Layer Chocolate Fudge Ice Cream Cake from Half Baked Harvest, which calls for two flavors of store-bought ice cream. I’m sure it would have been good with some Blue Bell from H-E-B (that’s our local grocery store here in Austin) but the overachiever in me had to push the limits a bit.
I’ll cut to the chase, after 4 days (and 5 trips to different grocery stores) spent working on this cake, I made homemade salted caramel, two flavors of homemade ice cream, the cake base, and homemade chocolate fudge sauce. #WORTHIT. Here’s how I did it:
Day 1
First, I started by making the base for my Burnt Sugar Ice Cream with Chocolate Bits, the middle layer of my cake. Now, if you know anything about making homemade ice cream, you know that its a marathon, not a sprint. You have to cook the ice cream base on the stovetop, melting all the ingredients together, then cool the liquid down (typically overnight), and finally, you have to churn it into the sweet goodness of actual ice cream, only to freeze it until firm.
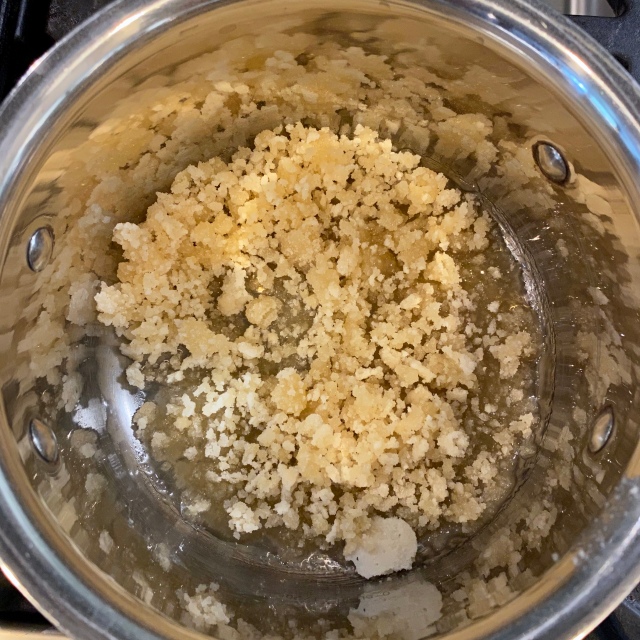
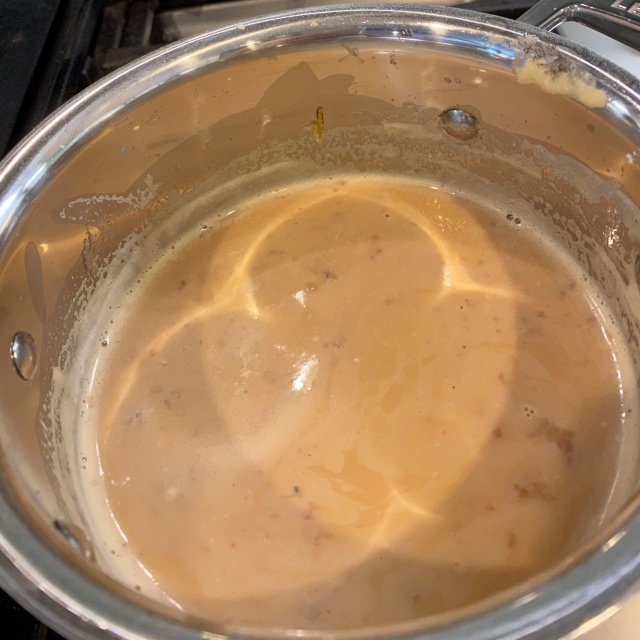

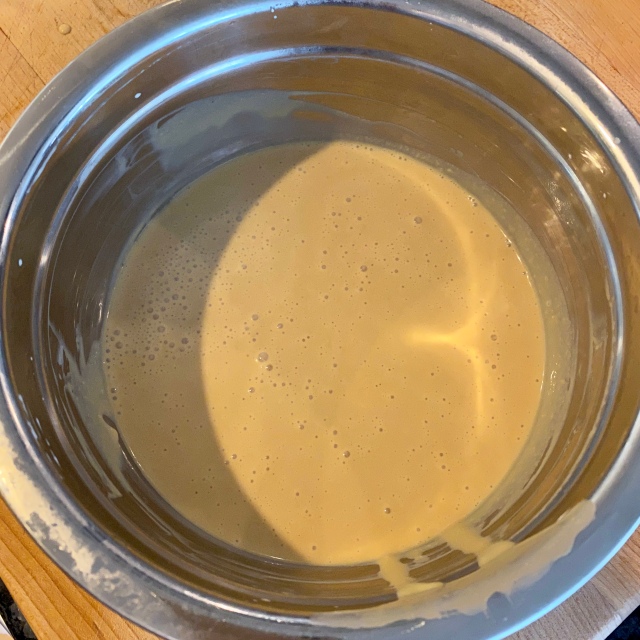
So, day 1 consisted of making the burnt sugar ice cream through step 7. Then I refrigerated it overnight.
Day 2
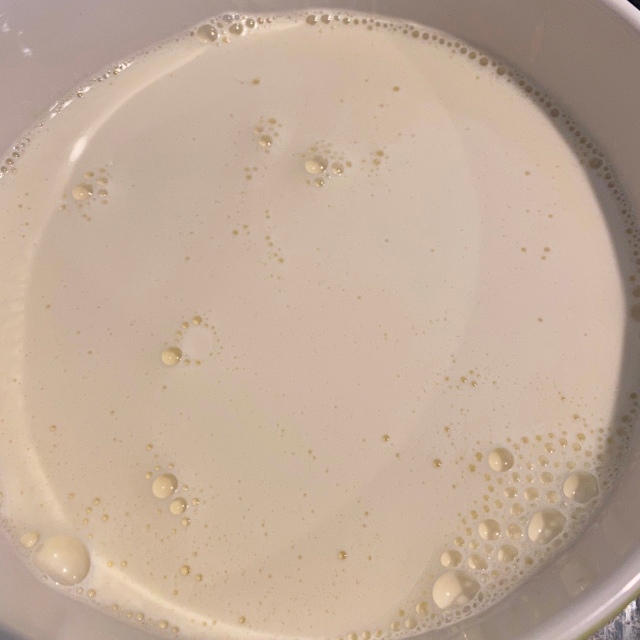
Once the burnt sugar mixture cooled overnight, I added the cream and vanilla extract and used my kitchen aid ice cream attachment to churn the ice cream. After 20 – 30 minutes, the ice cream is a soft serve consistency, which was perfect for me because my recipe called for softening the ice cream before placing it into cake pans. So, after the ice cream transformed in the ice cream maker, I poured it into an 8″ round cake pan lined with plastic wrap and placed it in the freezer. This recipe made the perfect amount for one 8″ round cake pan.
Later that afternoon, I started on my second batch of homemade ice cream: Hazelnut and Salted Caramel Ice Cream. Except, I’m not a huge fan of nuts in my ice cream (and it was my birthday after all) so I opted to leave out the hazelnuts. I guess you could say I made hazelnut-free salted caramel ice cream. Once again, this recipe called for a store-bought ingredient: salted caramel. But, again, that wasn’t going to cut it for my masterpiece. Enter homemade salted caramel, stage right.
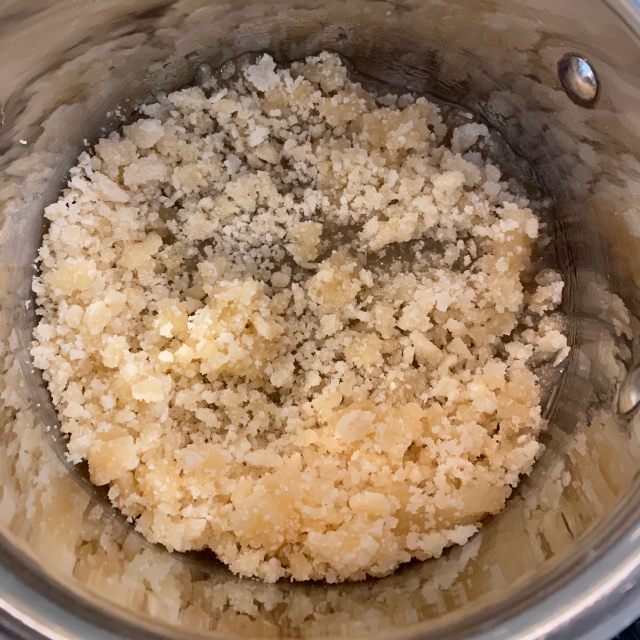
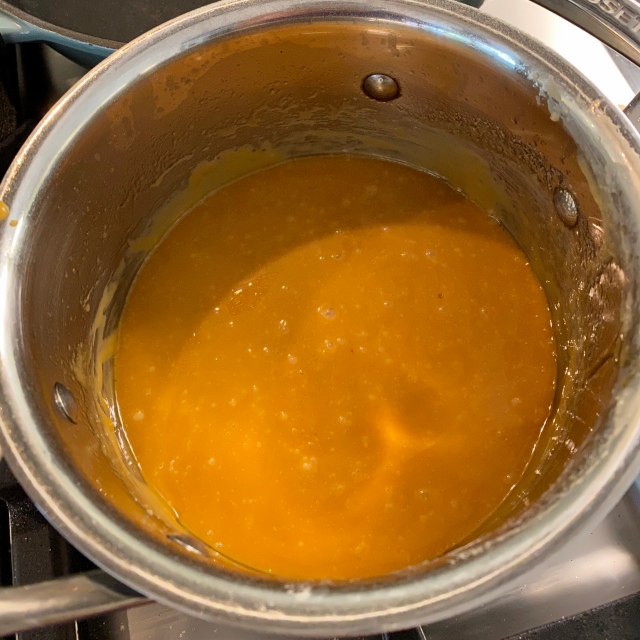
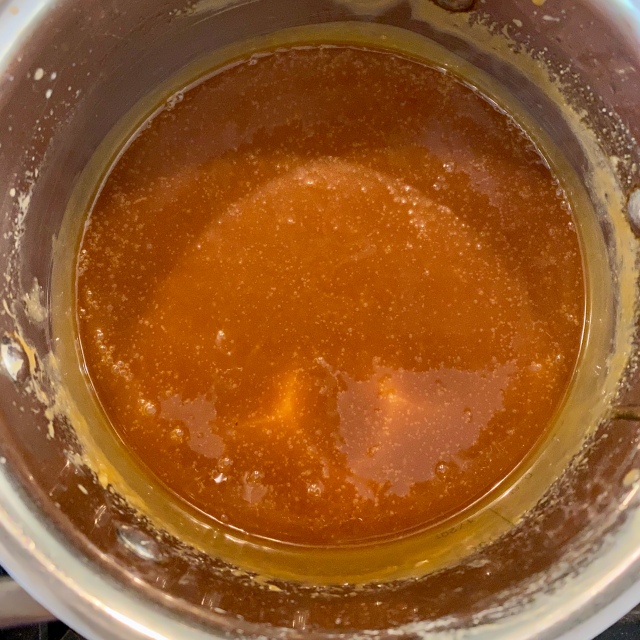
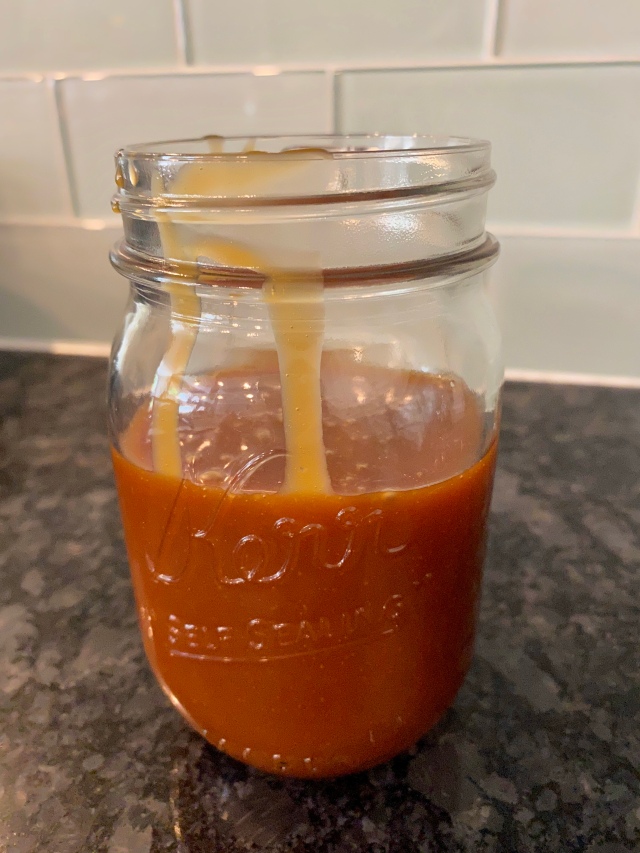
The salted caramel ice cream base was super easy and very straightforward for any beginners. I threw that together in no time and let it cool in the fridge while I made the salted caramel. Then I let the salted caramel cool on my countertop, then refrigerated it overnight.
Day 3
I set up my kitchenaid ice cream maker attachment again and churned the salted caramel ice cream base. This recipe makes the maximum amount of liquid you can freeze in this attachment. It took about 30 minutes, since the ice cream maker was full, and I originally planned to add the salted caramel at the very end and let the ice cream maker swirl it in, but it would have been too much volume. So, I followed the recipe and swirled the caramel into the ice cream after transferring it to my plastic lined 8″ round cake pan. This recipe made a pretty big batch of ice cream, so I used about 2/3 of the ice cream for my cake layer and froze the rest in another container to savor later.
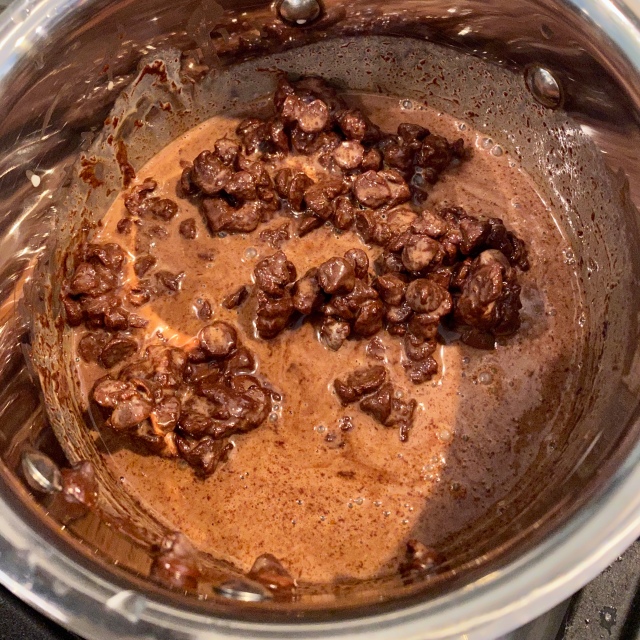
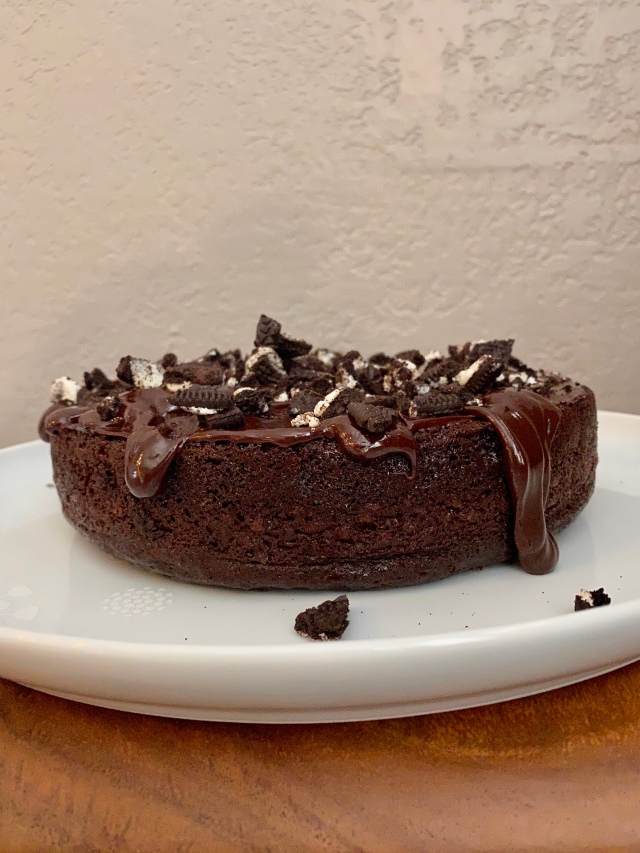
Next up, chocolate cake and chocolate fudge.
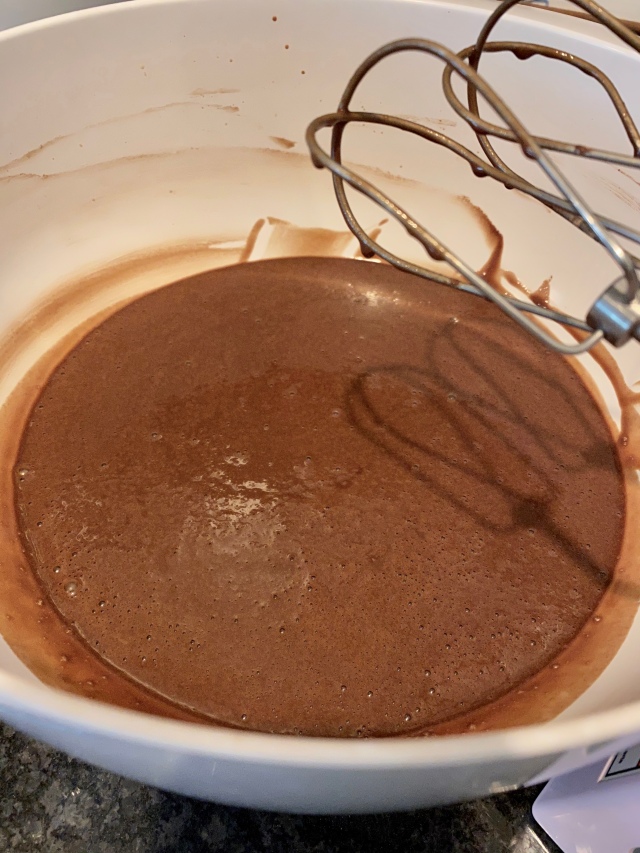
I followed Half Baked Harvest’s recipe to prepare the cake and fudge. My cake batter was thinner than I intended, I think from over-mixing, but it still turned out great after baking.
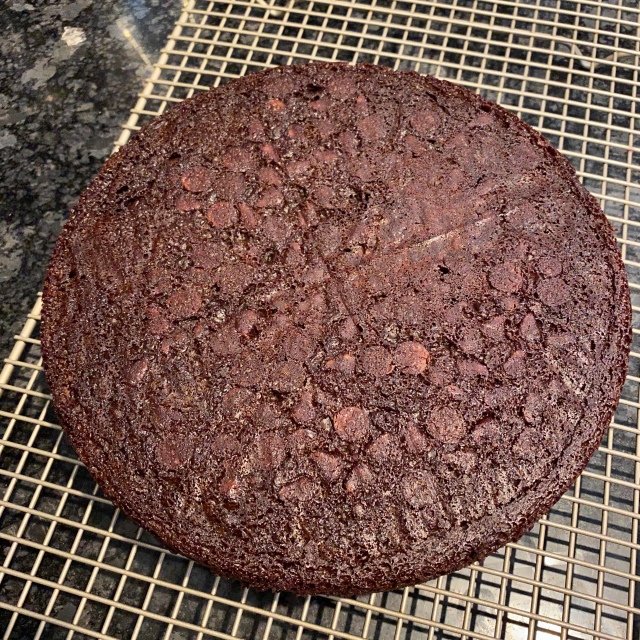
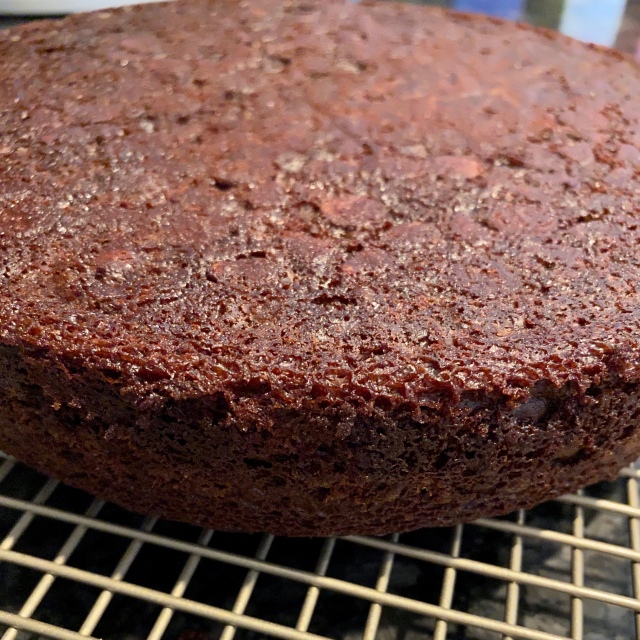
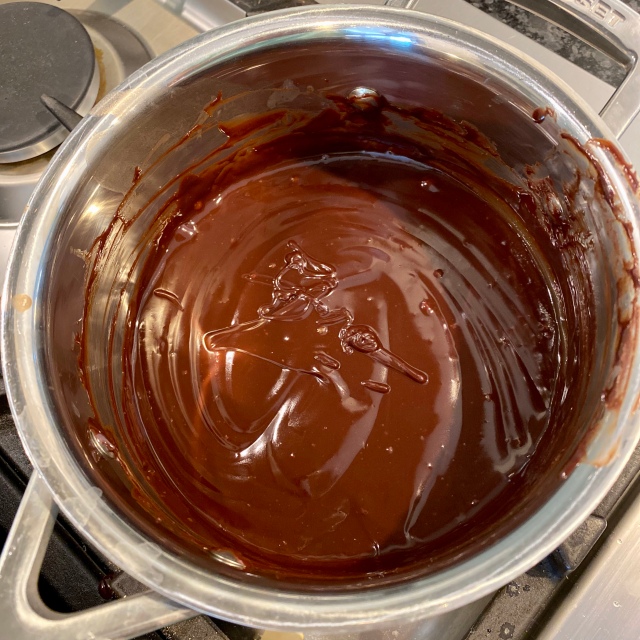
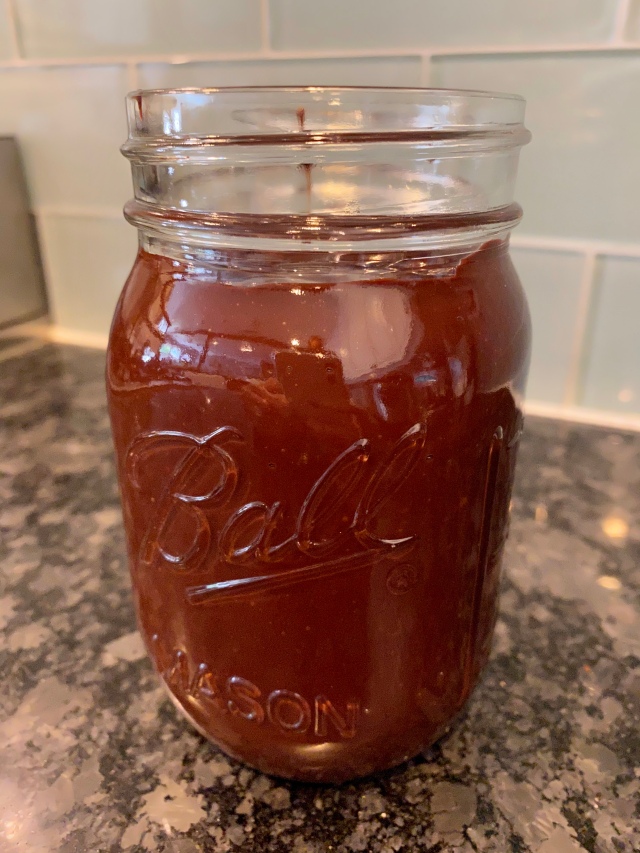
I let the cake and fudge cool to room temperature, then wrapped the cake in plastic wrap to freeze overnight, and stored the chocolate fudge in the fridge.
Day 4
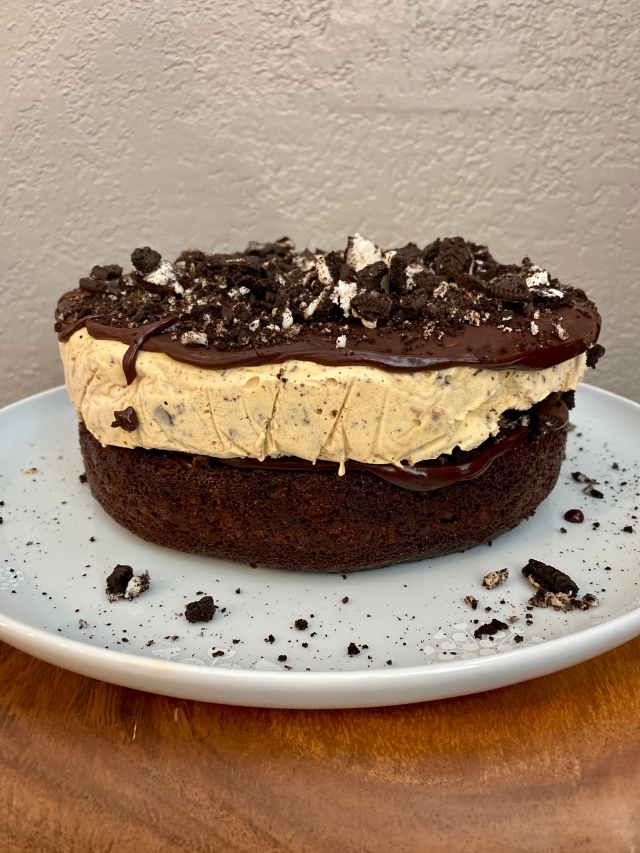
On the morning of my birthday, I assembled the cake per Half Baked Harvest’s instructions. I didn’t have any issues with the ice cream melting while I assembled it as the process was pretty quick if you have everything ready (oreos chopped, fudge brought to room-temp, etc). Note, I warmed up the chocolate fudge until just spreadable, about room-temp. If its too warm, it will start to melt the ice cream layers during assembly.
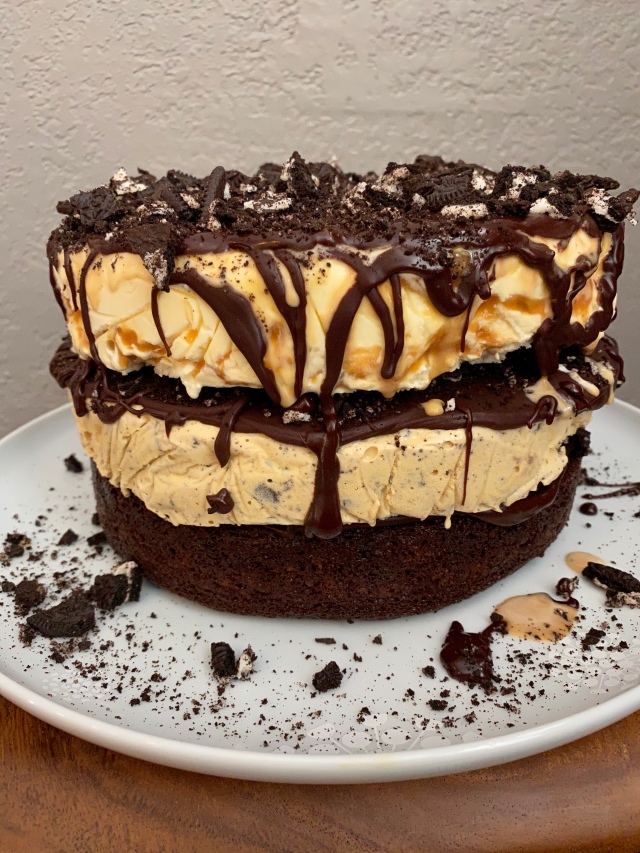
After assembly, I placed it back into the freezer for another 6 hours (I told you this was a waiting game). I placed mine in the freezer, uncovered, on the plate you see pictured above, but definitely think about what you can store it in while its in the freezer. Once the cake is cut, I suggest covering it or placing it in a freezer-safe container so it is less likely to get freezer-burnt. I stored my cake in my tupperware cake carrier after we ate the first round of heavenly goodness.

I can’t even begin to tell you how delicious this cake is. Its by far the best ice cream cake I’ve ever tasted in my life. If you have a little bit of time on your hands (don’t we all these days?), its worth every minute of the 4 days it takes to make. And lets be honest, most of that is hands-off time while the ice cream is cooling/freezing. And best of all? You get to customize your ice cream flavors to your heart’s desire.

Amidst the COVID-19 situation right now, I was still able to make my birthday a memorable one (in a positive way) by making this AMAZING cake. And maybe it can bring some brightening to your day too. I shared a few pieces of cake with friends in my neighborhood and one friend wrote me a note saying “In this wild time of isolating in our homes with random groceries and rationing TP, this was a true luxury and delight.” Ya’ll, if ice cream cake can’t bring us together, then I don’t know what can.
Here’s the recipes (and equipment) I used, all in one place:
- Triple Layer Chocolate Fudge Ice Cream Cake by Half Baked Harvest
- Burnt Sugar Ice Cream with Chocolate Bits by A Beautiful Plate
- Hazelnut(free) and Salted Caramel Ice Cream by Foodie Crush
- Salted Caramel by Brown Eyed Baker
- Kitchenaid Ice Cream Maker Attachment
- Tupperware Cake Carrier
I’d love to hear if you make your own version of the Triple Layer Chocolate Fudge Ice Cream Cake – Comment below or tag me on instagram @elleandjaydesign.


Looks Like you had a lot of fun