A couple weeks ago, before all this coronavirus stuff started happening, we celebrated our youngest child turning ONE! We celebrated in Dallas, at my parent’s house, so some of the grandparents, aunts and uncles, and cousins could celebrate with us. Kate is a very happy baby and is always in the mood to hang out with others (as long as her mother (me) is within a 2 foot radius at all times) so I thought “Party Animals” would be a fun theme. So, I’m sharing how I put together the decorations and food for a fun party.
Decor
When planning the decorations for a party, I usually search Pinterest for my theme, then pick a color scheme. For this party, I choose to work with purple, light and dark teal, light and dark pink, gold and white. This gave me a starting point when I began to make a few banners and other party decorations. You know I love a good craft, so I try to make as many decorations as I can as a creative outlet and to keep costs down. Here’s a few things I made to go with our Party Animals theme:
Party Hats & Tiny Presents
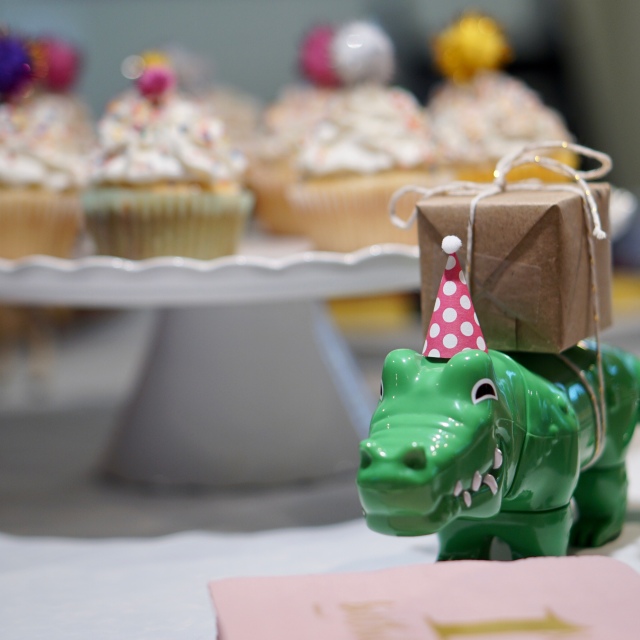
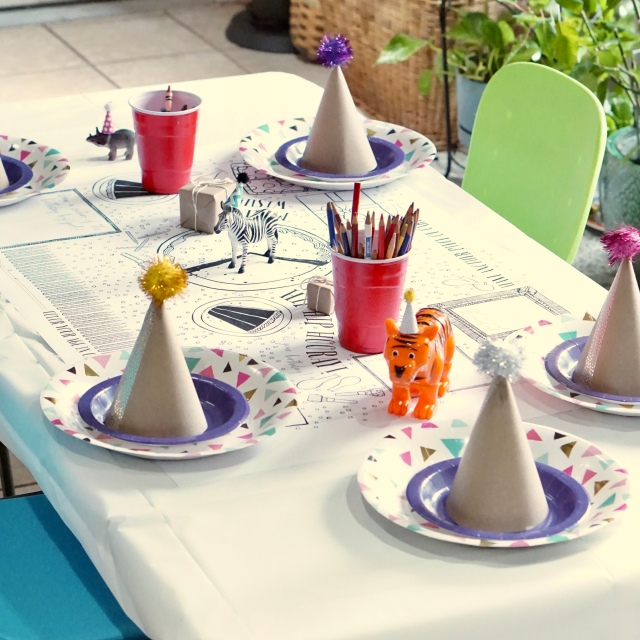
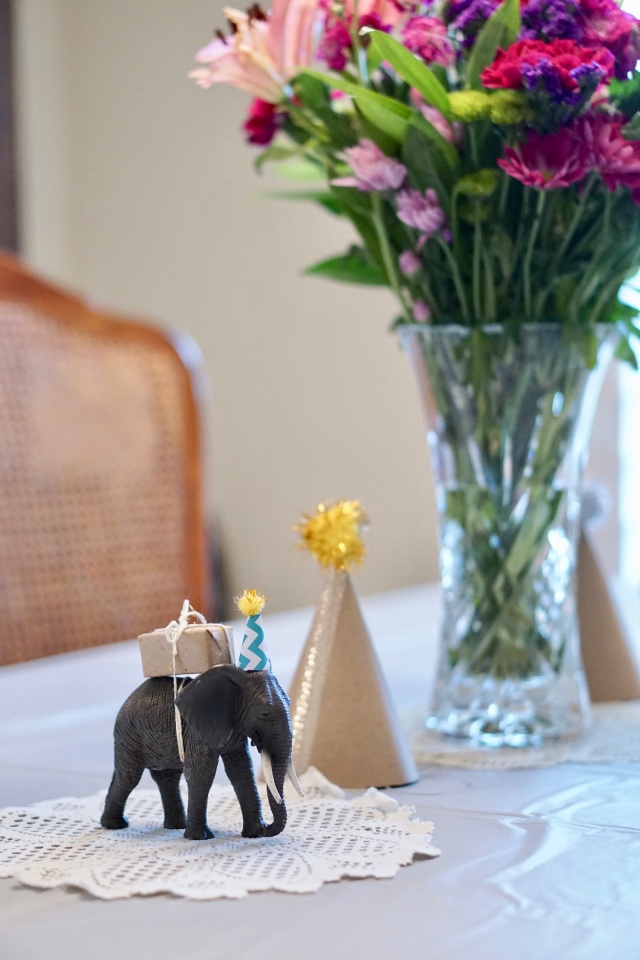
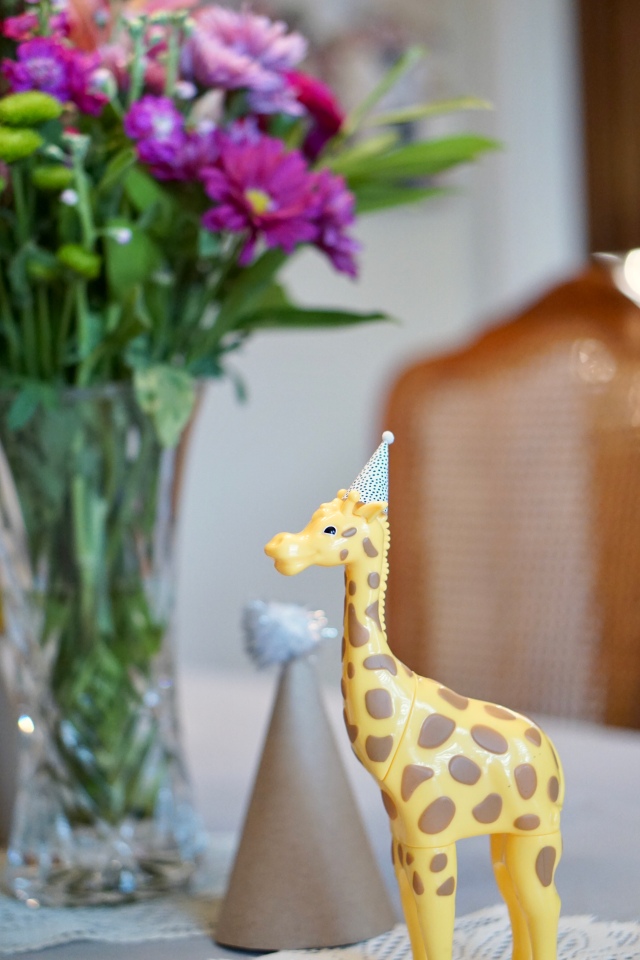
I used this template to make party hats for the plastic animals (we already had all the animals I used), using some scrapbooking paper from my craft cabinet and some found at Hobby Lobby, then I used tacky glue to attach small tinsel pom poms (from this pack). For the kid’s party hats, I bought generic hats at Dollar Tree, wrapped them in kraft paper, added a strip of washi tape to cover the seam, and hot glued a large tinsel pom pom to the top (also from this pack). To make the tiny presents, I wrapped various sized baby blocks we have littered around our house in kraft paper and tied string around them.
Banners & Cake Toppers
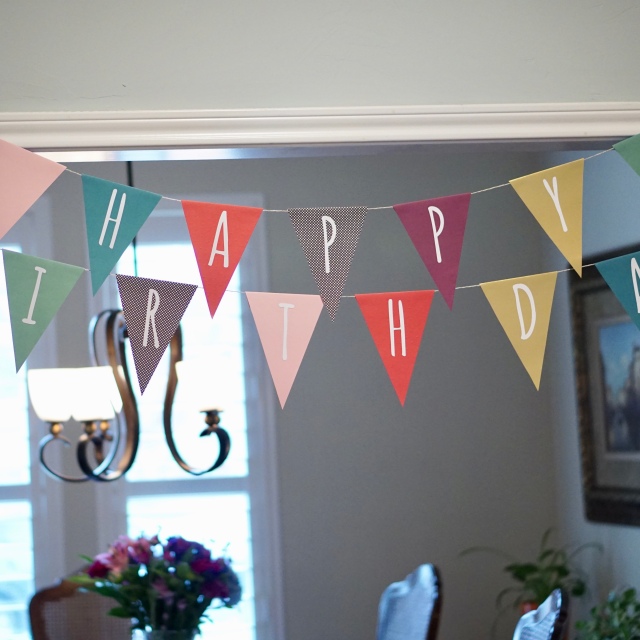
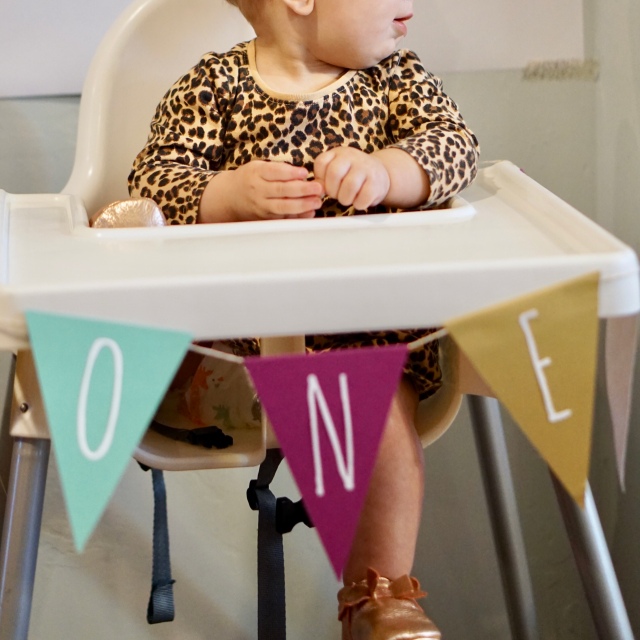
I made a few pennant-style banners using scrapbooking paper I had on hand and a template found on Pinterest (adjusting the size as needed). I uploaded the PDF to my Cricut explore and let the machine cut all of the paper in the sizes I needed. I also used my Cricut to cut out “happy birthday” and “one” on white paper using the font Amatic. I folded the bunting over some string I had and place double sided tape between the two layers of paper to hold it around the string.
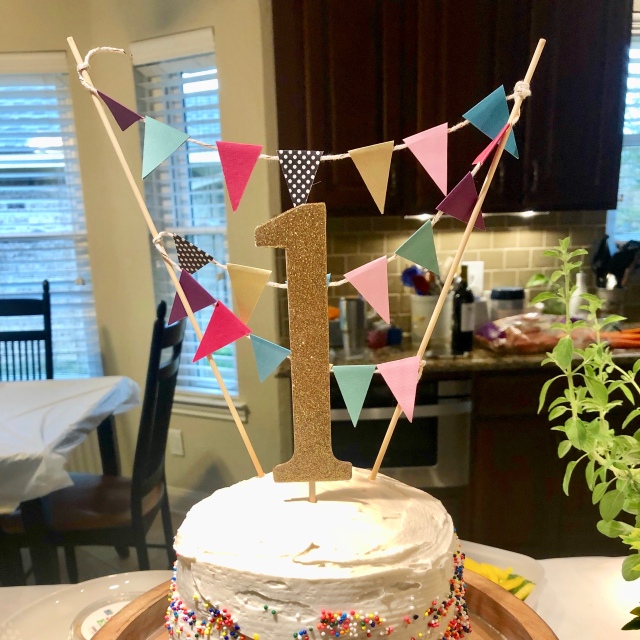
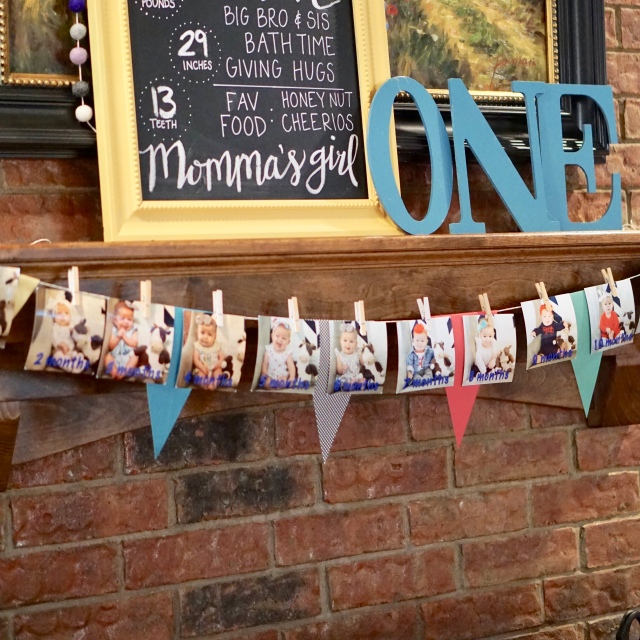
I left one of the banners plain and used clothespins to hang Kate’s monthly photos (I just printed them from Walgreens). For the cake topper banner, after I taped the pennants around the string, I tied the string to two wooden skewers (ones we use for grilling) in a zig-zag pattern.
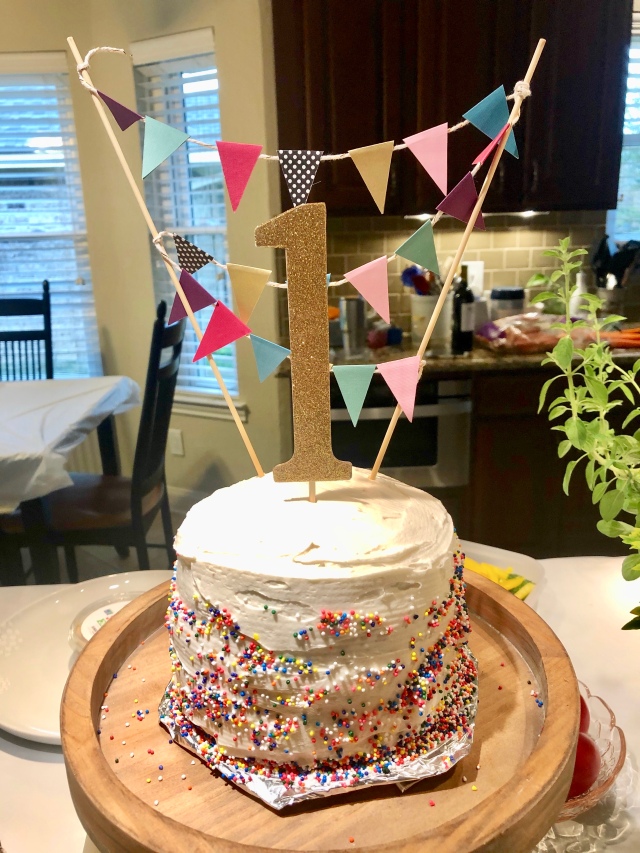
For the “1” cake topper, I, once again, used my Cricut machine to cut the number on glittery gold paper and some thin chipboard (I just used a recycled cracker box). I taped them together with double-sided tape, then hot glued a wooden skewer to the back.
Large Prints
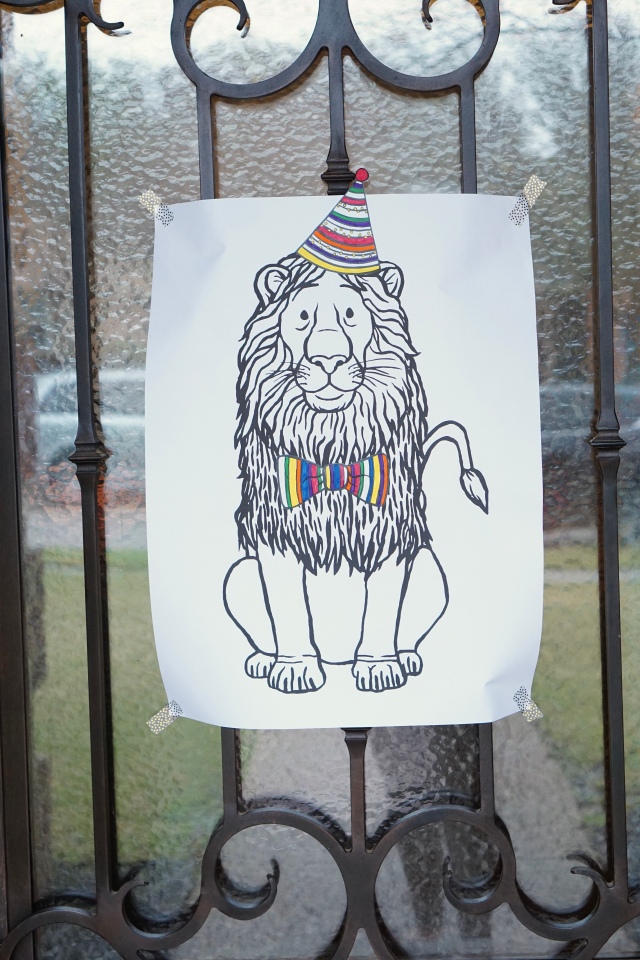

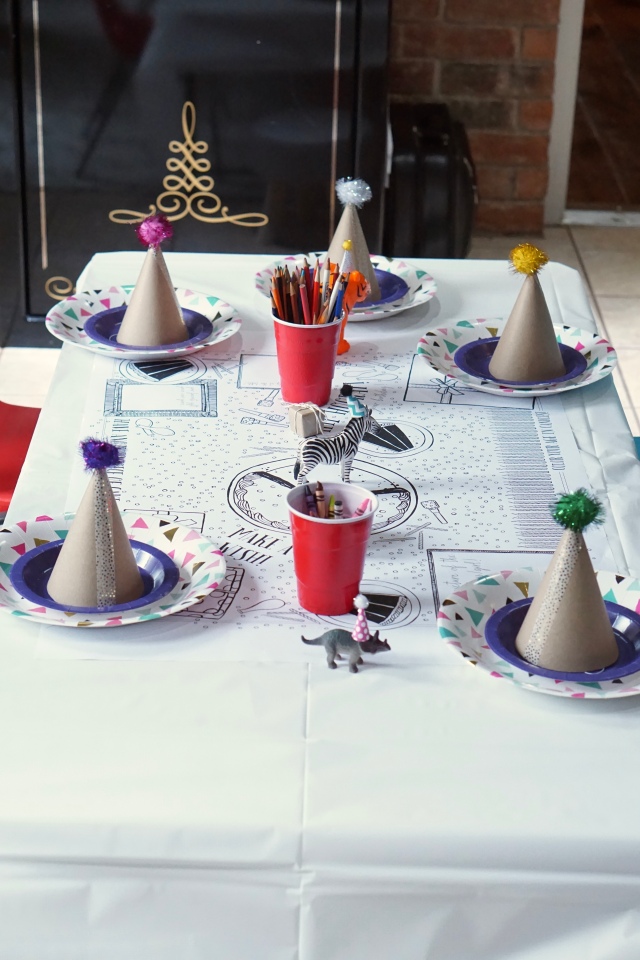
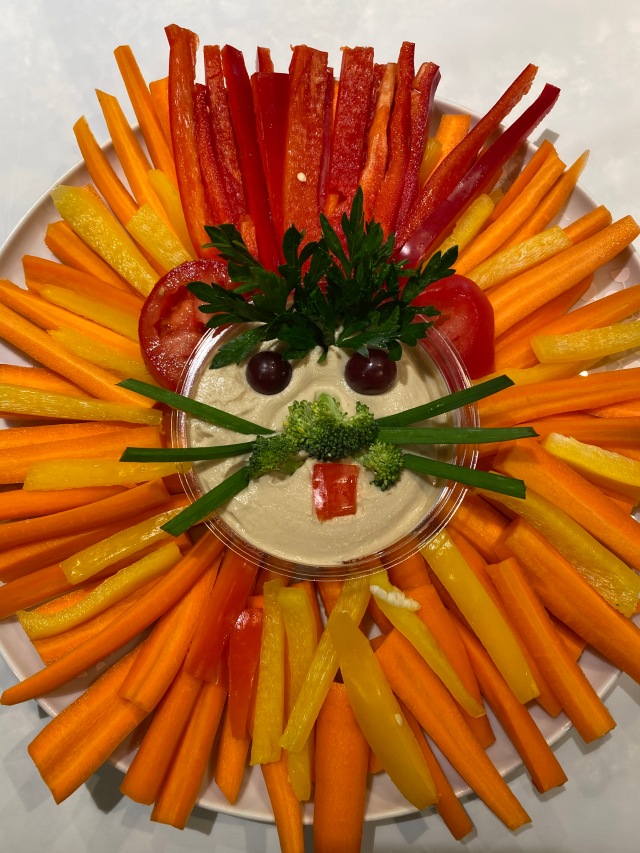
I bought this birthday file set with JPGs of the lion, bear and table covering (there’s other files in that set too!) and went to my local office depot to have them printed. They are only a few dollars a piece if you have them printed as engineered prints in black and white. I printed the bear and lion as 18″ x 24″, the table covering as 24″ x 36″, and the number 1 as a 24″ x 36″. The hats and bow ties for the animals come in the set as well (I printed those on regular 8.5″ x 11″) which I just cut out and colored with markers.
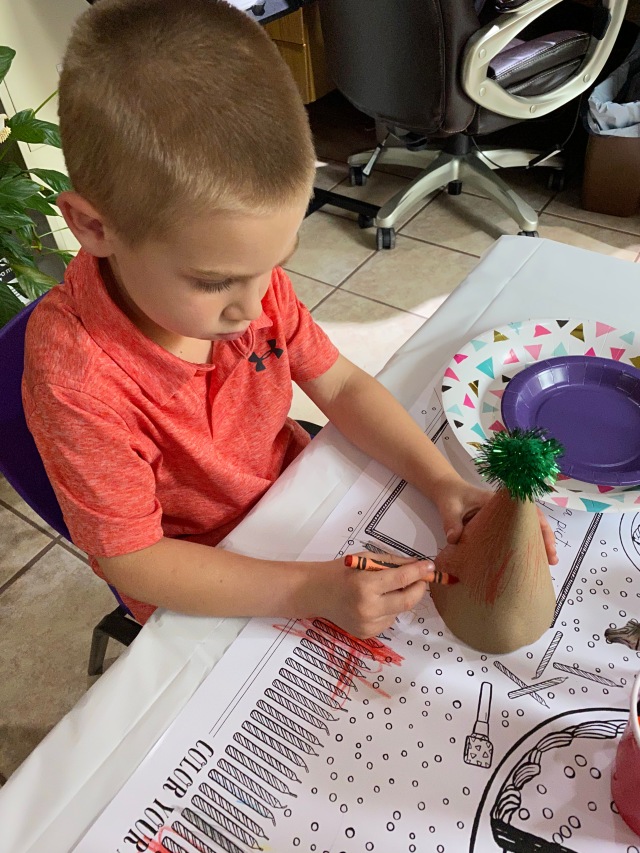
The table covering served as a giant placemat for the kid’s table that they could color and write notes on to the birthday girl. I set out crayons and colored pencils for them to use and a few kids even decorated their party hats too.
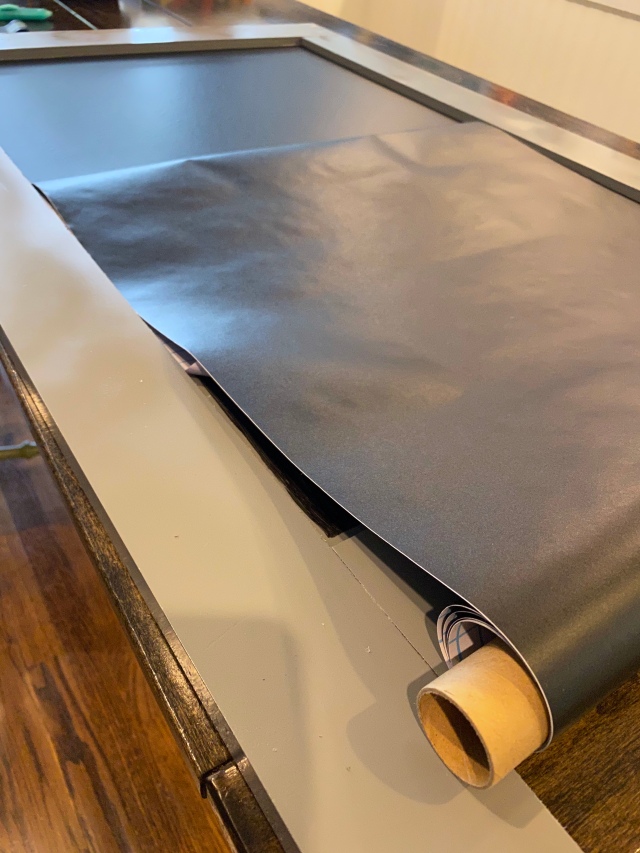
As for the chalkboard easel (that the bear is taped to), Andrew helped me slap that together the weekend before the party. He built it out of some wood and MDF we had in the garage and I spray painted the frame with gray spray paint. I planned to paint the chalkboard portion with chalkboard paint I had in my stash, but after painting one coat, I ran out of paint and realized it was going to take a lot more paint than I anticipated to get the coverage I needed. So, I found this chalkboard contact paper and it happened to be the perfect width for this project – I only had to cut it to length!
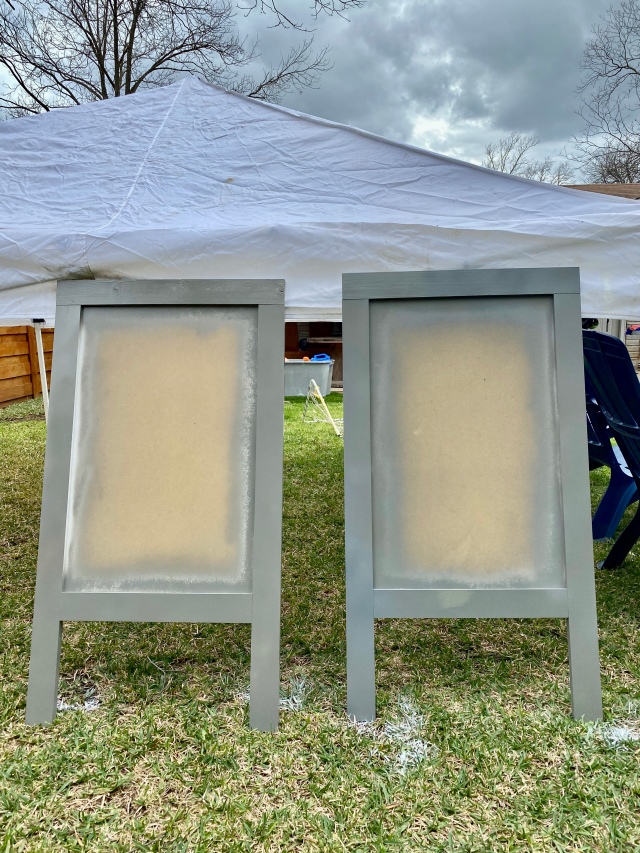
I had big plans to use the easel as a welcome sign and put it in the front yard with “welcome all party animals” written on it with some balloons tied to it, but it poured the entire weekend we were in Dallas. I actually had planned to set up this whole party outside, so I had to improvise when we were forced to move the party inside. I also ran out of time setting up, so in the end, I just choose to display the bear print on the easel. I hope to use it for future birthday parties, so I’ll keep you posted on when I use it again.
Balloon Garland
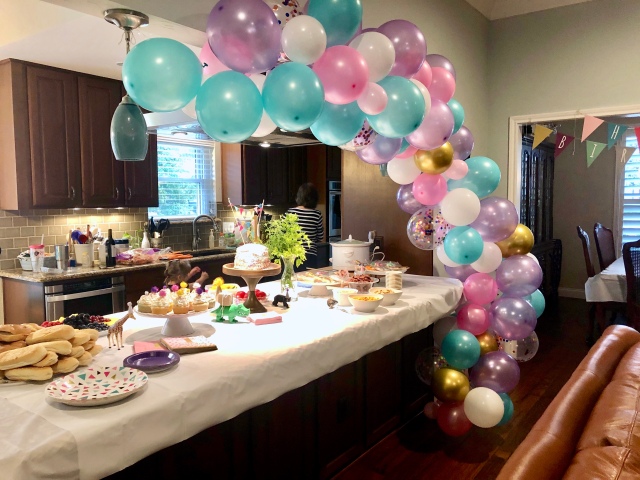
I’ve seen balloon garlands popping up everywhere and I envisioned building one for our other daughter’s birthday next month so I thought I better try it out for Kate’s birthday to see how hard easy it was. Ya’ll, its surprisingly easier than you think.
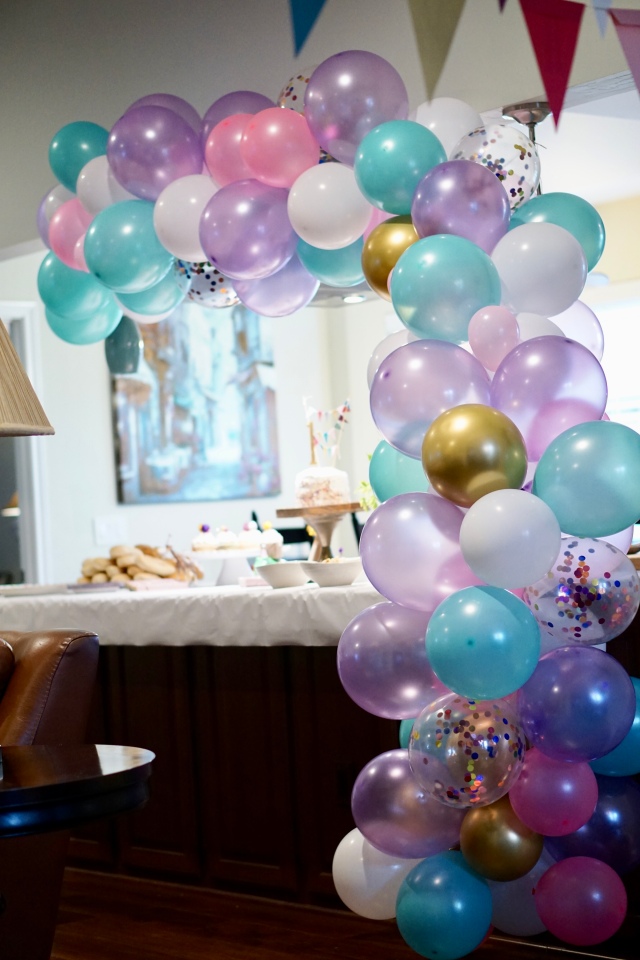
I used this kit and about 100 balloons (mostly 12″ and some 5″) to make the garland. Don’t underestimate the balloon tie tool and a cheap pump to help inflate the balloons. With help from my cousin, it took about two hours to put the 15(ish) foot garland together (taking wine breaks, of course) and that was our first time. This included inflating the balloons and placing them in the decorating strip. I expect it will go faster for the next one.
Food
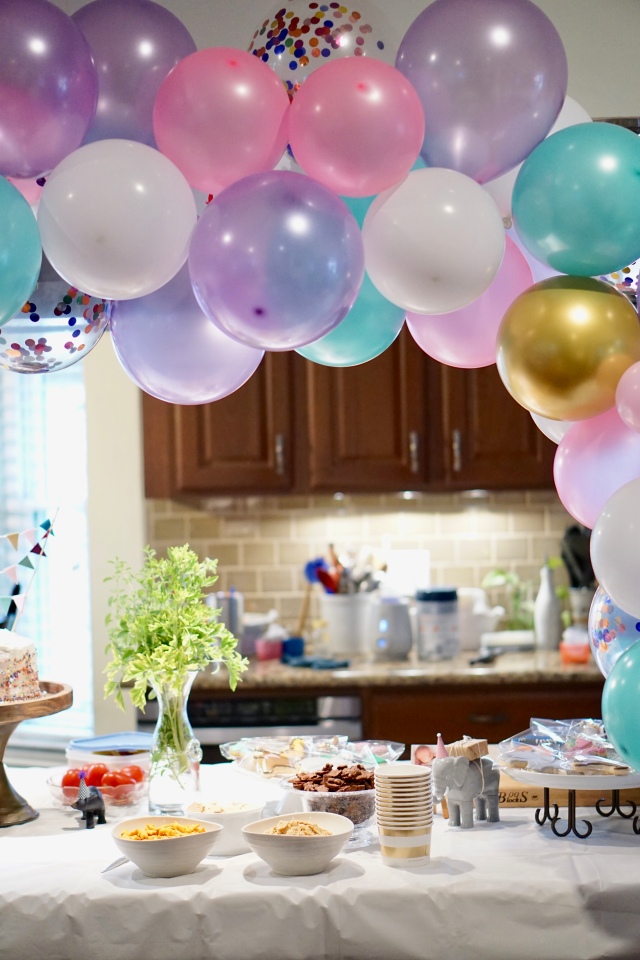
We choose a simple menu with hamburgers and hotdogs, fruits and veggies, and animal themed snacks (cheddar bunnies, animal crackers, teddy grahams and bunny grahams). We also had sides of homemade baked beans and deviled eggs, made by our very sweet family friend.
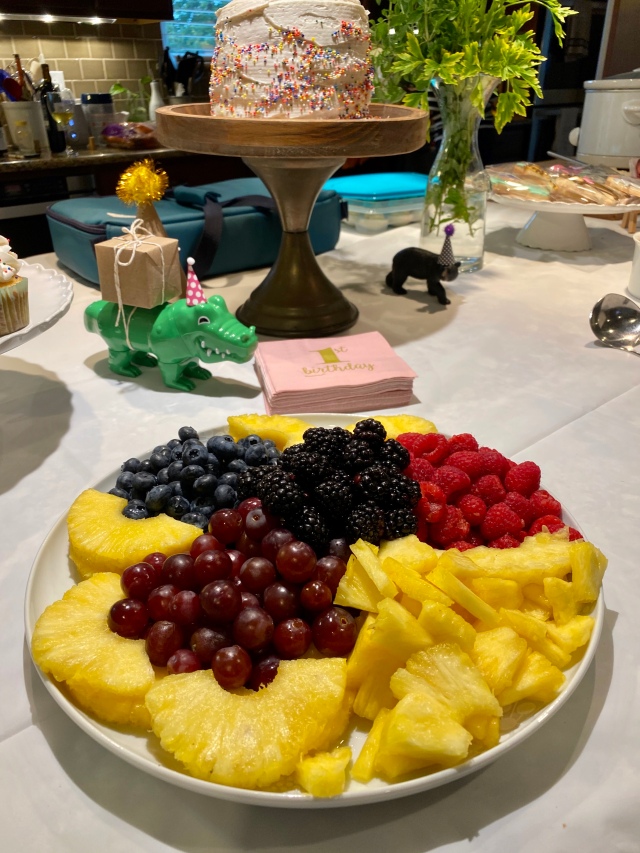
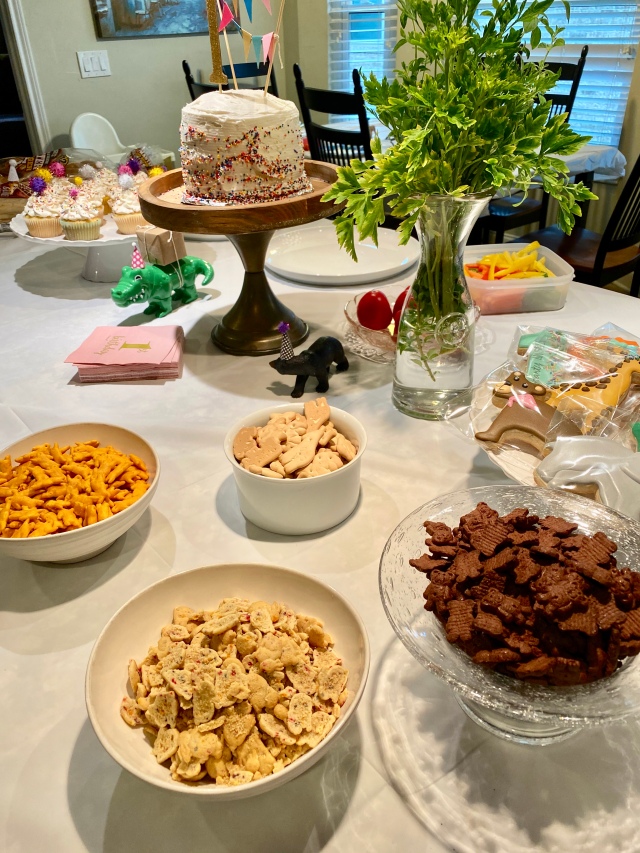
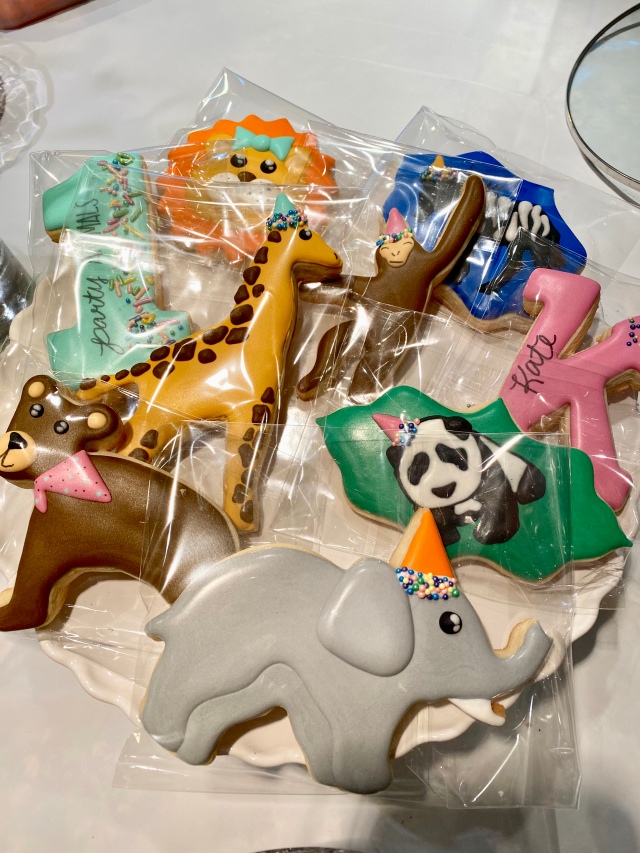
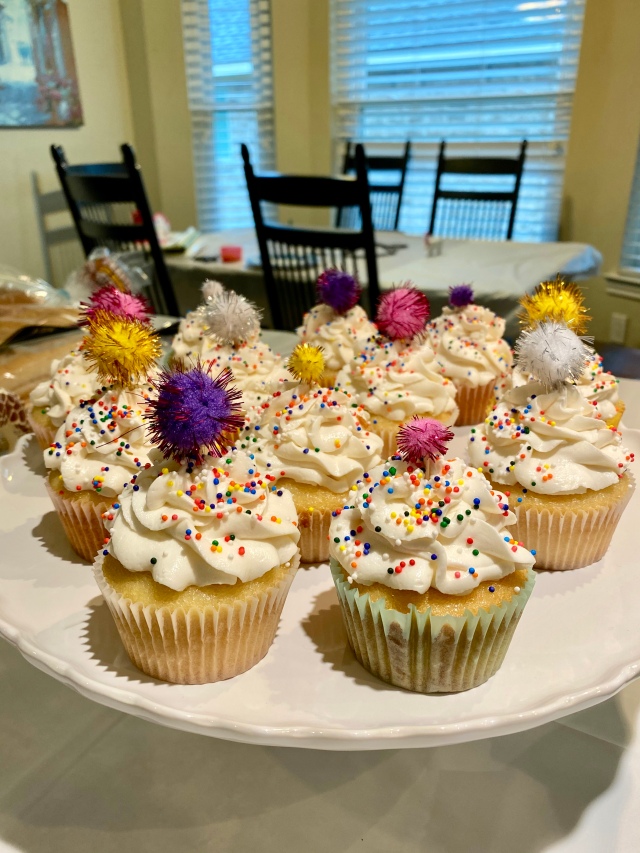
And of course its not a party without cake (& cookies)! I used my favorite vanilla cupcake recipe and vanilla frosting recipe to make cupcakes and a smash cake. I added sprinkles to everything, then used the same pom poms as the party hats for the tops of the cupcakes (I just stuck a toothpick in the pom pom).
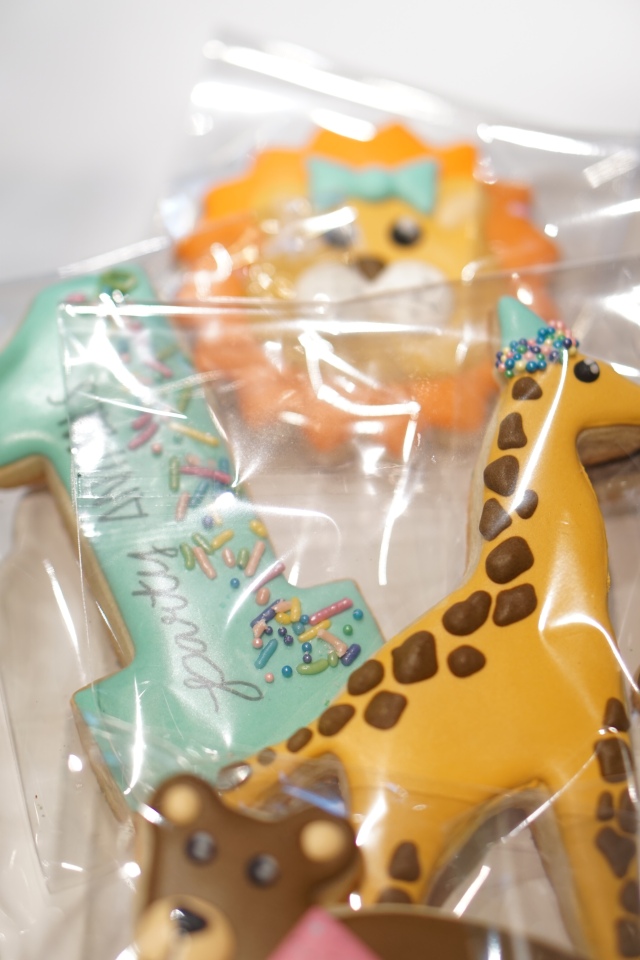
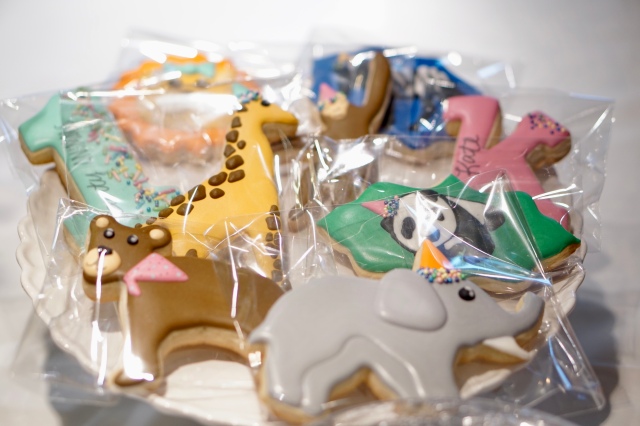
My sister ordered these ADORABLE cookies from Pearl’s Pastries. Chelsea has THE BEST cookies and they not only look amazing but they taste incredible too. If you are in the Dallas area and need cookies (or cakes or other pastries) give her a shout.

Cost & Sources
Since this was a first birthday party and we only had 5 kids other than the birthday girl attend, I didn’t plan any specific activities for the kids. They colored at the kids table and played with all the toys my parents regularly stash at their house. This kept them plenty busy and they were happy to see their out-of-town friends and family.
I mentioned earlier that I tried not to break the bank on hosting this party, and we were very fortunate to have help from my parents and sister with the food, so here’s what I spent:
- Scrapbooking paper, pom poms, & washi tape – $12.97
- Party hats & (5) white tablecloths (Dollar Tree) – $6.50
- Monthly photo prints (Walgreens – with coupon) – $0.74
- Birthday file set and printing from Office Depot – $23.97
- Chalkboard contact paper (with coupon) – $5.19
- Balloon kit, pump, purple balloons, teal balloons (similar), pink balloons, confetti balloons, white balloons, light pink balloons – $26.17
- Snacks (bunnies, teddy grahams & animal crackers) – $11.30
- Cupcake and smash cake ingredients (already had) – $0
- Dinner plates, dessert plates, snack bowls (with coupon) – $11.01
GRAND TOTAL: $97.85
I’d also like to add that I will definitely be using the birthday file set, chalkboard easel, and balloon kit/pump for other parties so those will get more than one use. I hope you got some ideas for your next party and know that you don’t have to break the bank to have cute decor. All-in-all, we had a wonderful time celebrating Kate’s first trip around the sun with all of our favorite party animals.