

What’s a Pinterest party you ask? Only the most fun, relaxing, creative Saturday night you’ll find anywhere. And its right here in Austin, Texas, hosted by yours truly. I’ve always been a crafter, and with the rise of Pinterest, ideas and tutorials for projects has only skyrocketed. Years ago, I would talk with friends about how we should all get together and make a craft from one of our Pinterest boards, and that, my friends, is how the Pinterest party was born.
I hosted my first Pinterest party 5 years ago. It was spring break (I’m a *retired* teacher) and I was 7 months pregnant with my first baby. We made gold arrow jewelry hangers, painted mason jars, and decorated wine bottles. Everyone had so much fun letting their creativity flow and spending time in the company of other women that I knew this wasn’t a one time thing. I’ve hosted 4-6 Pinterest parties every year since then. We’ve made burlap wreaths and wooden signs. We’ve made fabric pumpkins and Christmas ornaments. Each time, my friends get more and more creative and execute the craft better than I could ever dream of.

Last month I hosted my first party of 2020 and we made resin coasters. No one that attended had ever worked with resin before (including me!), but as always, everyone’s vision came to life by the end of the night and the coasters turned out better than I could have hoped.
How it works
Here’s how the party works – About a month in advance, I send out an evite to the event with the craft we will be making so I can get a head count for materials and food. The guest list is comprised of my friends who like to craft and friends of friends who like to craft (no experience necessary). Once you get on the email list, you’re invited to all subsequent parties. I supply dinner and dessert during the party and the materials needed for the craft. My friends (the attendees) BYOB. Depending on the cost of materials for the craft, sometimes everyone will pitch in to cover the cost of supplies.
The Menu
Typically the parties start around 6:30, prime dinner time, so I like to provided food so people can mingle while we wait for everyone to arrive and get started on the craft. Because we don’t all sit down and eat at the same time (and we like to graze throughout the evening), I typically prepare things that can be made in advance, and recipes that are just as good at room temp as they are when they are first served hot or cold.

Here’s what I made for the Resin Coaster Pinterest Party:
- Charcuterie Boards – cheddar, gouda, havarti, fontina, salami, prosciutto, capicollo, pepperoni, dried cherries, dates, and crackers (almost all from Trader Joe’s)
- Chicken salad with Hawaiian rolls and romaine lettuce
- Veggie tray – carrots, celery, bell pepper, broccoli, and hummus
- Fruit salad – cantaloupe, pineapple, kiwi, blackberries, apple, and blueberries
- Mixed nuts and cashews
- Trader Joe’s peanut butter cups
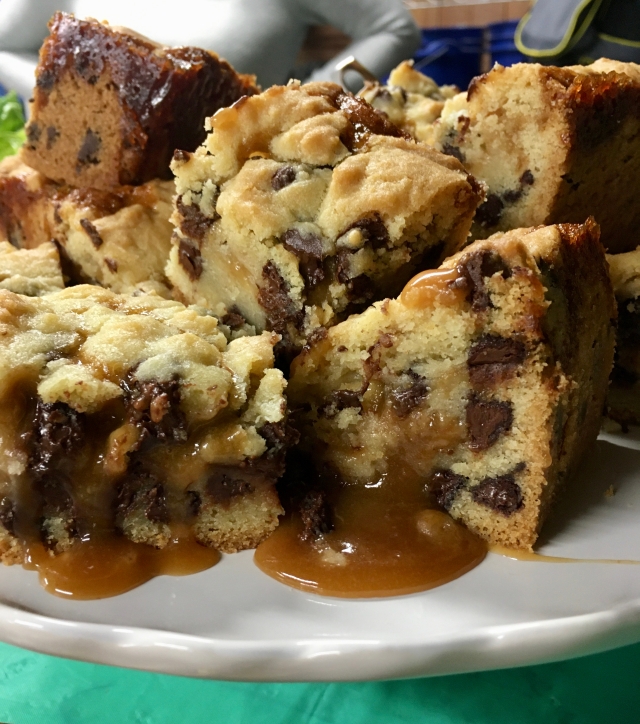
- Chocolate chip caramel butter bars
The Supplies
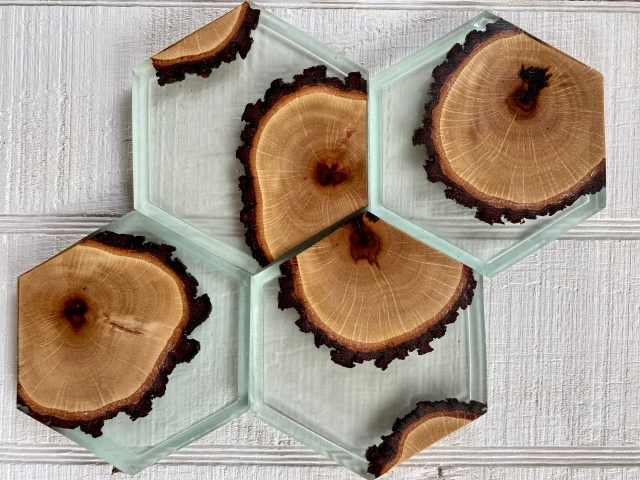
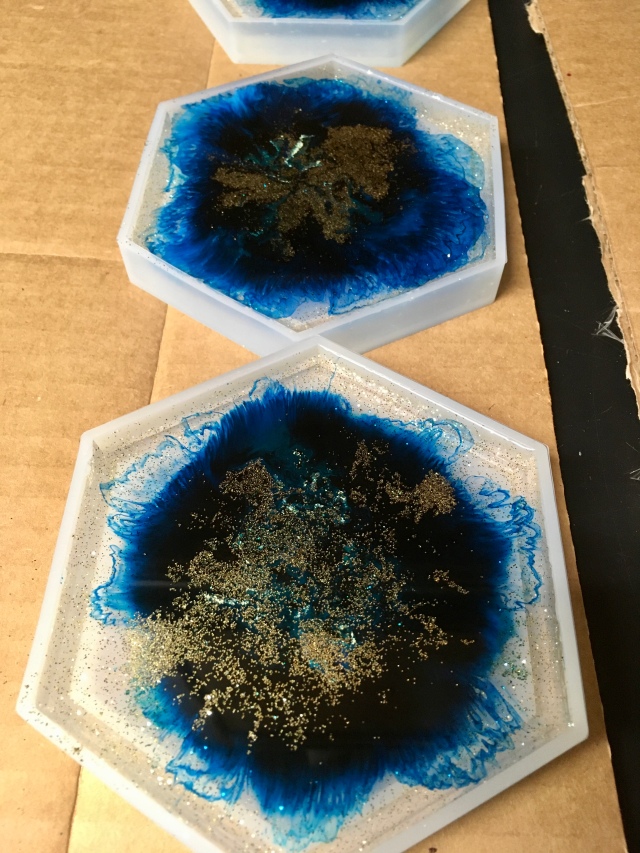
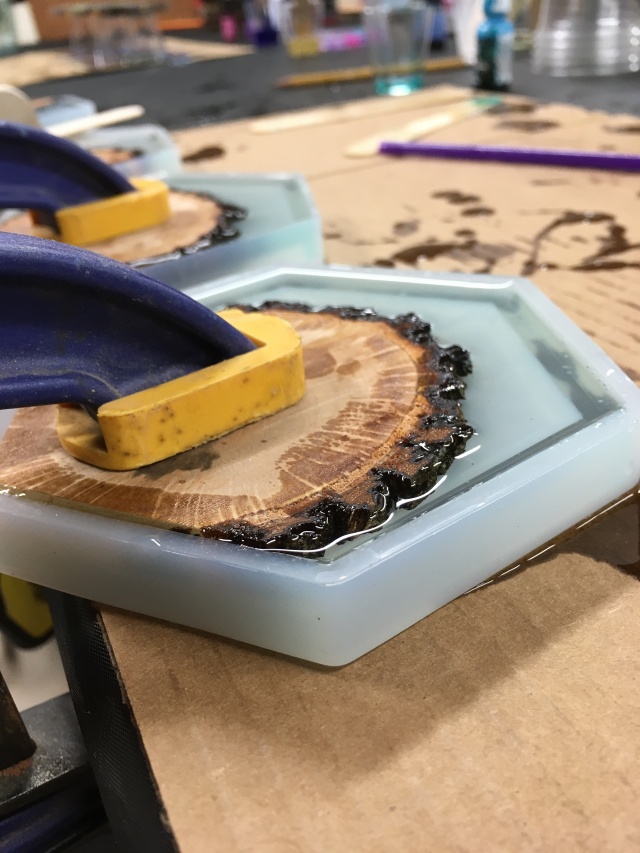
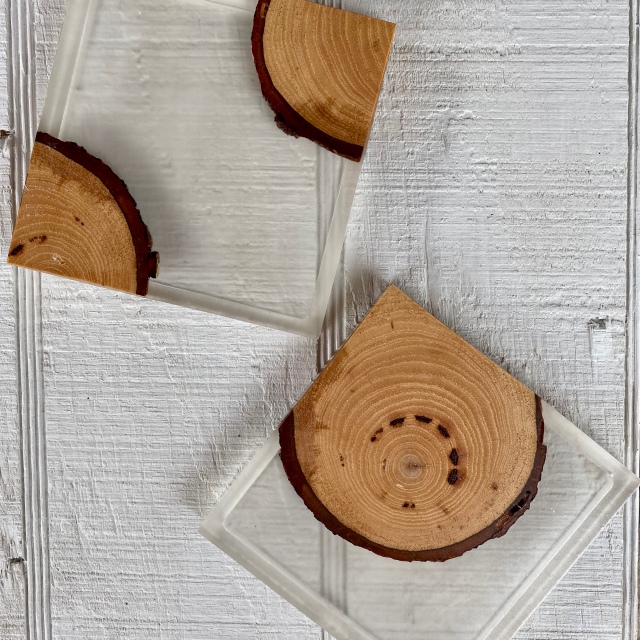
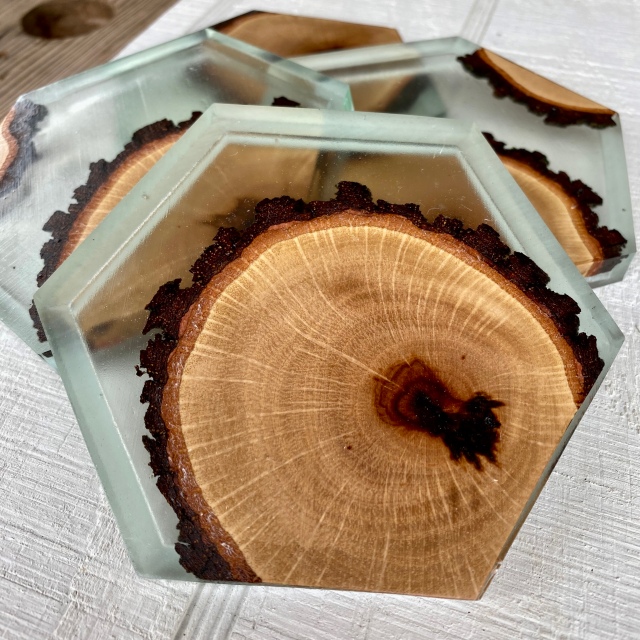
We made two types of coasters at this Pinterest party; resin that was poured into a mold to form a coaster and resin that was poured on top of a wooden disk. Below are the main tutorials that we used, but once a few coasters were made, everyone started to free form.
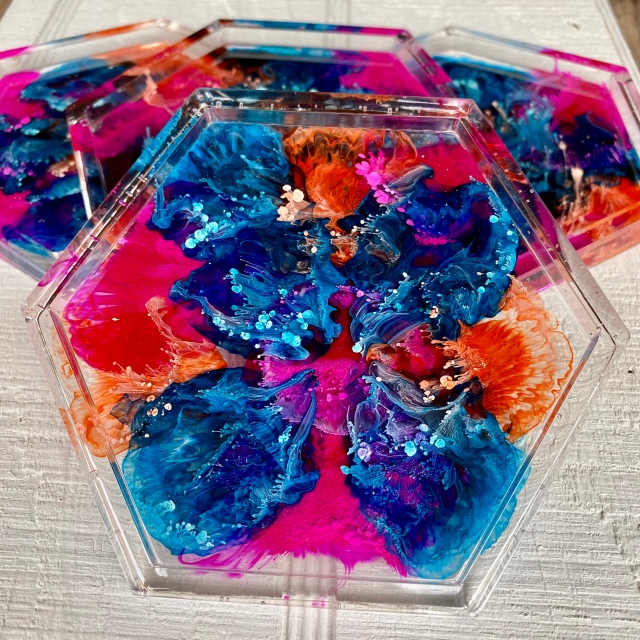
- Resin Petri Dish Coasters from Artsy Fartsy Mama (find her at @artsfartsymama on instagram)
- Marbled Resin Wood Coasters from Resin Crafts (@resincraftsblog on instagram)
- Resin and Wood Coasters from DIY Huntress (find her at @diyhuntress on instagram)
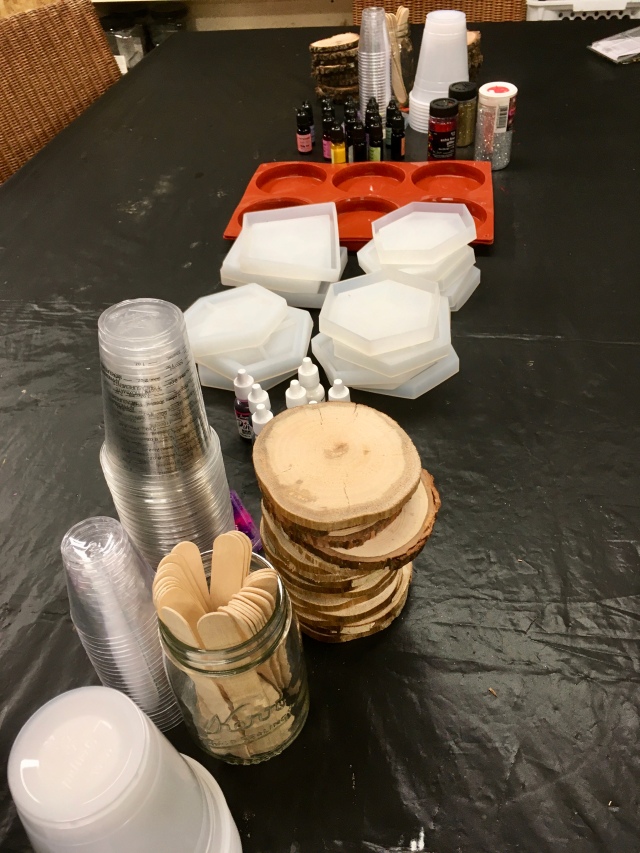
Here is the list of supplies we used:
- Resin (we used about 3.5 packages of resin)
- Molds – round molds, square molds, hexagon molds
- Graduated plastic cups for mixing resin
- Mixing Sticks
- Plastic cups (the resin required a two part mixing formula, so we used these cups for the second portion of mixing after the resin was measured)
- Small plastic cups (for tinting resin or propping up a wooden coaster)
- Alcohol dyes
- Resin Epoxy Pigments
- Glitter
- Wooden disks (Andrew cut them from some logs we had in the backyard)
- Latex gloves
- Cardboard
The Process
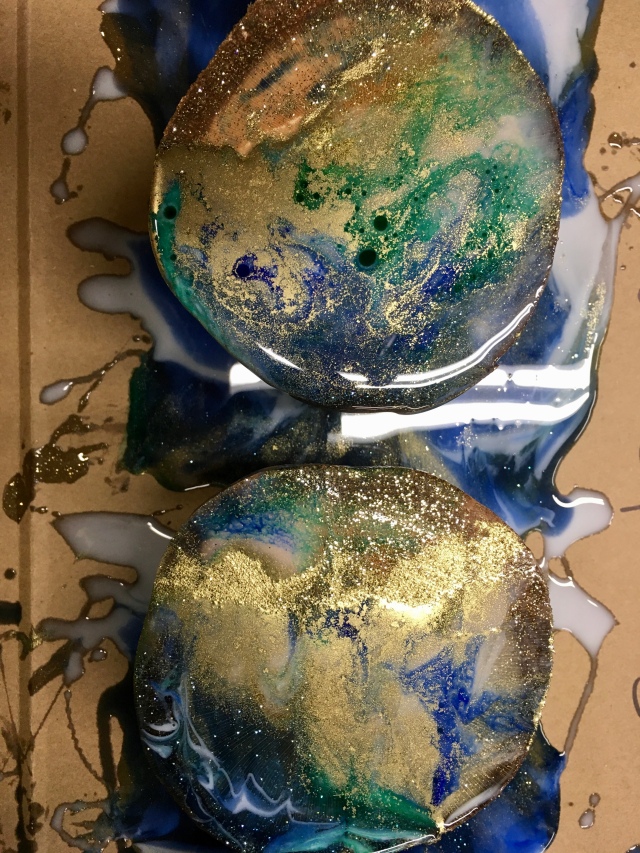
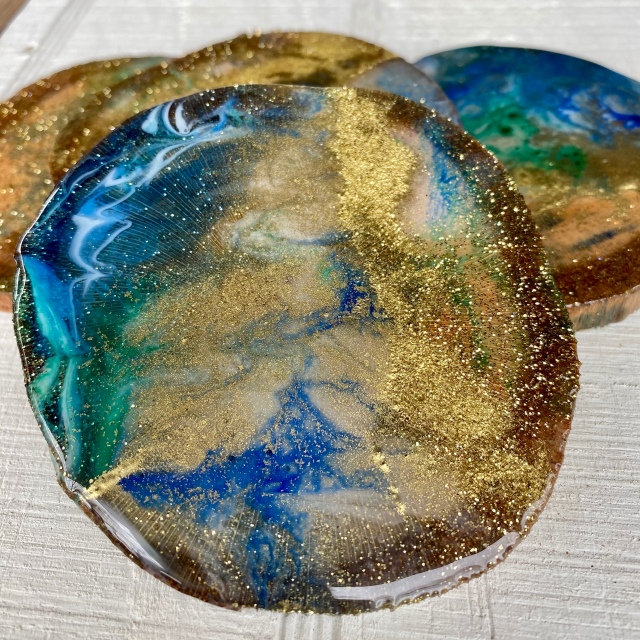
We used several methods of adding dyes to the resin- dropping it into already poured resin, mixing the resin and dye before pouring it, and a combination of both. We also experimented with adding glitter in various ways (mixing it in, sprinkling on top, etc).
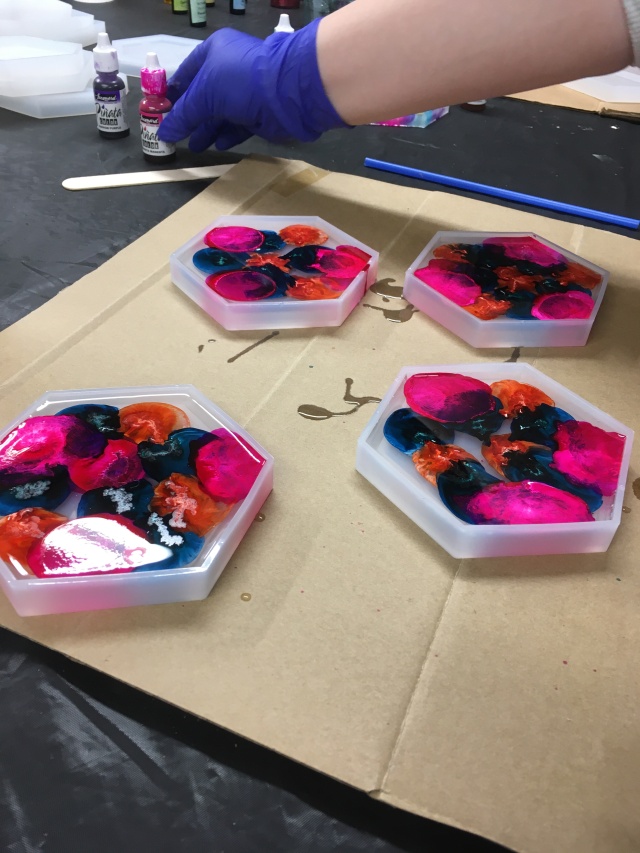


This craft can get messy fast. Make sure to wear gloves and protect your work surface. I would also advise tying your hair back and wearing old clothes (the dyes can stain and the resin is very sticky).

This is also not a fast craft. While the resin mixing and pouring doesn’t take very long, it does take 1-2 days to cure, and when using the molds, you only see the bottom of the coasters (since the mold is upside-down). You have to wait until the resin is completely cured to take it out of the mold and flip it over to see what the top of your coaster looks like! Its a waiting game for sure.

After the wood and resin coasters cured, Andrew sanded the bottom of the coasters with a belt sander until they were nice and smooth so they will sit flush and even on the coffee table.
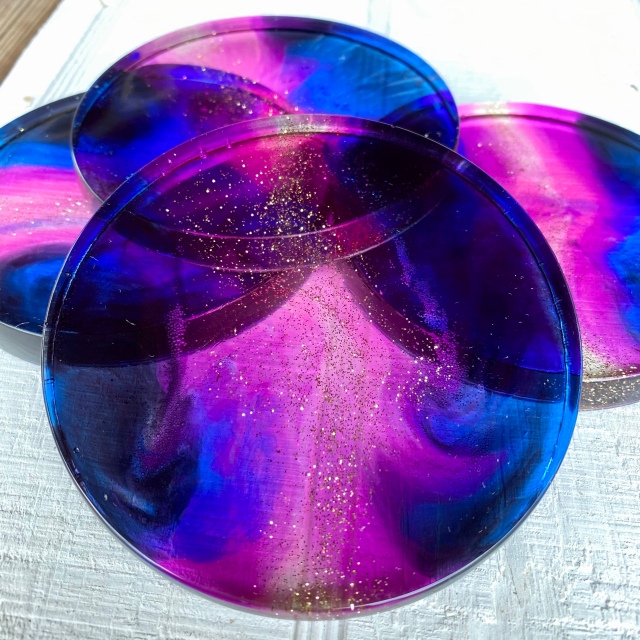
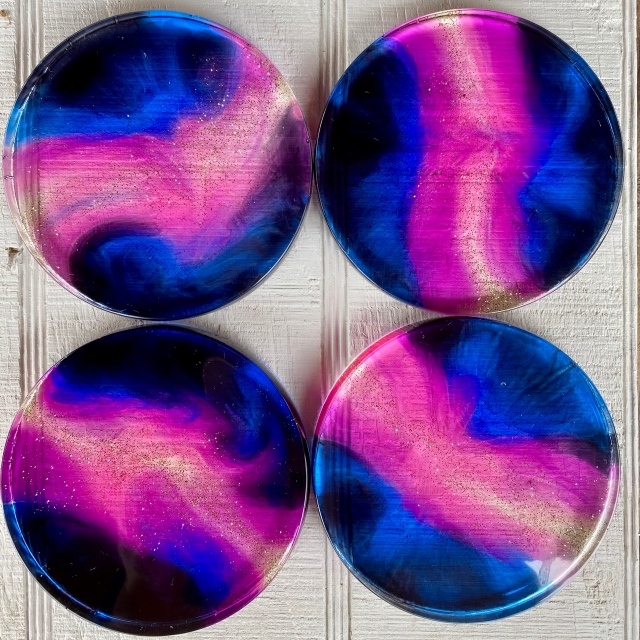
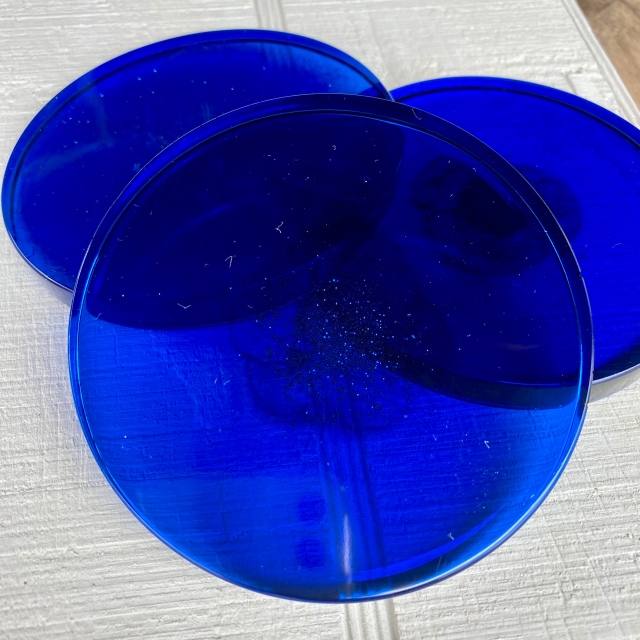
The Finished Product
By the end of the night, we made 55 coasters! And here’s how they turned out (not bad for some first timers):


I’m already planning some resin Christmas ornaments for later this year and I’m definitely planning another resin Pinterest party – maybe some marbled trays?! I’ll keep you posted. Have you been crafting lately? I’d love to hear what you are making. Comment below or connect with me on instagram @elleandjaydesign.


