

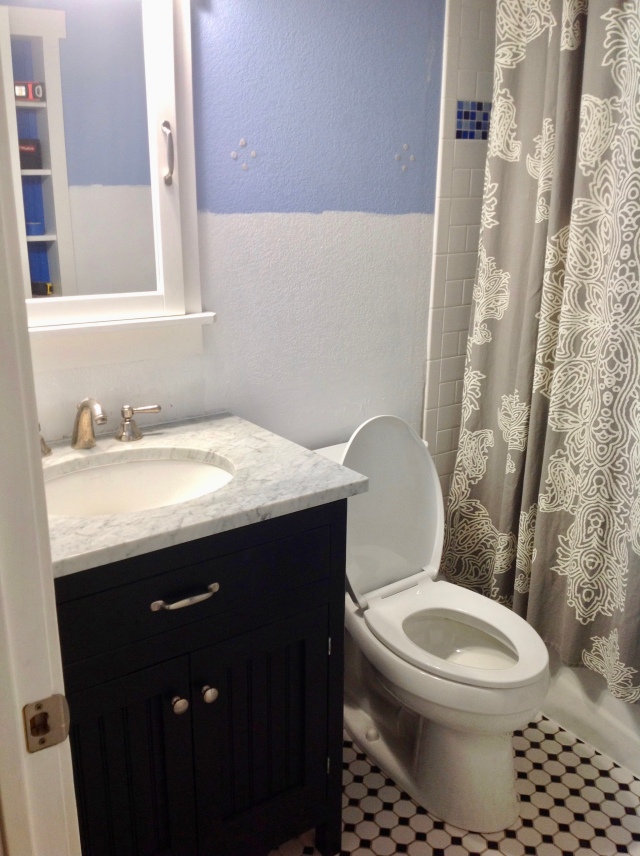
Hi! I’m back to share the second part of our bathroom renovation. You can read about the first round of renovations we did back in 2012 here. I expressed in that post that the bathroom was the first room I ever designed from scratch and I’ve learned a lot in the last 8 years. By 2018, I wasn’t in love with all of my choices anymore and decided to give the bathroom a little refresh. If you can recall, this is what the bathroom looked like when we finished it in 2012:


For this refresh, we focused on changes that were inexpensive and noninvasive. We had fallen out of love with the wainscoting and chair-rail, the blue paint on the walls, and the too-short shower curtain. As is the case with most renovations, the first step was to remove anything that wasn’t permanent and prep the space.


First, we taped off the crown molding, removed the light fixture/fan combo, and covered the majority of surfaces in the bathroom in order to put a fresh coat of paint on our tin ceiling tiles. We used a silver spray paint for the job and I highly recommend covering most of your surfaces (walls, tile, vanity, etc) since spray paint has a tendency to leave a thin layer of residue on everything.

After the ceiling was painted, we moved onto the wainscoting and chair-rail. We removed the old wainscoting that ran on the lower portion of the walls (along with the tile backsplash around the sink) and primed the walls for our new wall covering: faux shiplap!
My apologies for the toilet seat position. To my defense, when I took these photos, there was no blog and I didn’t have the foresight that I would be sharing these photos with more than a few people.


We knew we wanted to paint the shiplap white, so we primed behind the boards with the white paint – we didn’t want to see the old paint through the small gaps between each board. If you are thinking of doing something similar at your house, I recommend painting the wall the same color as your wall treatment before installing it. Oh, and did I mention this is our only bathroom?!
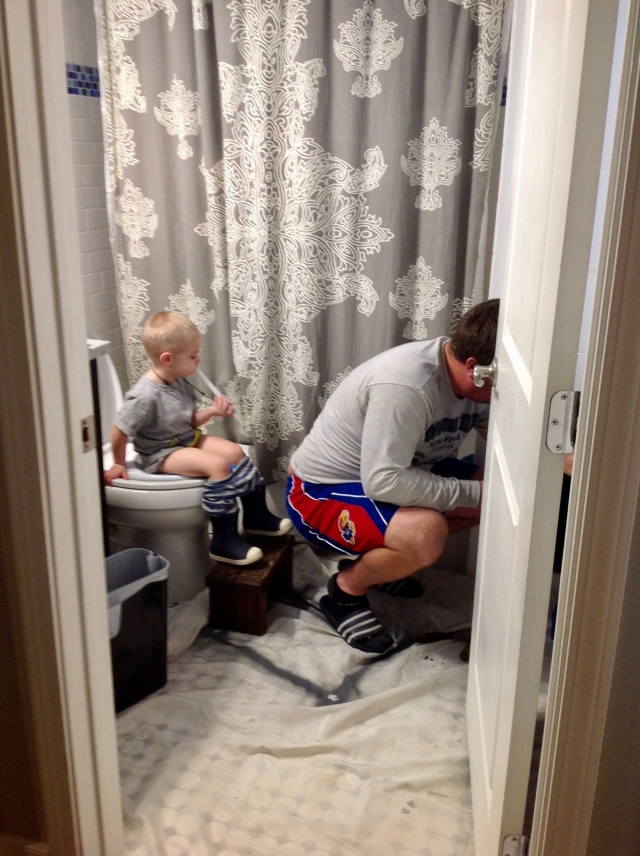
When you gotta go, you gotta go, you know? And when you can’t stop your bathroom reno every time someone has to go, you just can’t stop. That’s just how we do projects around here.
Next we started to install the faux shiplap. Its “faux” shiplap because this is not the real tongue and grove boards. We used 1/4 inch MDF that we bought in 4′ x 8′ sheets and cut to size. There was a lot of math involved (luckily we’re both engineers) to figure out the height of the boards and the correct spacing, but always start with your most critical point. We wanted a full board to sit at countertop height at the vanity for ease of installation and so that the boards would line up behind the toilet and to the left of the vanity. If we started placing the boards from the floor up, it was probable that by the time we got to the countertop, we could be off by 1/8″ or so and things wouldn’t line up as nicely as we wanted. If we would have bought real tongue and grove shiplap, we wouldn’t have been able to pick our board height and would have been limited by the sizes available at the home improvement center. To install the boards, we used liquid nails and a nail gun to adhere them to the wall.

So the first board we installed was the “backsplash” board around the sink (the top board shown above). This board is unique because its actually PVC. MDF is notorious for absorbing water so we were weary of putting it next to a sink, so to keep our minds at ease, we purchased one PVC board to use for this area. Its the same thickness as the MDF and we primed and painted everything to match so you can’t tell that its any different.
We didn’t use PVC for all of the shiplap because its way more expensive than the MDF, but the cost was worth it for the area that is most prone to water damage. There is not a lot of water that gets on any other portion of the walls so we felt this was the only area that needed extra protection (also, its been two years and the moisture from showers hasn’t bothered the MDF one bit). After we placed the first board around the sink, we worked our way to the floor, using a biscuit as a spacer (no, not that kind of biscuit). You can see them in the photo above between the last two boards. We have a tool called a biscuit joiner, which is used to join two pieces of wood together using these biscuits and they just happen to be perfectly sized for our spacing requirements. We’re scrappy like that.

We worked our way around the room installing the shiplap, caulking as we went.

When we came to the outlets and switches, we measured the openings and cut the boards with a jigsaw to fit around them before installing the boards. Once all the boards were installed and caulked, we filled all the nail holes with wood filler then sanded lightly to remove the excess.


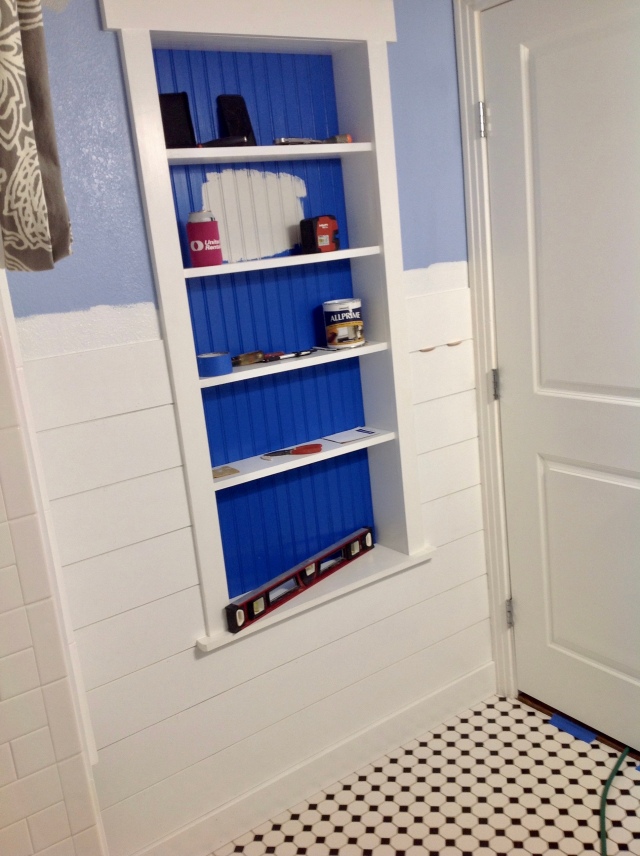
While we were installing the faux shiplap to the walls, we also installed some at the back of the built-in across from the vanity. We went with a smaller spacing in the built-in because we couldn’t remove the old wainscoting there without removing the entire built-in and we didn’t want it to show through.
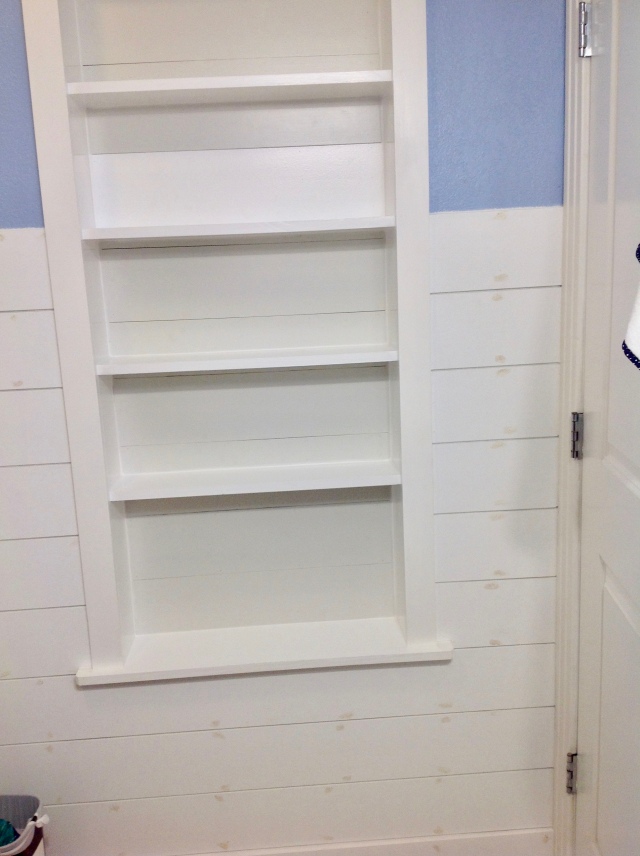
I painted the back of the built-in a light gray, the shiplap white, and the walls a navy blue, as well as touching up the trim in the room. We reinstalled the ceiling light/fan, shelf above the toilet, and outlet covers, hung a new shower curtain, and refilled the built-in. All-in-all, this project took about a week to finish (with me painting during naptime), with the majority happening in one weekend. AND the entire time, it was a fully functional bathroom. Win-win.

I choose to stay with a variation of the blue wall paint because we still have the blue mosaic tile in the shower and it wasn’t going anywhere. And since the shiplap covers more than half the wall (and is so bright and white) I was able to get away with going dark on the remaining wall without it making the room feel smaller than it is.


This was a much needed refresh that is beginner level and doesn’t cost much at all. For less than $200, we got a lot of bang for our buck on this project!
And that’s how our bathroom looks today. Do you have any bathroom projects going on? I’d love to hear about them over on instagram @elleandjaydesign.


