

Hey everyone! I’m back this week to share another room in my Throwback Thursday series, and this week I’m sharing how we renovated what we call our mudroom (although it doesn’t function like your typical mudroom). I feel like every time I write a post in this series I declare that room was the most transformative of all the rooms in our house. But I do feel like this room was the most transformed on the smallest budget of all the rooms in our house. Once we removed the horrendous floors and dropped ceiling, a little paint went a looooooonnnng way in this room. But let’s start at the beginning.

Before (view from the Laundry suite) 
Before (view from the back door)
If there was ever an ugly stepchild room in our house, this was it. It really had nothing going for it. The stained brown linoleum floors, the styrofoam (or something of that nature) dropped ceiling tiles, no air conditioning, exposed wood siding from another life as a porch – it had little to no redeeming qualities. But we would make butterfly out of her after all.
As I just alluded to, this room was once the back porch of the house, hence the wood siding on the walls that were the original exterior of our home. The previous owners converted this (poorly, I might add) to interior space long before we bought the house. Because of this, the ceiling height in this room is very low. The ceiling height starts about 7.5 feet on the dining room side and slopes to 7 feet on the back wall of the house. So, in real estate terms, this is a cozy little bonus area. When we bought our house, this room had a large closet protruding into it that served the 3rd bedroom. We have 3 closets in our house (yes, thats all) and it didn’t quite make sense that the smallest bedroom had a closet larger than the other two bedroom closets combined. So, early on, we knew we would reconfigure this room and steal space from that closet to make a larger mudroom. But, before I get any further, let me remind you of our home’s original layout.

The mudroom sits at the back of our house, nestled between the laundry suite and our 3rd bedroom (the nursery). Originally, it was only accessible from the laundry suite or the 3rd bedroom, and also housed the only door leading to the backyard (we really won the lottery with this functional floorplan, right?!). And see how that closet took up a good third of the room? Well, here’s what we did about it.


Step 1 was to remove that awful faux cork linoleum floor. Its been so long, I can’t even tell you how that process went, but I assume not too bad since I have no stories to tell or pictures to show of it. When we peeled up the linoleum, what we found was some not so bad, old wooden porch boards that had been painted in a bluish gray that was actually kind of nice. It was a vast improvement from where we has started.

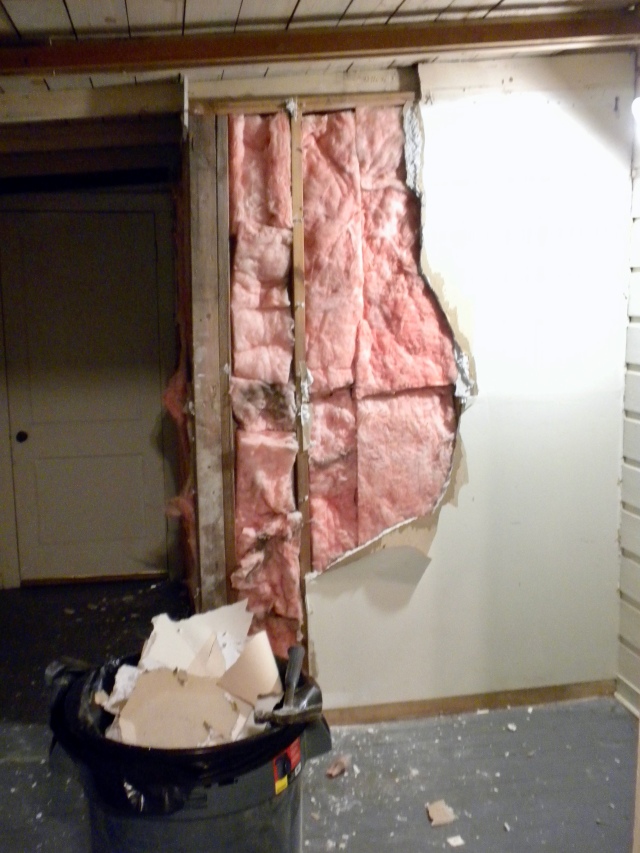
Next, we focused our attention on the ceiling and closet. If I remember correctly, the Styrofoam ceiling tiles came down in about 0.2 seconds and it took another half hour to remove the drywall and insulation from the closet walls.


Once the drywall and insulation were out of the way, we deconstructed the walls of the closet and removed all of the framing. Once this was complete, the mudroom had room to breathe! The plywood on the sidewall (above, right) covered an opening that we can only assume housed an old window to the bathroom before the porch was converted to interior living space. You can also see the actual roof structure in the beams that are spanning the ceiling. Since we didn’t have the time or money to reengineer the roof for this portion of the house, we kept the structure the same and put our own little spin on it (so keep reading!).


In addition to changing the size of the 3rd bedroom closet, the other major structural change in this room was replacing a window with a door. Originally, in order to get to the mudroom, you had to enter from the 3rd bedroom (from going through the 2nd bedroom, I might add) or from the laundry suite. For being such a small house, it was very convoluted. In order to make the kitchen and laundry suite more functional, we removed the doorway between them and converted the window in between the dining room and mudroom into a doorway.
Once these structural changes were made, the overall flow of our little bungalow was much better. We chose a french door to replace the window, which lets even more light into the dining area and kitchen than the old window did. Since there are 3 windows and a door (with a window) in the mudroom, we wanted to capitalize on all of the natural light that fills this space. And now, the layout of our home looks like this:

Now, there is a clear path from the front of the house to the back of the house and you don’t have to go through every other room in the house to get there! And reconfiguring the 3rd bedroom closet carved out enough space in the mudroom to make it functional.

See, now you can enter the mudroom from the back door, go right, into the laundry suite, go straight, into the dining area and kitchen, or go left, and enter the 3rd bedroom.
Next, although we love old wood siding, its not really the look we were going for with an interior space, so we removed it from the mudroom walls and replaced it with regular ol’ drywall.

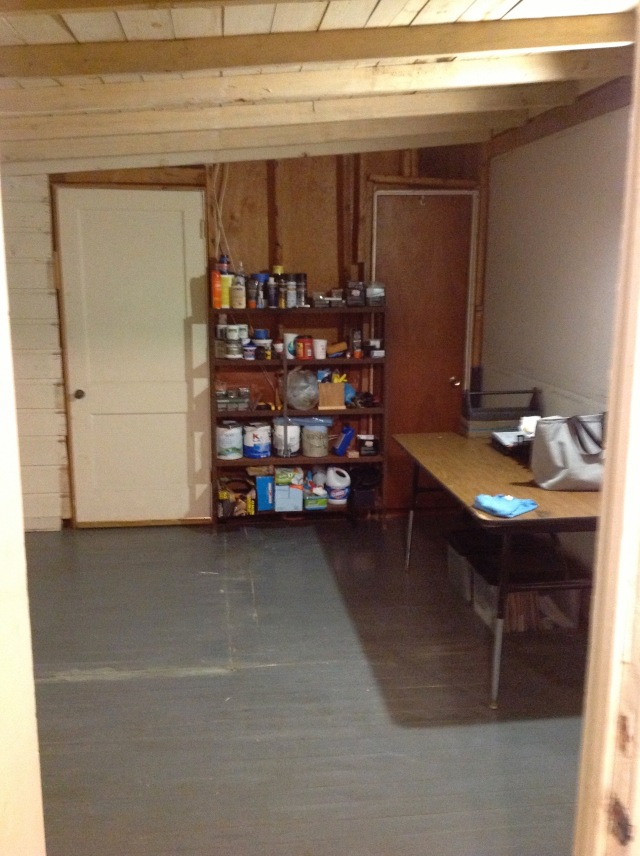
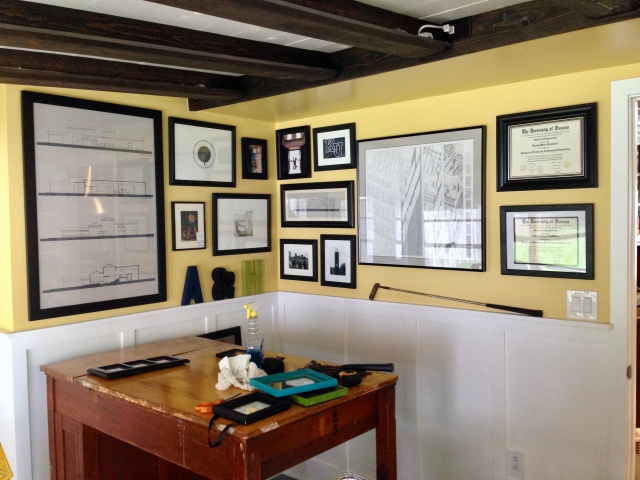
The pictures above were taken before we framed in the new closet but you can see the decent amount of space this mudroom has. And actually, this was the first room I had a clear design plan for. Andrew and I both have architectural engineering degrees from the University of Kansas, and we each have architectural drawings (that we drew by hand) from projects during our studio classes that I knew I wanted to display in this room.

I couldn’t resist throwing this picture in here because its just a walk down memory lane. Through the doorway on the left, you can see our non-existent kitchen, ripped down to the studs. And through the doorway on the right, our laundry room with stacked washer and dryer, and our microwave/convection oven set up and fully functional because how else are you supposed to cook Digiorno pizzas while your house is under construction?! Click here to see the laundry suite now.


About 2 months after removing the original closet, we reframed the new smaller closet (its still the largest in the house, if you can believe it), finished drywalling and found a solution for the ceiling. Unfortunately, the only photo I have of the ceiling progress is the one you see above on the right. We wrapped the existing roof support beams in rough cedar, leaving the bottom piece wider than the two sides. Then we added another thin piece of wood to each side of the bottom piece of the beam, angled up towards the ceiling a bit. This created a lip, or small cove on each beam that we put rope lights in, you can see the end of one (where it plugs into the outlet) in the photo above. Its not that obvious in real life and you have to be looking for the plugs to really see them. During this process, we added another layer of wood slats in between the beams (the other ones in the photo above, left, were literally the underside of the sub-roof), painted a soft white (Polished Marble by Behr).

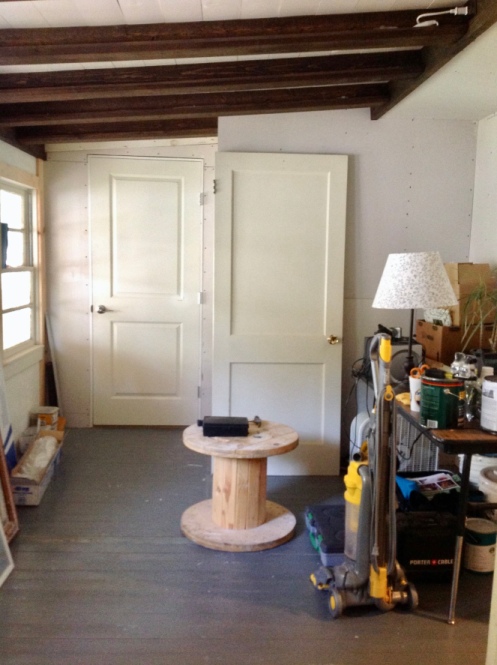
Then it was finally time to focus on the walls. We replaced the trim and sills around the windows (these are the only windows we didn’t replace in our house), then this room became a storage room of random tools and supplies while we focused our attention on other areas of the house.
About 8 months later, once we replaced the other two doors in this room (the back door leading outside and the 3rd bedroom door), it was finally time for the fun part – board and batten!
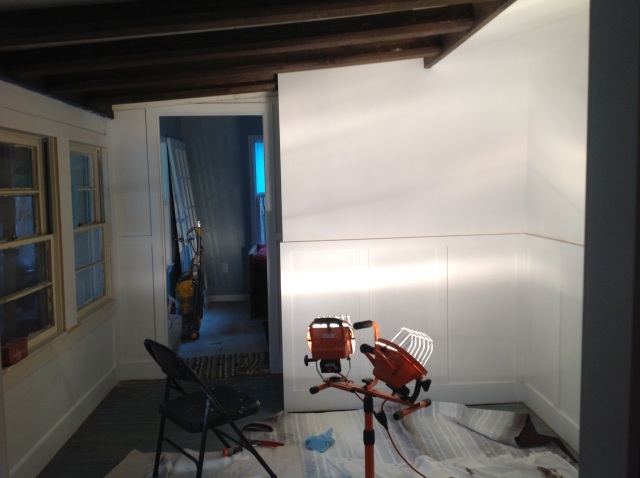

We used 1x3s for the vertical pieces and top horizontal piece (with a 1×2 ledge piece to top it off, not shown yet) and 1x6s for the bottom horizontal piece that acts as the baseboard. And apparently, we were burning the midnight oil because I have no pictures of this during the daytime. The ‘panels’ of the board and batten, the part inside the wood trim, is just the drywall. Since we had just hung new drywall, we didn’t need to do anything special, just caulked all the edges and painted everything to match.


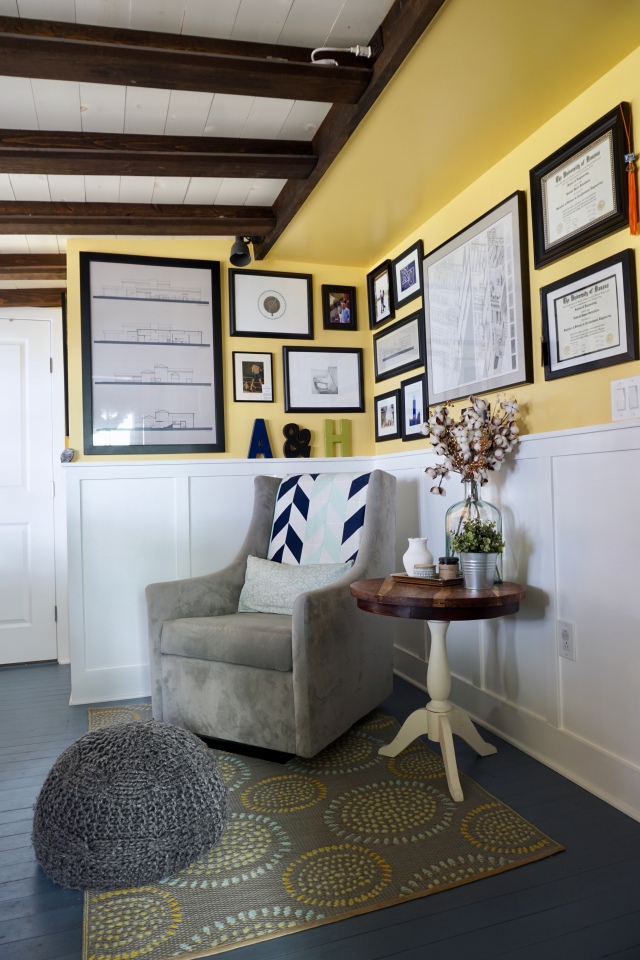
I chose Behr’s Garbanzo Paste for the wall color in the mudroom and Ultra Pure White for the board and batten. The yellow is more subdued in real life, but happens to photograph pretty bold. Also, most of the wall is covered in framed art, so you see a lot less of the yellow paint than shown here.

The last step was to paint the floors, we choose a color very similar to what was originally there – Adirondack Blue by Behr. We sanded the floors first, then cleaned them really well before applying the paint. We rolled on two coats of Behr’s Porch and Patio paint and stepped back to admire our work.
To button up this room, we added quarter-round trim to the baseboards, painted to match, and added a small ledge to the top of the board and batten (just a 1×2). When I originally designed this room, I envisioned my grandfather’s drafting table living here with Andrew and my architectural drawings surrounding it, and it did for a little while.
But, sometimes I get the itch to rearrange and sometimes the functionality of rooms change or evolve as we grow and as our kids grow. Currently, my desk (aka my grandfather’s drafting table) lives in our entry way and the mudroom has become an extension of the nursery. It currently houses our glider and our daughter’s dresser/changing table, as we added a twin bed to her room about a year ago to sleep extra guests (small house problems). The irony is, I’ve been doing a lot of writing back here lately – its a nice quiet place to be one with your thoughts come late evening. And the gentle rocking of the glider is a serene place to admire the hard work that has payed off in this house.

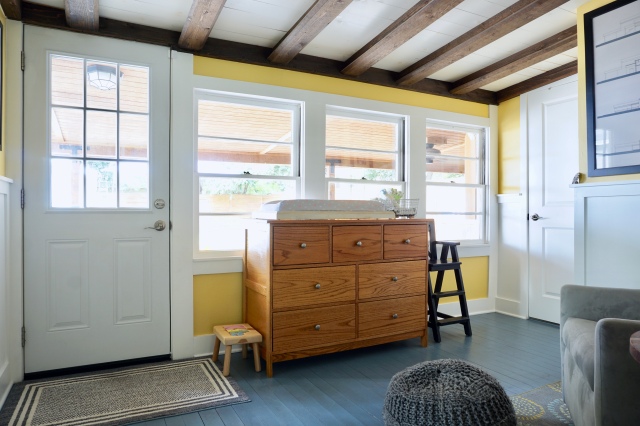
So here’s what our mudroom looks like today. Our main entry into the house is from the front door, so this room doesn’t actually function like a mudroom at all, but thats what we’ve always called this room and its too ingrained to change now. Andrew and I have discussed building some cabinetry in here to house jackets and outerwear and other seasonal items, but for now, we’re enjoying this phase.


Can you believe we started with this?

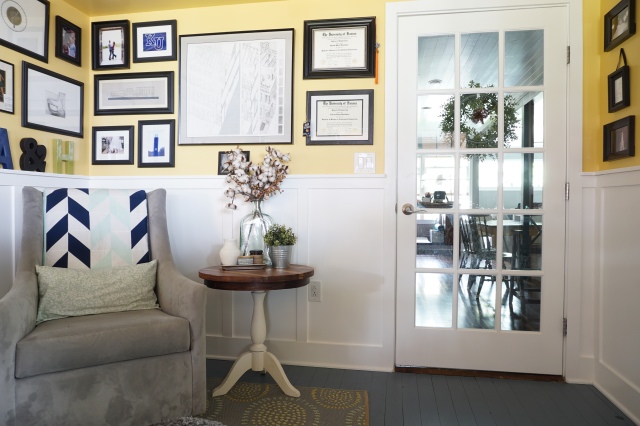
And remember, that window you see above (in the ‘before’ picture) became a door. Thats still one of the best design decisions we made in this house. Here’s another view:


What have you done with the bonus spaces in your house? I’d love to hear about them. Comment below or connect with me on instagram @elleandjaydesign.
You can see transformations of other rooms in our house in these posts:
- Our Living Room
- Our Second Bedroom (The big kids’ room)
- Our Bathroom – Part 1 & Part 2
- Our Laundry Suite
- Our Master Bedroom
- The Nursery
- An intro to our 1950s Bungalow
And you can see all the sources for paint colors, finishes, furniture and decor on my Our House page.


