

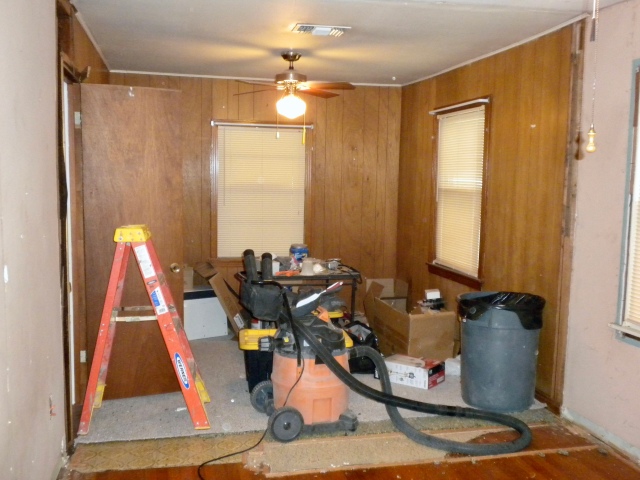
Howdy Ya’ll! I’m sharing another throwback Thursday room reveal today. This room has probably gone through the most transformations out of any room in our house as it started as a guest room, then turned into a toddler room, and now its home to our preschooler and toddler (ages 4.75 and 3). But it started out much like the other rooms in our house: old, tired, dated and with a wonky layout.

Now, I’m all for built-ins. You could say I’m the captain of Team Built-ins. But the built-in we were gifted in this room was not original to the house, crappy construction, and literally left no place for a bed to go. Lets revisit the floorplan.

The ‘big kid’ room, aka bedroom 2, is a decent size (its not huge but its more than 100 square feet unlike our nursery) but the layout left much to be desired. The north wall had a door to bedroom 3 and the built-in, the East wall has two windows (not centered on anything I might add), the South wall consists of the closet door and allows room for the bedroom door to swing open, and the West wall holds the bedroom door. Even if you could fit a bed along the West wall (which you couldn’t because of the door leading to bedroom 3), it wouldn’t make much sense, assuming you still wanted both doorways to function. There was no logical place for a bed to go in this room.

I’ve shared the layout changes we made to the whole house in this post, but I’ll give you the recap: we removed the North wall completely and rebuilt it as a regular 2×4 wall (no weird door to bedroom 3 and no built-ins). Remember, it was originally an exterior wall, and when the previous owners added the 3rd bedroom, they didn’t do a stellar job renovating it, so it was best to start over.
Here you can see when we removed the wall (at which point bedroom 2 and 3 were one long, skinny room), then we came in with new studs and separated the rooms again.

We could have moved the wall towards bedroom 2 to make the two bedrooms more equal in size except for the fact that one of the windows is already very close to the North wall, so it made the most sense to rebuild the wall in the same spot. Here’s what the floor plan looks like now:

Next, we removed the carpet and all of the drywall to accommodate for new electrical wiring and some plumbing (the West wall is shared with the bathroom and houses our plumbing vent).

Then we started on the floors (more on that in this post). The 2-1/4″ wide red oak floors are original to the house but they had too much of a red tint for our taste and they were covered in carpet glue residue. We started sanding with an orbital sander that we rented from Home Depot, but quickly realized it was not going to get the job done.
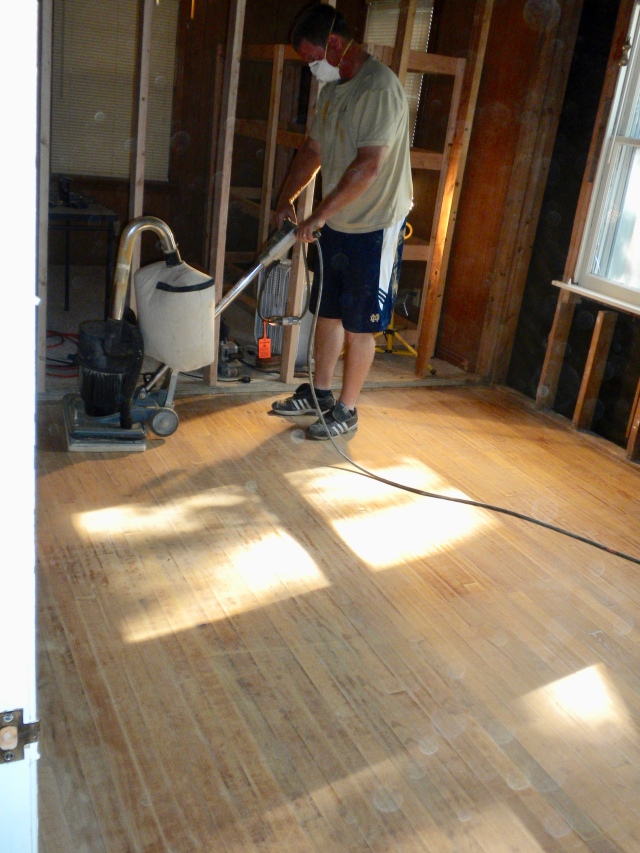
See how you can still see the dark stain on parts of the floor boards? Essentially, the orbital sander took off some of the finish and stain, but we couldn’t get it to look any better than in these photos.

So back to Home Depot we went to rent the drum sander. Once we brought that puppy home, the floors were down to bare wood in a matter of 2 hours. Pro tip: Don’t waste your time (or money) with with orbital sander. I told you our running joke is that we did everything twice, right?!
Once everything was sanded, we stained the floors with Minwax Dark Walnut stain and then applied several coats of polyurethane. Then bedroom 2 became a storage room of sorts.

Just keep focused on those beautiful hardwood floors.

We eventually got around to installing the electrical, then we were able to insulate the walls and start putting the room back together.

We installed new drywall, textured the walls using the knock-down method, added new bedroom/closet doors, installed baseboards and crown moulding, painted everything and installed a new ceiling fan/light combo. Somehow I lack pictures of those steps which may or may not have to do with a factory reset that happened on our iPad recently (sigh). Nonetheless, we turned a corner and the room was shaping up. The last big update: windows.


Can you believe how much more light the new windows let in?! They fit the same size opening as the old windows but the frames take up less room so they appear bigger (the area of the glass is actually bigger since the frames aren’t as thick). It was as if we added another window to this room with all the extra light the new windows provided.

The room quickly turned back into a storage room while we worked on other projects.

Then, we made one last push and finally added trim around the windows.
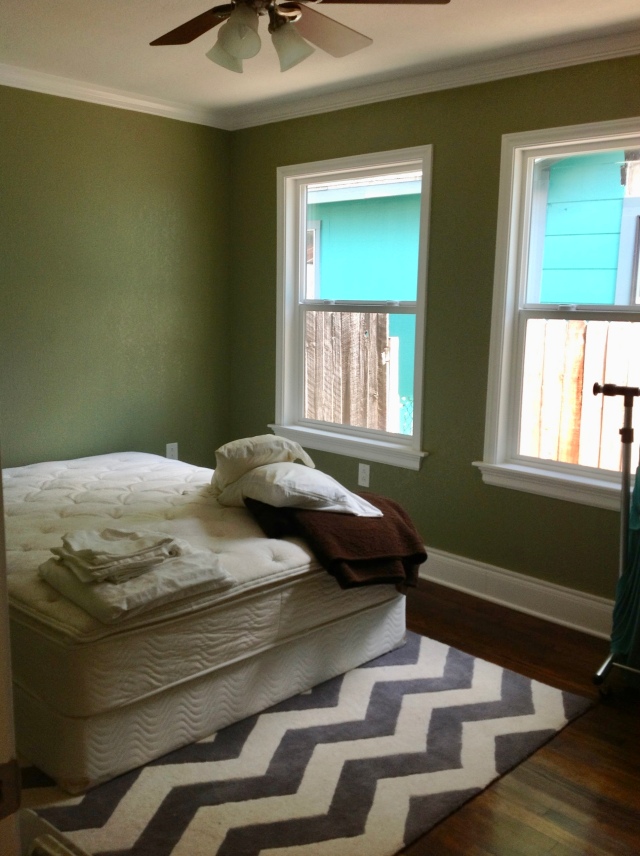
And just like that, bedroom 2 became our guest room and served that purpose for 3 years. I don’t have any pictures of it in its fully finished state but you can get the gist with the photos below.


In 2017, when we had our second baby, this became the toddler room, and it looked very similar to what it looks like today. Then, last year (2019), when we had our third baby, bedroom 2 became home to our preschooler and toddler. The only major change we made was adding the top bunk to the twin bed (originally, we just had the bottom bunk set up alone in this room), otherwise we made small changes to art and decor.

The space between the closet door and bedroom door on the South wall is a narrow space so after our son moved into the room, Andrew and I built a shelving unit from galvanized metal pipe and reclaimed wood. It houses all of our kids books and puzzles and other toys they use frequently.

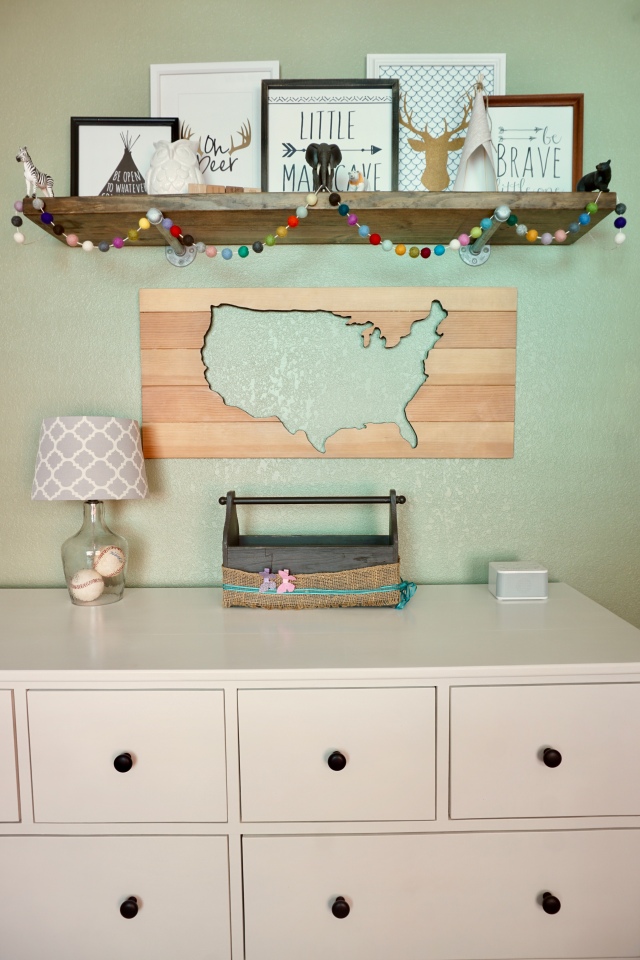
We also built a shelf above the dresser out of the same materials.
And some dear friends of ours gifted us this kids table that we refinished.

Andrew made the white dresser when this became Luke’s room and it serves double duty as clothes storage and toy storage.

The top drawers hold undergarments and pants/shorts while the bottom 4 drawers contain the toys.

And just to remind you of where we started, here’s some before and afters.
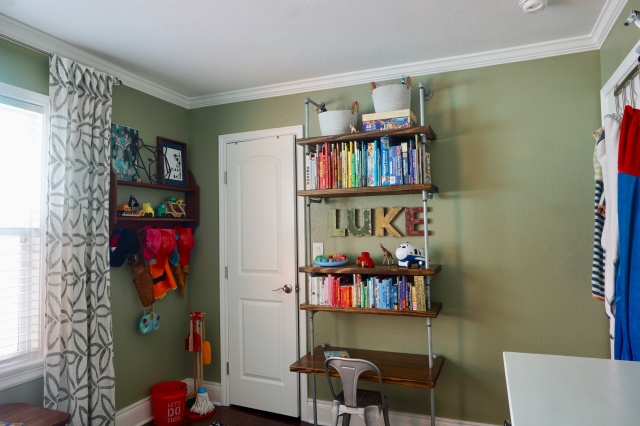

I know I say this about every room in my house but this one is really one of my favorites. I picked the paint color, French Parsley by Behr, from seeing a picture of a room this color on a paint pamphlet and I still love it almost 8 years later. And you can read about some of the other rooms in our house here:
- An introduction to our house
- The nursery
- The master bedroom
- The laundry suite
- The bathroom part 1 and part 2
Do you have any projects going on in your kid’s spaces? I’d love to hear about them. Comment below or connect with me on instagram @elleandjaydesign.


