

Hey there! I’m back for another throwback Thursday. This week I’m sharing the nursery, AKA our 3rd bedroom. Its time as the 3rd bedroom was short-lived as we finished this space at the end of 2013 and it became the nursery in early 2015. I couldn’t even find a photo of this room finished before it became the nursery so its almost as if it didn’t ever happen. Just to remind you, the nursery (3rd bedroom) is located in the back of our house, off of the mudroom. Its the quietest room in the house due to its distance from the living room and being located on the back of the house, making it a great nursery.

The nursery is also one of the smallest rooms in the house at a little over 9.5 feet wide and 10 feet deep. This room was originally an add-on (the previous owners converted the original back porch to this space and the mudroom probably sometime in the 70s) and it had the *character* to prove it. If you haven’t read about the layout of our house and how we changed it, you can read that post here. When we bought our house, this room had faux paneling everywhere and had a door and/or window on every wall.

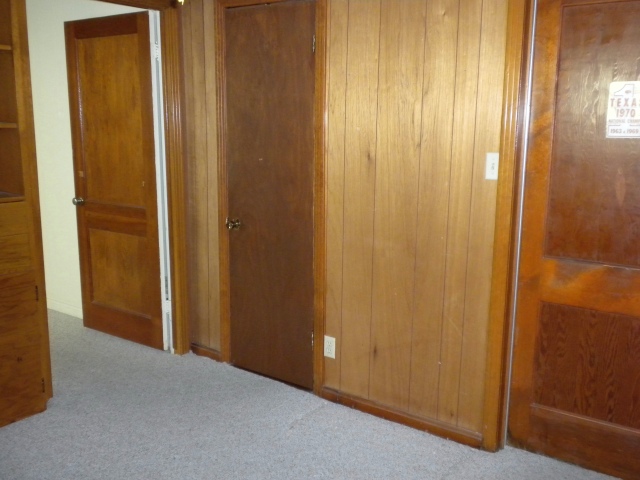
Oh, and it also had a door leading to the second bedroom (right photo above) and a lovely built-in with shelves and drawers. The “walk-in” closet, with its very narrow door, was over-sized for the size of the room and was not a functional use of the space.


The built-ins were not aesthetically pleasing to us, and they interfered with the functionality of the room (there was essentially no where to put the bed, in either room) so they were the first to go. We rebuilt the wall in between bedrooms 2 and 3, making it a standard 2×4 wall. And, we also removed the doorway linking these bedrooms (so the only way into the nursery is through the mudroom). Here’s a view from the 2nd bedroom, looking into the 3rd bedroom, after the wall/built-ins were removed.

Then here we are with the new wall framed in.

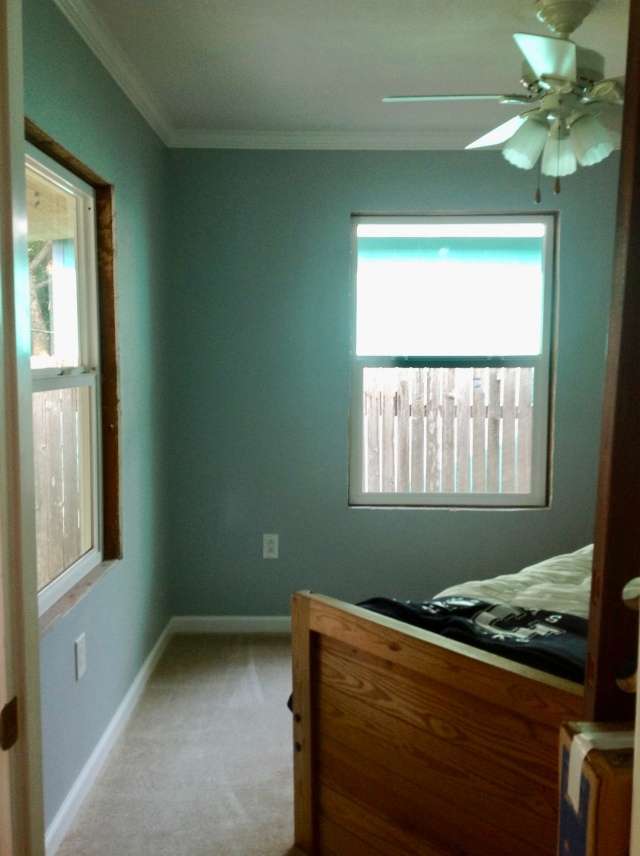
My apologies for the quality of these pictures, I obviously had no camera skills back in the day (and most of these were taken on an iPad), but you get the idea. You can see the paneling is gone here, which was the second step of this renovation. In order to add all new electrical wiring to our house, all the old drywall and paneling had to come down. You’ll also notice, the 2nd bedroom (in the foreground above) has hardwood floors and the nursery does not. Since the nursery was an add on, it did not have the beautiful red oak floors that the other bedrooms have. sigh.

After we installed the electrical wire, light switches, and outlets, we insulated the exterior walls (and the wall between the 3rd bedroom and the 2nd bedroom – to help with noise reduction), as well as reframed the closet.

And here’s a view into the 2nd bedroom, from the nursery, before any drywall was installed.

Heck, this room even served some overnight guests before it even had drywall!

We finally did get the drywall up (only 3 months after we removed the paneling) and the room finally started to feel like a bedroom.


We chose a door-free cased opening for the closet in this room. It’s such a small room that we felt closet doors would have just made it feel even more cramped. But, we did frame the opening for standard size bifold closet doors in case any future owners want to add them. The closet width stayed the same, however, we shortened the depth of the closet to 27 inches (standard for a reach-in closet) which matches the other two bedroom closets in our house. The drywall was taped and floated, we textured the walls, added baseboards and crown moulding, and then painted everything. Around this point, we also replaced the carpet in this room.
Next up was new windows. We replaced the windows with new windows of the same size but the new windows have a smaller frame (and larger glass area), so they actually appear bigger and they let in so. much. more. light!

After installing the windows, we trimmed them out, caulked and painted the trim and this room was finally a room!
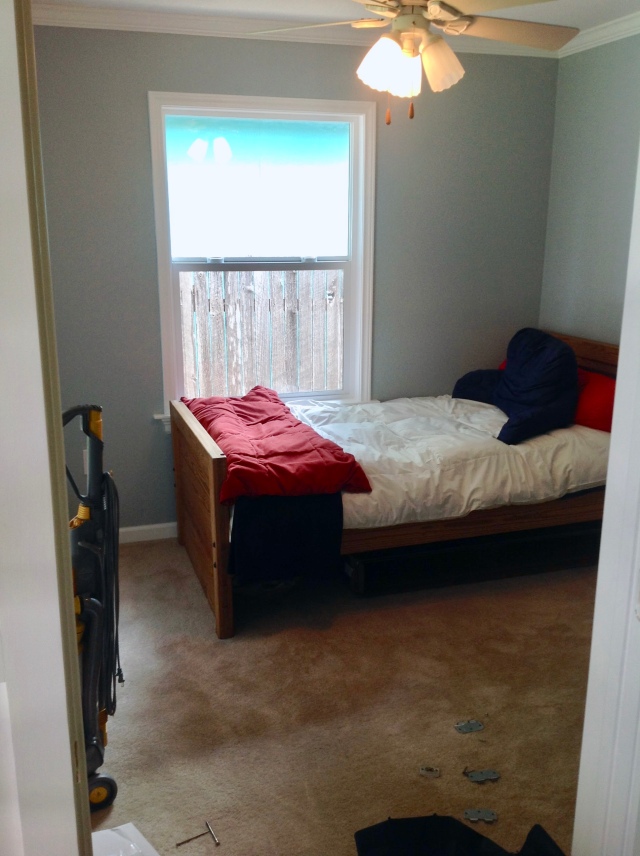
Until it became the nursery, this room housed a twin bed and a bunch of random stuff that accumulates when you have an extra bedroom. But in early 2015, that bed moved to storage and a crib moved in and all three of our babies have slept in here for the first couple years of their lives. Our eldest is a boy, so the first nursery looked like this:
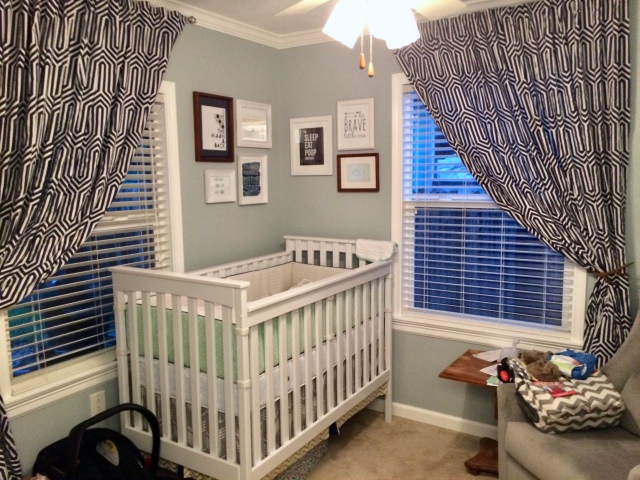
Our second born is a girl, so this room changed slightly with her arrival. We changed the wall color from a light blue to a light gray, switched out the curtains, and changed some of the bedding. Around July of last year, we found the need to add a twin bed back into this room (we have fairly frequent visitors), so the glider you can see above and the dresser/changing table (not pictured) are currently housed in the mudroom, just a few feet outside the door.

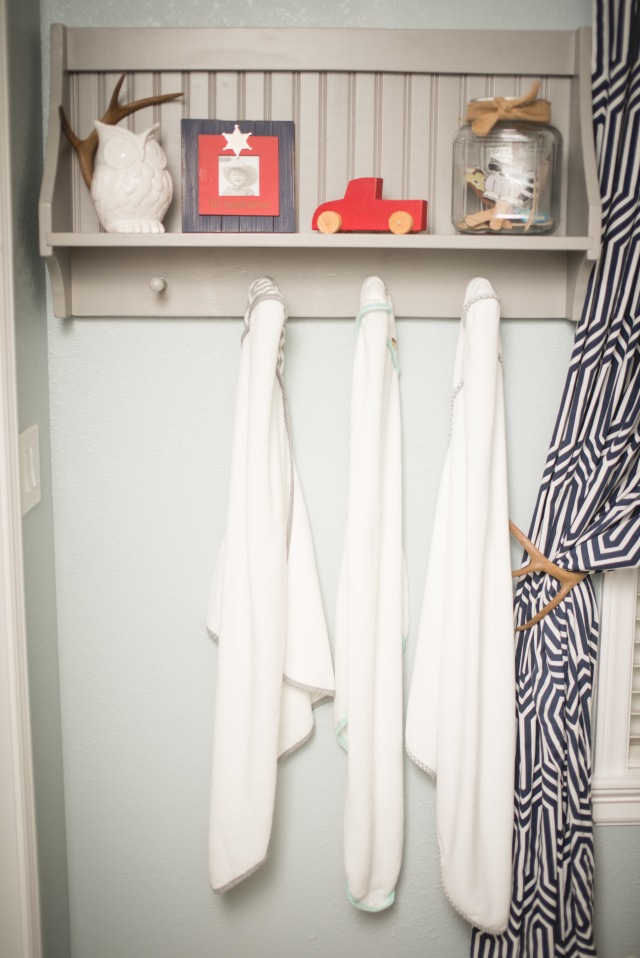
We were lucky enough that our third baby was also a girl, so we didn’t have to change the room again after she was born. This is its current state.


We also installed an off the shelf closet system from a local home improvement store with space to hang shorter items on the left and longer items on the right. This is the only closet in our house that has space to hang long items, so all of my dresses and all of Andrew and I’s formal wear are housed in this closet. Luckily, babies don’t need tons of closet space and they don’t mind sharing with us!
I hope you enjoyed the tour of the nursery. If you see anything you like and wonder where it’s from, I’ll be working on a sources page soon to let you know where I found certain items. And you can always connect with me on instagram @elleandjaydesign.


